How to Relight a Cooker Pilot Light: Step-by-Step Guide
You can relight your cooker pilot light by following a few simple steps. This process involves turning off the gas supply, igniting the pilot with a long match or lighter, and then restoring the gas flow. It’s a task many homeowners can handle safely with a little guidance.
Many gas cookers rely on a small, constant flame called a pilot light. This tiny flame is essential for igniting the main burners when you turn them on. If your pilot light goes out, your cooker won’t work until it’s relit, which is why knowing how to do this yourself can be very handy. We found that this is a common issue for many gas appliance owners.
- Turn off the gas supply to the cooker first.
- Locate the pilot light assembly.
- Use a long match or lighter to ignite the pilot.
- Slowly turn the gas supply back on.
- Check that the pilot flame is steady.
If you’re ready to get your cooker back in action, let’s walk through how to safely relight that pilot light, step by step.
Getting Your Cooker Pilot Light Back in Action
If your gas cooker’s pilot light has gone out, don’t worry. It’s a pretty common issue. We’ll guide you through safely relighting it. You’ll have your cooker ready to go in no time. Let’s get that little flame burning again.
Understanding the Pilot Light’s Role
Your cooker’s pilot light is a small, constant flame. Its job is simple but vital. It’s there to ignite the main gas burners when you turn them on. Think of it as the starter for your cooker’s cooking power. Without it, those burners won’t get the spark they need to light up. We found that understanding this helps appreciate why it needs to be on.
Why Do Pilot Lights Go Out?
Several things can cause a pilot light to extinguish. One common reason is a draft. Sometimes, a strong breeze from an open window or a vent can blow it out. Another possibility is a buildup of dust or debris around the pilot orifice. This can disrupt the gas flow. You might also have issues with the thermocouple. This safety device shuts off gas if the pilot light isn’t lit. If it’s faulty, it might incorrectly signal that the pilot is out. We’ve also seen cases where the gas pressure might be too low.
Safety First: Preparing to Relight
Before you even think about striking a match, safety is your number one priority. Gas is involved here, so we need to be extra careful. Make sure you have good lighting in the area. You’ll want to see what you’re doing clearly.
Step 1: Turn Off the Gas Supply
This is the most critical step. You absolutely must turn off the gas supply to your cooker. Locate the main gas shut-off valve for the appliance. It’s usually found behind the cooker or near the gas line connection. Turn the valve so it’s perpendicular to the pipe. This means the gas is shut off. If you’re unsure where this valve is, consult your cooker’s manual. Many experts say this is a non-negotiable first step (National Fuel Gas Code).
Step 2: Locate the Pilot Light Assembly
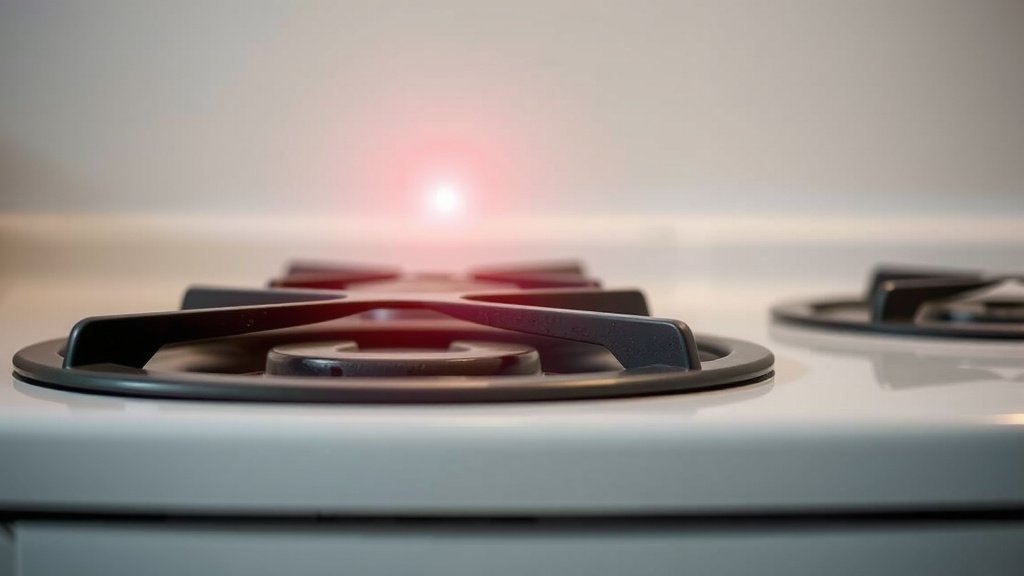
Now, you need to find where the pilot light lives. This usually involves removing a burner grate and possibly the burner cap. Look for a small metal tube or bracket near the burner. This is where the pilot flame should be. You might see a small opening or nozzle on this assembly. This is where the gas comes out to create the pilot flame. We found that it’s often located on the side of the burner. Some cookers have one pilot light for all burners, while others have one for each.
Cooker Pilot Light Locations
The exact location varies by cooker model.
- Underneath a main burner: This is the most common spot.
- On the side of the cooktop: Some designs place it in a less obvious location.
- Inside the oven: If your oven has a pilot light, it will be inside the oven cavity.
Step 3: Light the Pilot Light
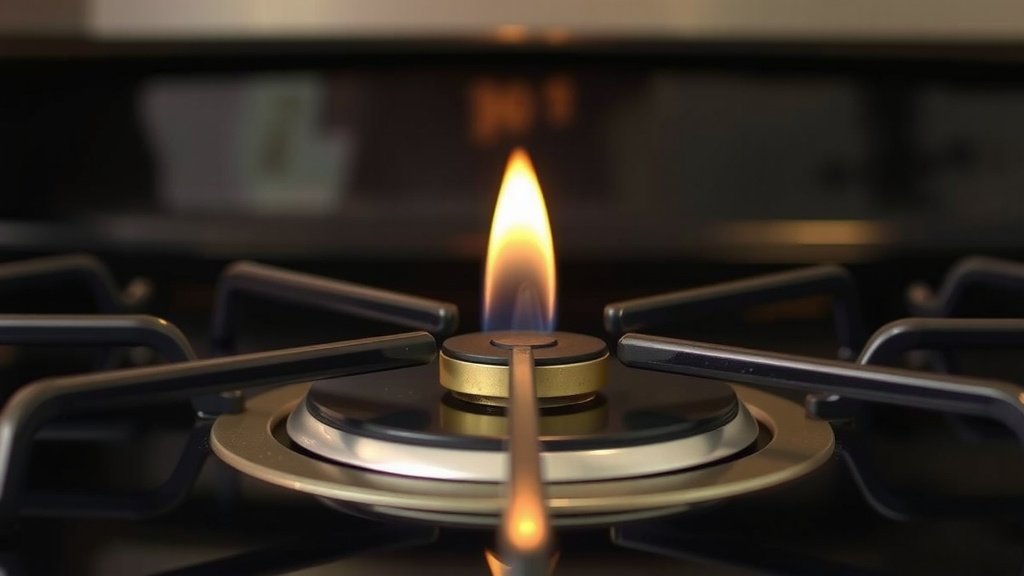
This is where the action happens! You’ll need a long match or a long-reach lighter. A standard match or lighter is too short and risky. Light the match or lighter first. Then, carefully bring the flame to the pilot light nozzle. Hold it there until you see a small, steady blue flame. You might need to hold the gas control knob in a specific position for the gas to flow. Check your manual for these details. If it lights but then goes out, try again. Sometimes, it takes a couple of tries.
Troubleshooting the Ignition Process
What if it doesn’t light?
- Check for gas flow: Can you smell a very faint odor of gas when you try to light it? If not, the valve might not be fully open or there’s another issue.
- Ensure the flame is close enough: Make sure your match or lighter flame is directly at the pilot orifice.
- Wait a moment: Sometimes, it takes a few seconds for the gas to reach the pilot.
Restoring Gas Flow and Checking the Flame
Once you have a steady pilot light, you’re almost done. Now, you just need to let the gas flow properly to the main burners. This part is easy, but still requires care.
Step 4: Slowly Restore Gas Supply
With the pilot light lit and burning steadily, you can now turn the gas shut-off valve back to its original position. This means turning it parallel to the pipe. You should hear a faint hiss as the gas flows. Be patient. If your cooker has a specific knob for the pilot light, make sure it’s set to the “pilot” or “on” position as indicated in your manual. Don’t turn up the main burners yet.
Step 5: Check for a Steady Pilot Flame
Observe the pilot flame for a minute or two. It should be a small, steady, blue flame. A weak or flickering flame can indicate a problem. If the flame is yellow or sputtering, it might mean the pilot orifice is dirty or there’s an issue with gas pressure. A healthy pilot flame is typically about half an inch to an inch tall. You want it to be consistent, not a nervous twitcher. We found that a steady flame is essential for reliable burner ignition.
Step 6: Test Your Burners
Now for the moment of truth! Turn on one of your main gas burners. It should ignite quickly from the pilot light. You’ll hear the familiar whoosh of the burner igniting. Turn the burner off and try another one. Test each burner to ensure they all light properly. If a burner doesn’t light, the pilot light might be too far away, or there could be an issue with that specific burner’s igniter or gas port. This checklist should help confirm everything is working.
Quick Relighting Checklist
Here’s a quick rundown to ensure you’ve covered all bases:
- Gas supply to the cooker is turned OFF.
- Pilot light assembly is clearly located.
- Long match or lighter used for ignition.
- Pilot flame stays lit after removing the match/lighter.
- Main gas shut-off valve is turned back ON.
- All main burners ignite properly.
Conclusion
You’ve now learned the straightforward steps to safely relight your cooker’s pilot light. Remember, turning off the gas supply first is your most important safety measure. Locating the pilot assembly and using a long lighter makes the ignition process manageable. Once relit, a steady blue flame and properly igniting burners confirm your cooker is ready to go. Don’t hesitate to consult your cooker’s manual if you encounter any difficulties. Take a moment to confirm everything is working, and enjoy getting back to cooking!
Frequently Asked Questions
How often should I check my pilot light?
You don’t need to check your pilot light regularly unless you notice an issue. It’s designed to stay lit. If it goes out unexpectedly, that’s when you’ll need to relight it following these steps. Frequent checks aren’t usually necessary for normal operation.
What if my pilot light flame is yellow instead of blue?
A yellow or sputtering flame usually indicates a dirty pilot orifice or an issue with gas pressure. You might need to gently clean the pilot assembly. If cleaning doesn’t resolve it, the problem could be with the gas supply itself, and you should contact a professional.
Can I leave the gas valve on if the pilot light won’t stay lit?
No, never leave the gas supply on if the pilot light won’t stay lit. This can lead to gas buildup and is a serious safety hazard. If you cannot get the pilot light to stay lit after a few tries, turn off the gas and seek professional assistance.
My cooker has multiple pilot lights; do I need to relight them all?
Most modern gas cookers have an electronic ignition for each burner and no standing pilot light. If your cooker has multiple pilot lights, it likely means each burner has its own. You’ll need to relight each one individually if they go out, following the same procedure for each.
When should I call a professional to fix my pilot light?
You should call a professional if you smell gas strongly, if the pilot light repeatedly goes out after relighting, if you can’t locate the pilot assembly, or if you’re uncomfortable performing any of the steps. Safety is always the priority with gas appliances.