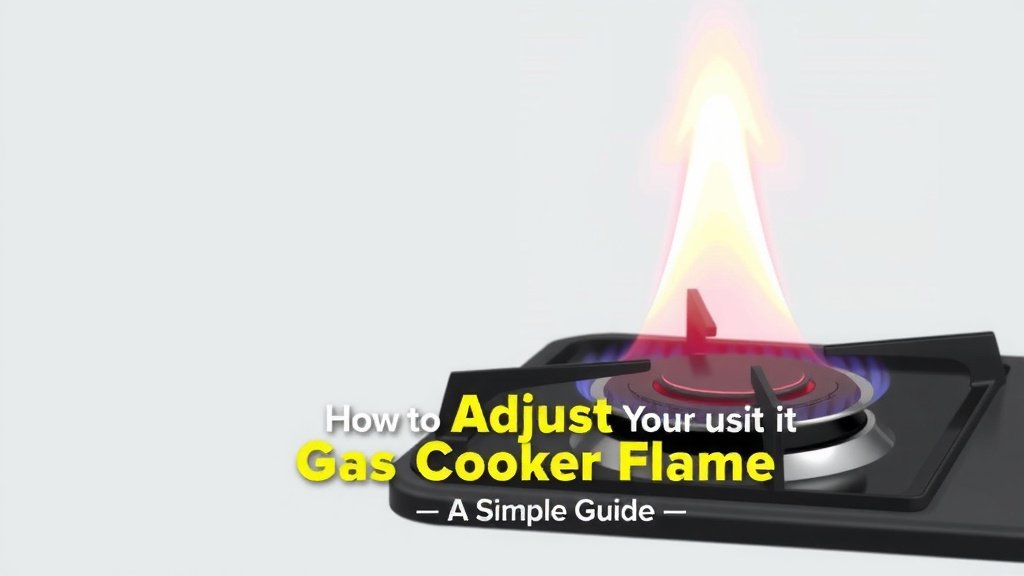
How to Adjust Your Gas Cooker Flame: A Simple Guide
You can easily adjust your gas cooker flame to get the perfect heat for cooking. Turning the gas control knob is usually the first step. Most knobs have a small screw that controls the pilot flame. Adjusting this screw helps regulate the main burner flame. Always ensure your cooker is turned off before making any adjustments.
Getting your gas flame just right makes a big difference in your cooking results. A flame that’s too high can burn food. One that’s too low won’t cook food effectively. We found that many people overlook this simple adjustment. Knowing how to set your flame ensures even cooking and saves you time and frustration.
- You can adjust your gas cooker flame using the control knobs.
- A small screw usually controls the pilot flame.
- Always turn off the cooker first.
- Proper flame adjustment ensures even cooking.
- Too high burns food, too low doesn’t cook well.
Let’s walk through exactly how to adjust that gas cooker flame step by step to get your cooking back on track.
“`htmlTuning Up Your Gas Cooker Flame
Getting your gas cooker flame to the perfect setting is simpler than you might think. You’re aiming for a consistent, healthy flame that cooks your food evenly. Let’s walk through how to make those adjustments.
Understanding Your Gas Burner Components
Before you touch anything, let’s get familiar with the parts. Knowing these will make the adjustment process much clearer.
The Control Knob: Your Main Interface
This is the knob you turn to light your burner and adjust the heat. Most knobs have an “Off,” “Low,” and “High” setting. Some might have additional markings for finer control. Your goal is to make sure the flame behaves as expected on each of these settings.
The Burner Assembly: Where the Magic Happens
This is the part that sits on top of your cooktop. It has holes or ports where the gas comes out and mixes with air to create the flame. You might see a central cap or cover on many burners. This needs to be seated correctly for the flame to be even.
The Orifice: The Gas’s Entry Point
This is a small opening, usually at the base of the burner assembly, where the gas enters. It’s critical for controlling the amount of gas flow. You generally don’t need to touch this part for basic flame adjustment.
Signs Your Gas Cooker Flame Needs Adjustment
How can you tell if your flame is off? It’s usually pretty obvious once you know what to look for.
The Color of the Flame
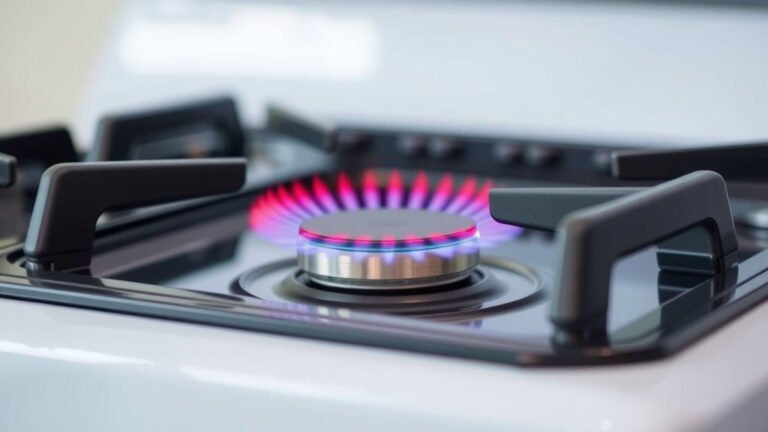
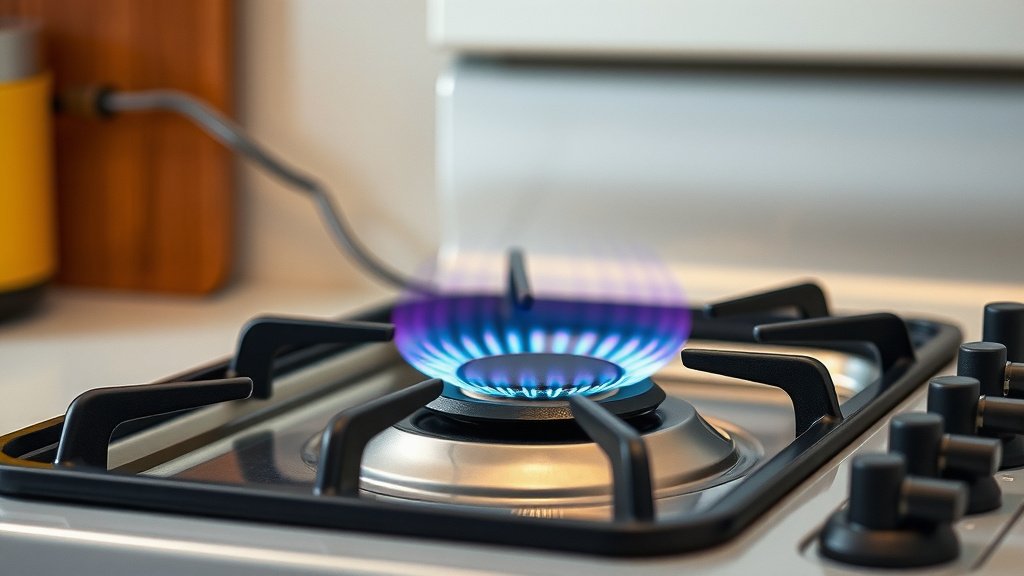
A healthy, efficient gas flame is typically blue. You might see a tiny bit of yellow or orange at the very tip. If your flame is mostly yellow, it can mean incomplete combustion. This can create soot and isn’t as efficient for cooking.
The Shape of the Flame
A good flame should be steady and consistent. It will lick up around the sides of your pot or pan. If the flame is weak, wispy, or seems to be dancing wildly, it’s a sign something needs tweaking. You’re looking for a flame that cups the bottom of your cookware nicely.
Uneven Heating
Does your food cook faster on one side than the other? This is a common symptom of an uneven flame. Adjusting the flame can help distribute heat more evenly across your cooking surface.
Step-by-Step Guide to Adjusting Your Flame
Now, let’s get hands-on. Remember, safety first!
Preparation and Safety Checks
Always start by ensuring your cooker is completely off. You don’t want any gas flowing while you’re working. Make sure the burner parts are cool to the touch. We found that many people skip this, but it’s a critical step to avoid burns.
Removing the Burner Grate and Cap
Lift off the metal grate that holds your pots and pans. Then, lift off the burner cap. This is usually a flat, round metal piece. It should lift straight up. If it’s stuck, give it a gentle wiggle. Make sure you note its orientation so you can put it back correctly.
Locating the Adjustment Screw (If Applicable)
This is where things can vary. Many modern gas cookers have sealed burner systems. These often don’t have user-adjustable screws. However, older models or some specific types might have a small screw. This screw is usually located underneath the burner assembly or on the gas control valve itself. You might need a thin, long screwdriver to reach it. Many manuals suggest this is the first place to look for fine-tuning.
If you can’t find a visible screw, don’t worry. The primary adjustment is usually done via the control knob itself. The internal workings handle the rest.
Adjusting the Flame with the Control Knob
With the burner cap off, turn on the gas for that specific burner. You’ll see the flame. Now, look at your control knob. Slowly turn it from “High” towards “Low.” Watch how the flame changes.
Troubleshooting the “High” Setting
If the flame on “High” is too large, often characterized by being mostly yellow and wavering, you might need to adjust the gas orifice or air shutter. However, for most users, this indicates a blockage or a need for professional servicing. We found that a strong, steady blue flame is ideal for high heat.
Fine-Tuning the “Low” Setting
This is where most users make adjustments. When you turn the knob to “Low,” you want a small, steady blue flame. If the flame goes out completely, or is too large and wafty, you need to adjust it. If there’s a small screw on the valve, you’d turn it clockwise to decrease the gas flow (smaller flame) or counter-clockwise to increase it (larger flame). Many experts suggest making these adjustments in very small increments (a quarter turn at a time).
Checking for Flame Stability
After adjusting, turn the knob back and forth between settings. Does the flame stabilize quickly? Does it remain blue across the range? If you hear a “whooshing” sound, it might indicate too much air, which could be an issue with the air shutter (often not user-adjustable). A steady blue flame that doesn’t flicker excessively is your goal.
Reassembling the Burner
Once you’re happy with the flame, turn off the gas. Make sure the burner assembly is dry. Carefully place the burner cap back on. It should sit flush and level. Then, replace the burner grate. Test the burner again to ensure everything is working correctly and the flame is stable.
When to Call a Professional
Sometimes, the issue is beyond a simple tweak. If you’ve tried these steps and the flame is still problematic, it’s time for expert help.
- If you smell gas, turn off the supply immediately and call your gas company or a qualified technician.
- If the flame is consistently yellow or orange, even after cleaning, it could be an air-to-gas mixture problem.
- If you hear unusual noises like loud hissing or popping, it’s not normal.
- If you cannot find an adjustment screw and the flame is still not right, it might require internal component adjustments.
Many manufacturers recommend professional servicing for issues related to gas pressure or internal valve adjustments. Trying to force adjustments can be dangerous (National Fire Protection Association guidelines). It’s always better to be safe than sorry when dealing with gas appliances.
Quick Checklist for Flame Adjustment
Here’s a quick rundown to keep you on track:
- Ensure the cooker is off and cool.
- Remove the burner grate and cap.
- Locate adjustment screw (if present).
- Turn gas on and observe the flame.
- Adjust knob slowly; make small screw turns if needed.
- Reassemble and test the flame again.
Conclusion
You’ve learned how to tune up your gas cooker’s flame for better cooking. Remember, a healthy, steady blue flame is your goal. It ensures your food cooks evenly and efficiently. Most adjustments involve checking burner caps and fine-tuning with the control knob. If you can’t find an adjustment screw or the flame remains problematic, don’t hesitate to call a professional. Prioritize your safety always.
Your next step is to visually inspect your burner flames. If they look off, follow the steps outlined to make those simple adjustments and get back to confident cooking.
Frequently Asked Questions
What does a yellow gas cooker flame mean?
A mostly yellow or orange flame typically indicates incomplete combustion. This means your burner isn’t mixing air and gas properly. It’s less efficient for cooking and can create soot on your cookware.
Can I adjust the flame on a brand new gas cooker?
New gas cookers usually come with factory-set flames. You generally don’t need to adjust them right away. If you notice issues with the flame color or stability soon after installation, consult your user manual or contact the manufacturer.
What if my burner flame goes out when I turn the knob to low?
This usually means the gas flow is too low for that burner. You’ll need to adjust the gas control valve or the pilot screw (if applicable) to increase the flow slightly. Make small adjustments until the flame stays lit but is still at its lowest setting.
Do I need special tools to adjust a gas cooker flame?
Often, no special tools are required. You might only need to lift off burner grates and caps. If your model has an adjustment screw, you may need a thin, long screwdriver to reach it. Always check your cooker’s manual for specific instructions.
How often should I check and adjust my gas cooker flame?
You don’t need to adjust your flame regularly unless you notice a problem. It’s a good idea to visually inspect your flames periodically. If you see changes in color or stability, that’s your cue to perform an adjustment.