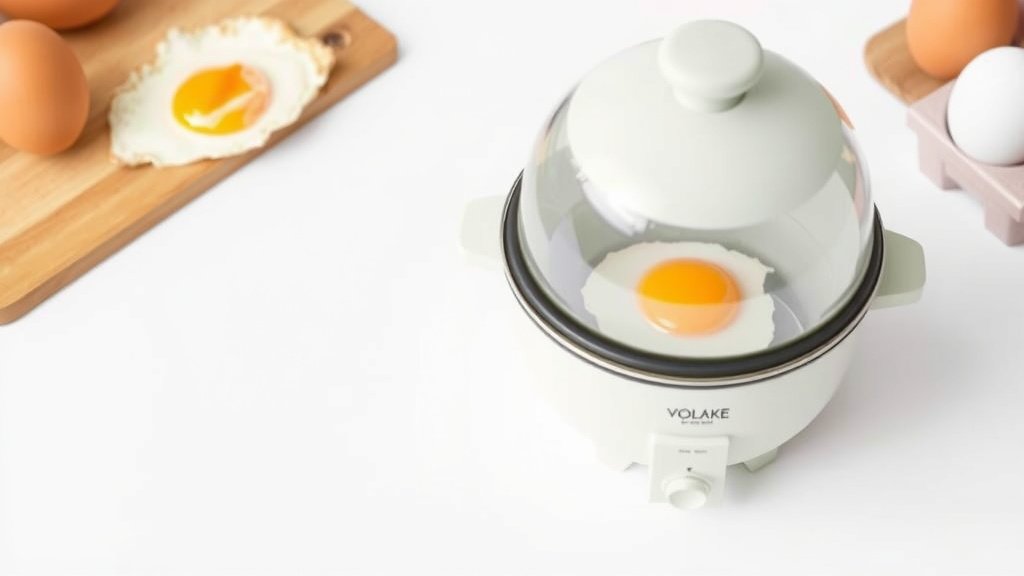
Master Your Egg Cooker: Simple Steps for Perfect Eggs
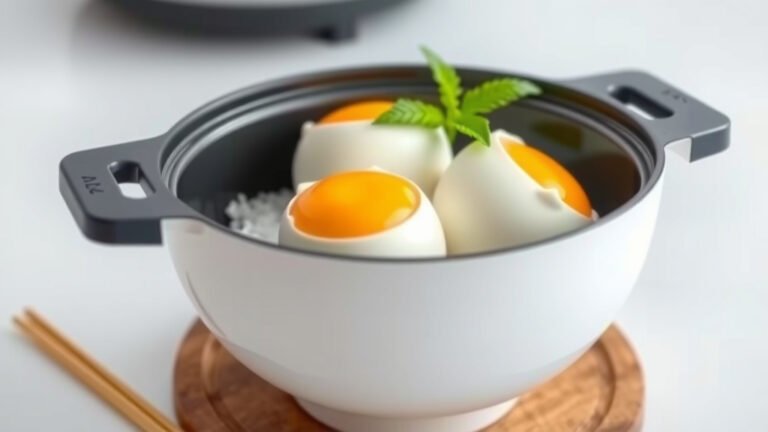
Using an egg cooker is surprisingly simple and a fantastic way to make perfectly cooked eggs every time. You essentially add a specific amount of water, place your eggs, and let the cooker work its magic. It takes the guesswork out of boiling, poaching, or scrambling your eggs.
Egg cookers are designed for convenience, making them a hit in busy kitchens. They can handle everything from soft-boiled to hard-boiled eggs with minimal effort from you. Many models also offer poaching and scrambling functions, giving you versatile breakfast options without much fuss.
- Add water to the base.
- Place eggs in the holder.
- Select your desired egg setting.
- Let the cooker do the rest!
Ready to make your mornings easier? Let’s walk through exactly how to use your egg cooker, step by step.
Mastering Your Egg Cooker for Perfect Eggs
So, you’ve got a shiny new egg cooker, and you’re wondering how to get those consistently amazing eggs. You’re in the right place! Using an egg cooker is all about following a few simple steps. It’s designed to take the fuss out of breakfast prep. Let’s dive into how to make yours shine.
Getting Started: What’s Inside the Box?
Before you even plug it in, take a moment to get acquainted with your cooker. Most egg cookers come with a few key components. You’ll usually find the main heating base, an egg holder tray, and a measuring cup for water. Some might include a lid or even a small poaching tray.
Understanding Your Measuring Cup
That little measuring cup is your secret weapon. It’s not just for show; it’s calibrated to dispense the *exact* amount of water needed for your desired egg doneness. Most cups have lines indicating soft, medium, and hard-boiled eggs. Always use the one that came with your cooker. Using a different cup can throw off the steam and cooking time.
The Role of Water and Steam
Here’s the magic: your egg cooker uses steam to cook your eggs. You add a specific amount of water to the heating plate. When you turn the cooker on, the water heats up and turns into steam. This steam gently and evenly cooks your eggs to perfection. The amount of water you use directly controls how long the cooker steams. Less water means less steam time, resulting in softer eggs. More water means longer steaming, leading to harder eggs.
Cooking Boiled Eggs: The Classic Choice
Boiled eggs are what most egg cookers do best. It’s a straightforward process that yields reliable results.
Step-by-Step Boiled Egg Perfection
First, fill the measuring cup with cold water. Use the line that corresponds to the way you like your eggs. Do you prefer a runny yolk for dipping toast? Go for the soft-boil line. A firmer, yet still slightly moist yolk? Aim for medium. Want fully cooked yolks? The hard-boil line is your friend.
Next, carefully pour this water into the heating plate at the bottom of the cooker. Make sure there’s no water splashing onto the sides. Then, gently place your eggs into the holder tray. You can usually cook several eggs at once, depending on your model. Don’t overcrowd the tray.
Place the tray with the eggs into the cooker base. Put the lid on top. Now, plug in your egg cooker and turn it on. The cooker will heat the water, create steam, and cook the eggs. You’ll know it’s done when the cooker automatically shuts off and often beeps. This usually means the water has evaporated.
Let the eggs sit in the cooker for about a minute after it finishes. This allows them to cool slightly and prevents cracking. Then, carefully remove the tray and immediately plunge the eggs into a bowl of ice water. This stops the cooking process and makes them easier to peel. Many people find this ice bath crucial for easy peeling (National Center for Home Food Preservation).
Peeling Tips for Easy Success
Peeling can be the trickiest part of boiled eggs. After the ice bath, gently tap the wide end of the egg on a hard surface. Then, roll it lightly to crackle the shell all over. Start peeling from the wider end, where the air pocket usually is. The shell should come off more smoothly if the eggs are fresh and properly chilled. Sometimes, a tiny bit of the white might stick, but a good rinse under cool water usually helps.
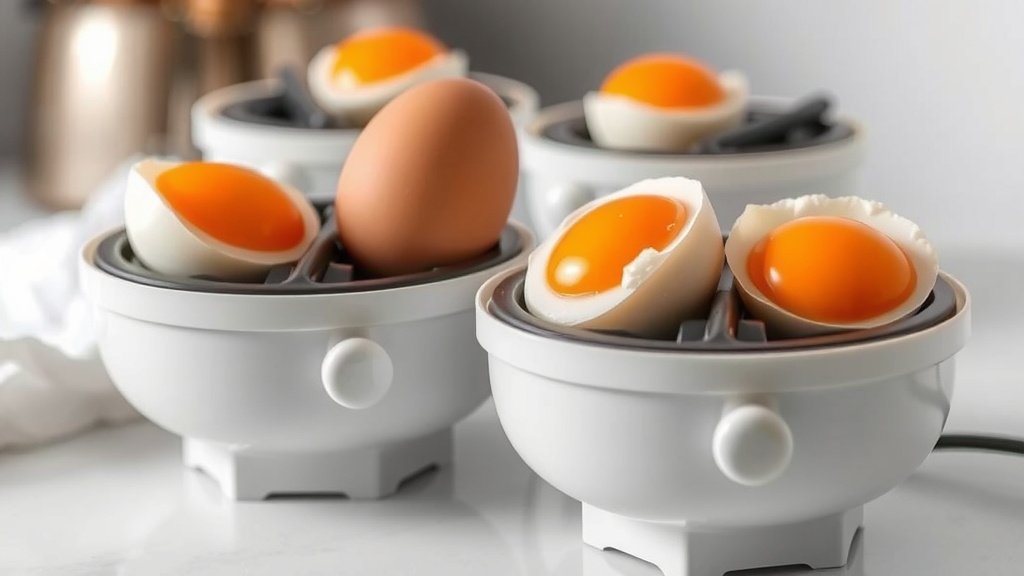
A Quick Guide to Egg Doneness Levels
The water measurement is key here. We’ve found that these general guidelines work well for most standard egg cookers:
| Desired Doneness | Water Level (approx.) | Approximate Cooking Time |
|---|---|---|
| Soft-Boiled (runny yolk) | 1 unit (e.g., 1 mark on cup) | 6-10 minutes |
| Medium-Boiled (jammy yolk) | 2 units (e.g., 2 marks on cup) | 10-14 minutes |
| Hard-Boiled (firm yolk) | 3 units (e.g., 3 marks on cup) | 14-18 minutes |
Remember, these are starting points. Your cooker and egg size might slightly alter results. Experimentation is your friend!
Beyond Boiled: Poaching and Scrambling
Many modern egg cookers offer more than just boiling. If yours has poaching or scrambling functions, you’re in for a treat. These functions usually require special trays that come with your cooker.
How to Poach an Egg
For poaching, you’ll likely use a separate poaching tray with small indentations. Lightly grease these indentations with a tiny bit of oil or cooking spray. Fill the water reservoir as instructed for poaching (often less water than for hard-boiled). Crack one egg into each greased indentation on the poaching tray. Place the tray into the cooker, put the lid on, and turn it on.
The steam will cook the eggs gently, creating perfectly poached eggs with tender whites and runny yolks. Once the cooker signals it’s done, carefully remove the poaching tray. You can then slide the poached eggs onto your toast or breakfast plate. It’s a fuss-free way to enjoy poached eggs without the constant attention a stovetop method requires.
Making Scrambled Eggs
Scrambled eggs in an egg cooker are surprisingly easy. You’ll typically use a specific scrambling tray or dish. Whisk your eggs with a little milk or water, salt, and pepper in a separate bowl. Pour the egg mixture into the designated scrambling dish.
Add the required amount of water to the base of the cooker. Place the scrambling dish with the eggs onto the heating element. Close the lid and start the cooker. The steam will cook the eggs from below and around, setting them into a fluffy scramble. You might need to stir them once halfway through for even cooking. This method avoids burnt bottoms and overcooked, rubbery results. It’s a hands-off approach to fluffy scrambled eggs.
Keeping Your Egg Cooker Clean and Maintained
A clean egg cooker works better and lasts longer. It’s a simple process.
Daily Cleaning Steps
After each use, once the cooker has cooled down, unplug it. Discard any leftover water. Wash the egg tray, lid, and measuring cup with warm, soapy water. Rinse them thoroughly and let them air dry or dry with a soft cloth.
Tackling Mineral Buildup
Over time, you might notice a white, chalky residue on the heating plate. This is mineral buildup from the water. To remove it, fill the heating plate with a mixture of equal parts white vinegar and water. Let it sit for about 30 minutes to an hour. Then, wipe the plate clean with a soft cloth or sponge. Rinse the plate thoroughly with plain water and wipe it dry.
This vinegar treatment is recommended about once a month, or more often if you have very hard water. Keeping the heating element clean ensures efficient heating and proper steam production. Many experts suggest this regular cleaning to prevent damage (Consumer Reports).
Your Quick Egg Cooker Checklist
Ready to cook? Keep these points in mind:
- Check your cooker’s manual for specific water amounts.
- Always use the included measuring cup.
- Pre-chill eggs for easier peeling.
- Use an ice bath immediately after cooking.
- Clean your cooker regularly for best performance.
- Experiment with water levels to find your perfect doneness.
Conclusion
You’ve now got the roadmap to becoming an egg cooker pro! From perfectly soft-boiled yolks to fluffy scrambled eggs, your cooker is a versatile kitchen ally. Remember to always use the correct water measurements with your dedicated cup and give those eggs an ice bath for easy peeling. Consistent use and a quick clean after each cycle will keep your appliance running smoothly for countless delicious breakfasts to come. Now, go ahead and start enjoying stress-free egg perfection every morning!
Frequently Asked Questions
How do I know when my egg cooker is done?
Most egg cookers will automatically shut off when the water has completely evaporated, signaling the end of the cooking cycle. Many models also emit a beep to alert you. You can also time it based on the water measurement you used.
Can I use regular tap water in my egg cooker?
Yes, you can use regular tap water. However, if your tap water is particularly hard, you may notice mineral buildup on the heating plate over time. This is why regular cleaning with a vinegar solution is recommended.
What is the best way to store cooked eggs from the cooker?
Once your eggs are cooked and cooled in an ice bath, store them in the refrigerator in an airtight container. They will keep well for about 5-7 days. Avoid storing them in their shells if you plan to peel them later; peel them just before eating for best results.
My egg cooker seems to be taking longer than usual. What could be the problem?
A common reason for longer cooking times is mineral buildup on the heating plate, which can reduce its efficiency. Ensure the heating plate is clean and free of any residue. Also, double-check that you are using the correct amount of water for your desired doneness.
Can I cook eggs directly in the heating plate without the tray?
No, you should never place eggs directly onto the heating plate without using the designated egg holder tray or poaching/scrambling accessories. The tray is designed to hold the eggs safely and ensure even cooking with the steam produced.