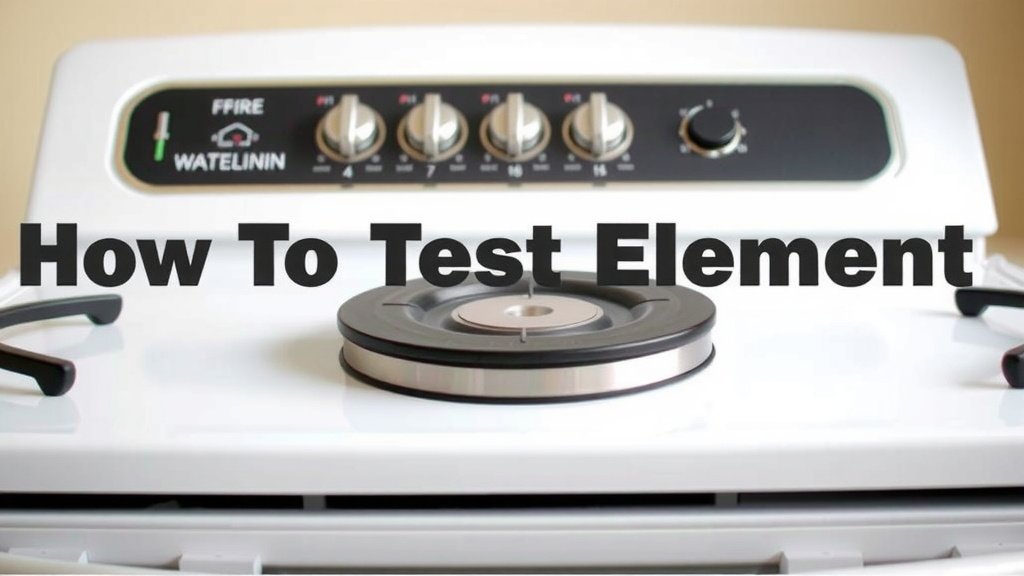
How to Test a Cooker Element: A Simple Guide
Testing a cooker element is surprisingly straightforward. You can often diagnose a faulty element using a simple multimeter. This tool helps you check if the element is receiving power and if it’s broken.
When your oven isn’t heating properly, a bad element is a common culprit. Ignoring this could mean longer cooking times or unevenly cooked food. We found that checking it yourself can save you the cost of a repair visit.
- Identify a faulty cooker element.
- Use a multimeter for testing.
- Check for power and continuity.
- Safety is key when testing.
- Troubleshoot common element issues.
Ready to find out if your cooker element is the source of your kitchen woes? Let’s walk through how to test it step by step.
“`htmlChecking Your Cooker’s Heating Elements
When your oven or stovetop isn’t getting hot, a faulty heating element is often the problem. Fortunately, you can test these elements yourself with a common tool. We found that this process is less intimidating than it sounds. Let’s figure out if your cooker’s elements are working correctly.
Why Your Cooker Element Might Be Failing
Cooker elements are basically robust metal coils. They heat up when electricity passes through them, much like the filament in an old-fashioned light bulb. Over time, these coils can degrade. They might get brittle, corrode, or even break. This can happen due to consistent heating and cooling cycles, or sometimes, a power surge.
Common Signs of a Bad Element
You’ll usually notice a few tell-tale signs when an element has given up the ghost. For an oven, it might be that the oven simply doesn’t heat up at all. Or perhaps, it takes an unusually long time to reach your set temperature. Uneven cooking is another big clue. If one part of your casserole is burnt while another is still cold, the element might be the issue. For stovetop elements, you might see that one burner doesn’t glow red, or it heats up very slowly and unevenly.
Safety First: What You Need to Know
Before you start poking around your cooker, safety is the absolute number one priority. Electricity is dangerous. You absolutely must unplug your cooker from the wall outlet. Don’t just turn it off. Make sure it’s completely disconnected from the power source. Many people also like to turn off the circuit breaker for the cooker, just to be extra safe. Always work in a dry area and ensure your hands are dry.
Tools You’ll Need
The most important tool for this job is a multimeter. You can find these at most hardware stores or online. They’re relatively inexpensive. You’ll also need a screwdriver set to remove any panels on your cooker. Sometimes, you might need a nut driver or a specific type of wrench, depending on your cooker’s model.
Testing Your Oven Elements with a Multimeter
Oven elements are typically found at the top and bottom of the oven cavity. Sometimes, there’s also a broil element at the very top. Testing them involves checking for continuity. Continuity means there’s an unbroken path for electricity to flow. If the path is broken, the element is faulty.
Locating and Accessing the Elements
You’ll likely need to access the back of your oven or remove a panel to get to the element’s connections. Consult your cooker’s manual if you’re unsure how to do this. Many manuals show diagrams of where to find different components. We found that often, a simple back panel removal is all that’s needed.
Performing the Continuity Test
Once you can see the electrical terminals where the element connects to the oven’s wiring, you can test it. Set your multimeter to the continuity setting. This is usually indicated by a symbol that looks like a sound wave or a diode. Touch the multimeter’s probes to the two terminals of the element. If you hear a beep or see a low resistance reading (often close to zero ohms), the element has continuity and is likely good. If there’s no beep and the reading is infinite or very high, the element is broken and needs replacement.
Checking for Shorts
Another test is to check for a short circuit. This happens when electricity tries to flow to the wrong place, like the cooker’s metal casing. To do this, touch one probe to one of the element’s terminals and the other probe to the metal casing of the oven or the element bracket. You should get no continuity reading (no beep, infinite resistance). If you get a reading, it means the element is shorted and is definitely bad.
Testing Your Stovetop Burners
Testing stovetop elements, especially the coil type, is quite similar. These are usually easier to access. You might be able to simply lift the burner coil or remove a protective plate underneath.
Accessing Stovetop Element Connections
For coil-top stoves, the connections are typically beneath the cooktop surface. You might need to lift the entire cooktop or remove a panel at the front or back. Again, your cooker’s manual is your best friend here. For smooth-top electric ranges, the elements are under the glass. You’ll need to access them from underneath, which often involves removing a front or bottom panel.
Continuity and Short Test for Burners
The testing process is the same as for oven elements. Set your multimeter to continuity mode. Touch the probes to the terminals where the burner connects. A beep or low resistance indicates continuity. If there’s no beep, the burner element is broken. To check for shorts, touch one probe to a terminal and the other to the stove’s metal frame or the burner’s mounting bracket. You shouldn’t get any reading. A reading here means a short, and the element needs replacing.

Interpreting Your Multimeter Readings: A Quick Guide
Let’s break down what those multimeter readings actually mean. It’s like learning a new language for your cooker!
| Test Type | Expected Reading (Good Element) | Reading for a Bad Element | What It Means |
|---|---|---|---|
| Continuity Test (Element Terminals) | Beep or ~0-50 Ohms | No beep or “OL” (Over Limit) / Infinite Resistance | Element is intact / Element is broken (open circuit) |
| Short Test (Terminal to Ground) | No beep or “OL” / Infinite Resistance | Beep or low resistance reading | No current leakage / Element is shorted to ground |
We found that most common issues are open circuits. This means the coil has simply broken somewhere along its length. A short circuit is less common but also indicates a faulty element.
A Quick Checklist for Testing Your Elements
Ready to put your skills to the test? Here’s a simple checklist to keep you on track:
- Ensure the cooker is unplugged. Double-check this!
- Locate the element you want to test.
- Access the electrical terminals for that element.
- Set your multimeter to continuity mode.
- Test for continuity across the element’s terminals.
- Test for shorts by touching a terminal and the cooker’s frame.
Conclusion
You’ve learned how to test your cooker’s heating elements using a multimeter. Checking for continuity and shorts is a straightforward process that can save you time and money. Remember, safety is paramount – always unplug your appliance first. By following these steps, you can accurately diagnose whether a faulty element is the cause of your cooking troubles. If your tests indicate a bad element, the next step is usually to replace it. Don’t let a slow or non-heating cooker keep you from enjoying your favorite meals!
Frequently Asked Questions
Can I test my cooker element without a multimeter?
While a multimeter is the most accurate tool, you can sometimes spot visual damage. Look for obvious breaks, burns, or corrosion on the element coil. However, this won’t tell you if the element has internal breaks or electrical shorts, so a multimeter is highly recommended for a definitive answer.
What does it mean if my multimeter shows “OL” or infinite resistance?
If your multimeter displays “OL” (which stands for “Over Limit”) or shows infinite resistance during a continuity test, it means the electrical path is broken. For a cooker element, this indicates an open circuit, meaning the element itself has failed and needs to be replaced.
How do I know if my oven element is shorted?
A short circuit occurs when electricity finds an unintended path, often to the metal casing. If your multimeter beeps or shows a low resistance reading when you test between an element terminal and the cooker’s metal frame, it’s shorted. This is a definite sign the element is faulty and needs replacing.
Is it safe to touch the cooker element terminals with the power on?
Absolutely not! It is never safe to touch any electrical components, including element terminals, while the cooker is plugged in. Always disconnect the power at the wall outlet and, for extra safety, turn off the corresponding circuit breaker before beginning any testing.
What should I do if the element seems fine but my cooker still isn’t heating?
If your multimeter tests show that the heating elements have continuity and no shorts, the problem might lie elsewhere. It could be an issue with the oven’s thermostat, control board, wiring harness, or even a faulty selector switch. In these cases, it’s often best to consult a qualified appliance repair technician.