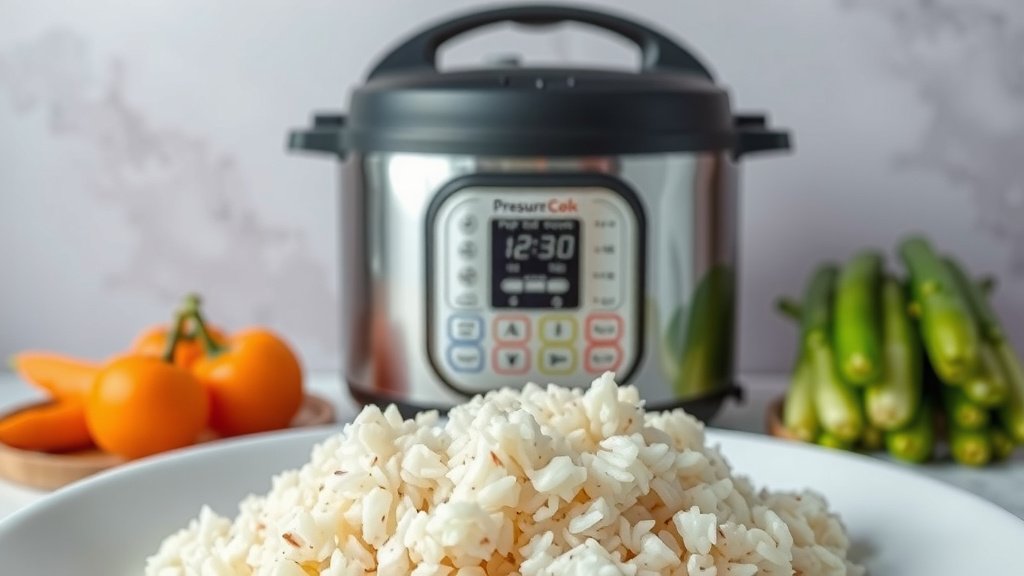
Perfect Pressure Cooker Rice Timing: How Long to Cook
You want to know how long to pressure cook rice? Generally, you’ll pressure cook most white rice for about 3-5 minutes on high pressure, followed by a 10-minute natural release. Brown rice usually takes a bit longer, around 20-25 minutes with a 10-minute natural release. This is a quick and easy way to get perfectly cooked rice every time.
Pressure cooking rice is a fantastic shortcut. It locks in moisture and cooks the grains evenly. We found that different types of rice, like basmati or jasmine, might have slightly different timings. Knowing the right cooking time for your specific rice type is key to avoiding mushy or undercooked grains. It’s about finding that sweet spot for fluffy, delicious rice.
TL;DR:
- White rice: 3-5 minutes high pressure + 10 min natural release.
- Brown rice: 20-25 minutes high pressure + 10 min natural release.
- Natural release is important for texture.
- Always check your rice cooker’s manual for specific guidance.
Ready to get started? Let’s dive into the exact timings and tips for pressure cooking your favorite types of rice perfectly.
You’ve got your rice, your pressure cooker is ready, and you’re probably wondering, “What’s the magic number for cook time?” It’s not as complicated as you might think! Let’s break down how long you should pressure cook your rice to get that perfect fluffy texture every single time.
Pressure Cooking Rice: Your New Best Friend
Pressure cooking rice is a game-changer. Forget waiting forever for a pot to boil or keeping a watchful eye. Your trusty pressure cooker handles it all. It uses steam pressure to cook your grains faster and more evenly. This method is fantastic for busy weeknights or when you just want delicious rice without the fuss.
Understanding Rice Types and Their Cooking Times
Not all rice is created equal, and that’s true for pressure cooking too. The type of rice you choose will affect the cooking time. Long-grain, short-grain, white, brown, basmati, jasmine – they all have their own little quirks.
White Rice: The Speedy Winner
When you think of quick and easy rice, white rice usually comes to mind. It cooks up relatively fast. For most long-grain white rices like basmati or jasmine, you’re looking at a very short cooking time.
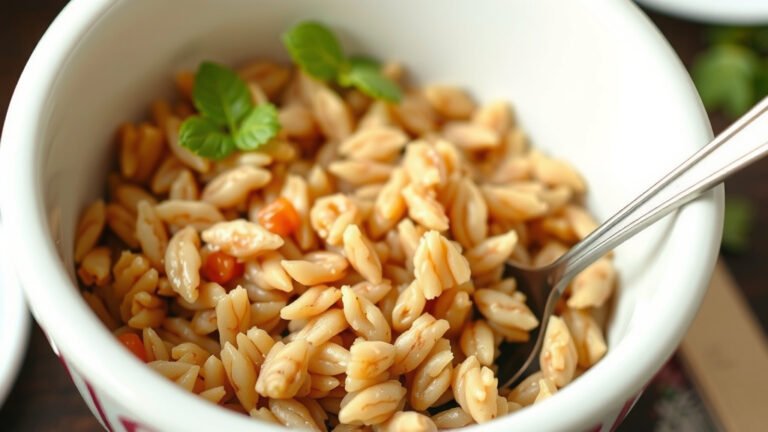
We found that a standard white rice, like a medium-grain variety, cooks beautifully in about 3 minutes on high pressure. After the cooking cycle finishes, don’t just open it up! That’s where the magic of natural release comes in. Let it sit for 10 minutes. This allows the steam to gently finish cooking the grains. This combination means you avoid that dreaded crunchy center and get perfectly tender rice.
Brown Rice: A Little More Patience Required
Brown rice is a whole grain. It has its bran and germ intact, which gives it more fiber and nutrients. Because of this, it needs a bit more time and moisture to soften up properly.
Many sources suggest that brown rice typically needs around 20-25 minutes on high pressure. Yes, it’s a significant difference from white rice! Again, the natural release is non-negotiable here. A 10-minute natural release after cooking is usually sufficient for brown rice. This extended cooking and release time helps break down the tougher hull, making your brown rice tender and delicious, not chewy or hard. We’ve found this timing works wonders for most standard brown rice varieties.
The Crucial Role of Natural Release
Let’s talk about natural release. It sounds fancy, but it’s simply letting your pressure cooker depressurize on its own after the cooking cycle ends. You don’t flip the quick-release valve.
Why is this so important for rice? Think of it like a gentle steeping process. As the pressure slowly drops, the steam inside the pot continues to cook the rice. This allows the moisture to distribute evenly. Many cooking experts (like those at America’s Test Kitchen) often highlight natural release for grains. Skipping this step can lead to rice that’s a bit too firm or even gummy. A 10-minute natural release is a great starting point for most rice types.
Quick Release vs. Natural Release for Rice
You might be tempted to use the quick-release option to save time. While quick release is great for some foods (like vegetables or certain meats), it’s generally not ideal for rice. If you quick-release the steam immediately after cooking, you’re essentially stopping the cooking process abruptly. This can leave your rice undercooked or with a less desirable texture. Natural release gives the rice the time it needs to finish cooking perfectly. It’s worth the extra few minutes!
Timing is Everything: A Quick Reference Guide
To make things super simple, here’s a handy chart. This will help you quickly find the right cooking time for your rice. Remember, these are general guidelines, and your specific rice cooker model might have slight variations. Always check your manual!
| Rice Type | Pressure Level | Cook Time | Natural Release Time |
|---|---|---|---|
| White Rice (Long-grain, Basmati, Jasmine) | High | 3-5 minutes | 10 minutes |
| White Rice (Medium/Short-grain) | High | 2-3 minutes | 10 minutes |
| Brown Rice (Long-grain, Short-grain) | High | 20-25 minutes | 10 minutes |
| Wild Rice (Technically a grass, but often cooked similarly) | High | 15-20 minutes | 10 minutes |
| Sushi Rice (Often a short-grain white rice) | High | 3 minutes | 10 minutes |
Water-to-Rice Ratio Matters Too!
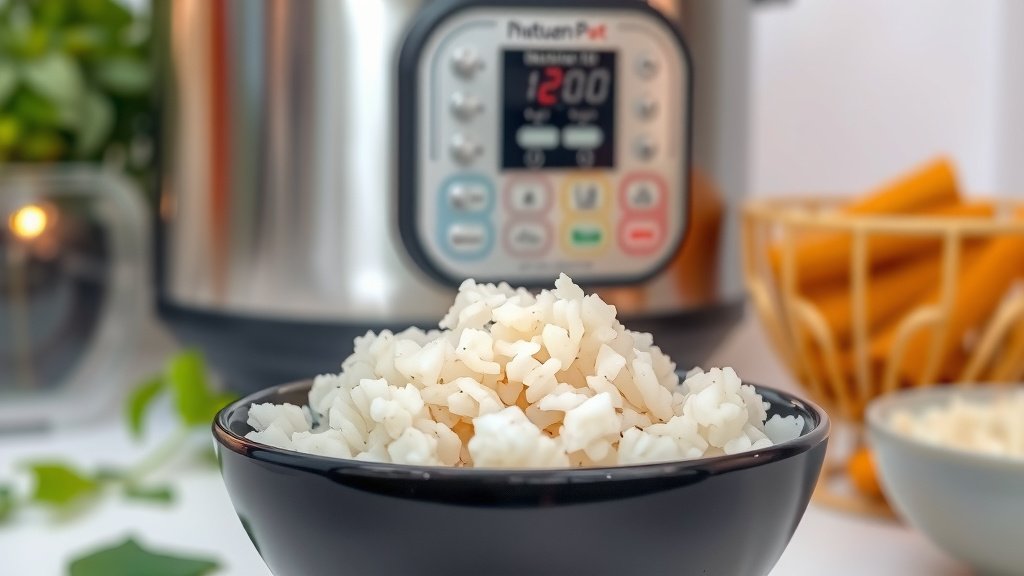
While we’re talking about timing, you can’t forget the water. The ratio of rice to liquid is just as important as the cook time. Too little water and your rice will be dry and undercooked. Too much, and you’ll get mushy, sticky rice.
A common starting point for white rice is a 1:1 ratio (one cup of rice to one cup of water). For brown rice, you might need a little more, perhaps 1:1.25 or 1:1.5. These ratios can vary slightly based on your cooker and the specific brand of rice. We’ve found that checking the rice packaging often provides the best water ratio recommendations.
Tips for Pressure Cooker Rice Success
You’re almost there! A few extra tips can ensure your rice comes out perfectly every time. Think of these as the little secrets to rice-cooking nirvana.
Rinsing Your Rice
Should you rinse your rice? For most types of white rice, rinsing helps remove excess starch. This prevents the rice from becoming too sticky or clumpy. Just place the rice in a fine-mesh sieve and run cold water over it until the water runs clear. For brown rice, rinsing is less critical but can still be done.
Pot-in-Pot Method for Delicate Rice
If you’re making a very small amount of rice or want to be extra careful, consider the pot-in-pot method. This involves placing a heat-safe bowl filled with your rice and water inside the main pressure cooker pot, which contains some water at the bottom. This creates a gentler cooking environment.
Don’t Overfill Your Pressure Cooker
Your pressure cooker has maximum fill lines for a reason! Rice expands quite a bit when cooked. Filling your pot more than two-thirds full with uncooked rice and water is generally not recommended. Always check your pressure cooker’s manual for specific guidelines on pressure cooker safety and fill levels.
When in Doubt, Consult Your Manual
Every pressure cooker is a little different. Some have specific rice settings, while others require you to manually set the time and pressure. Your appliance’s manual is your best friend. It will provide the most accurate timings and water ratios for your specific model. Many manuals also offer helpful tips for cooking grains.
Your Pressure Cooking Rice Checklist:
- Know your rice type: White, brown, or other.
- Measure accurately: Use the correct rice and water ratio.
- Rinse your rice: Unless the package says not to.
- Set the right pressure: Usually High for rice.
- Time it right: Use the guide, but check your manual too.
- Embrace natural release: Let it sit for 10 minutes.
Conclusion
You’ve learned that pressure cooking rice is a speedy and effective method for getting fluffy, perfectly cooked grains. Remember, the key differences lie in the cook time: 3-5 minutes for white rice and a longer 20-25 minutes for brown rice, with a 10-minute natural release always being your friend. You’ve got the ratios, the rinsing tips, and the importance of your manual.
Now it’s time to put this knowledge to the test! Grab your favorite rice, set your pressure cooker, and enjoy delicious, stress-free rice. Happy cooking!
Frequently Asked Questions
Can I pressure cook rice without a natural release?
While you can quick-release the pressure, it’s generally not recommended for rice. Natural release allows the steam to gently finish cooking the grains, ensuring a better texture. Skipping it can result in undercooked or gummy rice.
What happens if I use too much or too little water for pressure cooker rice?
Using too little water will lead to dry, undercooked rice. Conversely, too much water can make your rice mushy and sticky. Always aim for the correct water-to-rice ratio, often starting with 1:1 for white rice and slightly more for brown rice.
How do I know if my pressure cooker needs a different cook time than what’s listed?
Your pressure cooker’s manual is your ultimate guide. Models can vary, and some may have specific rice settings or require slight adjustments to timing. Always consult your appliance’s instructions for the most accurate results.
Can I cook different types of rice at the same time in a pressure cooker?
It’s usually best to cook one type of rice at a time. Different rice varieties have distinct cooking requirements, including time, water ratios, and preferred release methods. Cooking them together can lead to uneven results.
Why is rinsing rice important before pressure cooking?
Rinsing rice, especially white rice, helps remove excess surface starch. This prevents the grains from sticking together and becoming overly gummy or clumpy. For brown rice, rinsing is less critical but can still be done.