Pressure Cook Beans: Perfect Timing Guide
Pressure cooking beans can drastically cut down your cooking time. You can often cook most dried beans in about 20 to 45 minutes under high pressure. This is much faster than traditional stovetop methods, which can take hours. Remember, this time is for the actual cooking phase, not including the time it takes for the pressure cooker to build pressure or release it.
The exact timing depends on the type of bean you’re using and whether you’ve soaked them beforehand. Smaller beans like lentils cook much quicker than larger ones like chickpeas. Soaking beans overnight can sometimes shorten the pressure cooking time, but it’s not always necessary for achieving tender beans. You’ll find that the pressure cooker is a true kitchen hero for weeknight meals.
- Dried beans can be cooked in 20-45 minutes in a pressure cooker.
- Cooking time varies by bean type and soaking.
- Smaller beans cook faster than larger ones.
- Pressure build-up and release time are extra.
- Soaking can sometimes reduce cooking time.
Ready to get your beans perfectly cooked without the long wait? Let’s walk through the typical timings and what you need to know to get those beans tender and delicious.
Pressure Cooking Dried Beans: The Magic Timing Guide
So, you’re wondering how long to pressure cook beans? It’s a fantastic question, and the answer is both simple and a little nuanced. Think of your pressure cooker as a super-powered stovetop. It uses steam pressure to cook food much faster. Most common dried beans, like black beans or kidney beans, can go from dry to tender in about 20 to 45 minutes of active cooking time. This is a huge win for weeknight dinners!
But wait, there’s a bit more to know. The exact time depends on a few factors. We’ll break them down so you can get perfectly cooked beans every single time. It’s really about understanding your beans and your cooker.
Understanding Pressure Cooker Bean Timings
The core of pressure cooking beans lies in the high-pressure cooking time. This is the period when your cooker is actively steaming and building pressure. It’s where the magic happens, transforming hard little beans into creamy delights. Many recipes offer these times as a starting point.
Factors Influencing Your Cook Time
You’ve got a few things that can nudge the cooking time up or down. It’s like baking – a little variation here or there can matter. Let’s look at what influences how long your beans need in the cooker.
Bean Type Matters a Lot
This is probably the biggest factor. Smaller beans cook faster than larger ones. Lentils, for example, are tiny and practically fly through the pressure cooker. On the other hand, chickpeas, with their larger size and denser texture, need a bit more persuasion. We found that smaller beans might only need 15-20 minutes, while larger ones can take closer to 30-40 minutes.
The Soaking Question: Does it Help?
You’ve probably heard about soaking beans. Does it actually cut down pressure cooking time? The research is a bit mixed, but generally, soaking can slightly reduce cooking time. It helps beans absorb water, which can make them cook more evenly and a bit faster. Some sources suggest soaking can reduce pressure cooking time by about 5-10 minutes for larger beans.
However, many modern electric pressure cookers are powerful enough to cook beans perfectly well even without soaking. If you’re short on time or forgot to soak, don’t worry! You can often skip this step. Many recipes now cater to the “no-soak” method.
Altitude Adjustments
Living at a higher altitude? You might need to adjust your cooking times. Water boils at a lower temperature the higher you go. This means your pressure cooker might not reach the same intense pressure it would at sea level. Many sources recommend adding a few extra minutes to your cooking time for every 1,000 feet above sea level.
For instance, if a recipe calls for 30 minutes at sea level, you might need 32-35 minutes if you’re living around 5,000 feet. It’s a small adjustment, but it can make a big difference in bean tenderness.
A Visual Guide to Bean Cooking Times
To make things super easy, we’ve put together a quick guide. These are general times for high pressure, assuming you are *not* soaking your beans beforehand. Remember, these are estimates, and your specific pressure cooker and bean batch might vary slightly.
Here’s a handy table to help you plan:
| Bean Type | High Pressure Time (Minutes) | Natural Release Time (Minutes) |
|---|---|---|
| Black Beans | 30-35 | 10-15 |
| Kidney Beans | 30-35 | 10-15 |
| Pinto Beans | 30-35 | 10-15 |
| Chickpeas (Garbanzo Beans) | 35-45 | 15-20 |
| Lentils (Brown, Green) | 15-20 | 10 (Quick Release is okay) |
| Navy Beans | 25-30 | 10-15 |
| Cannellini Beans | 25-30 | 10-15 |
The Importance of Pressure Release Time
Now, let’s talk about something often overlooked: the pressure release time. This is just as important as the cooking time itself! After your beans have cooked under pressure, you need to let the pressure come down.
Natural vs. Quick Release
There are two main ways to release pressure: natural and quick. For most beans, especially larger ones, natural release is best. This means you just let the cooker sit after the cooking time is up. The steam slowly dissipates on its own.
Natural release allows the beans to finish cooking gently. It prevents them from bursting or becoming mushy. Many experts suggest a natural release of at least 10-15 minutes for most beans. For lentils, a quick release is often fine, as they cook so fast and are less likely to overcook.
Why Release Time Matters
Think of it like resting a steak after grilling. That resting period lets the juices redistribute. Similarly, letting your beans rest under decreasing pressure helps them absorb any remaining liquid and firm up slightly. This results in perfectly tender beans that aren’t falling apart. Skipping or rushing the release can lead to watery beans or beans that are still a bit too firm in the center.
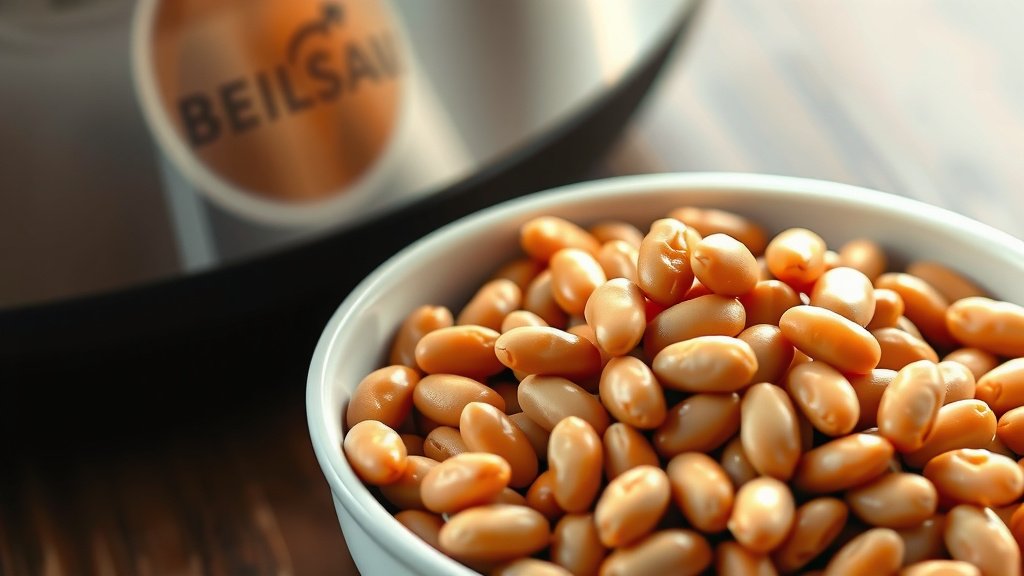
Tips for Perfectly Pressure Cooked Beans
Want to ensure your beans turn out just right every time? Here are a few pro tips we’ve gathered:
- Use the right liquid ratio: Generally, you’ll want about 3 cups of liquid (water or broth) for every 1 cup of dried beans. This can vary slightly by bean type and cooker.
- Don’t overfill: Most pressure cookers have a maximum fill line. For beans, it’s usually recommended not to fill more than half full to prevent clogging the vent.
- Check for tenderness: After the release time, test a few beans. If they aren’t tender enough, you can always bring the cooker back up to pressure for another few minutes.
- Seasoning matters: Add salt and other aromatics (like garlic or onions) *after* the beans are cooked. Adding salt too early can sometimes toughen bean skins.
Quick Checklist for Your Next Bean Batch
Ready to get started? Keep this quick checklist handy:
- Choose your bean type.
- Decide if you’ll soak them (optional!).
- Check your altitude and adjust time if needed.
- Measure beans and liquid carefully.
- Set your pressure cooker for the correct high-pressure time.
- Remember to factor in natural release time.
Conclusion
You’ve learned that pressure cooking beans is your secret weapon for quick, delicious meals. Remember, most dried beans cook in 20-45 minutes, but factors like bean type, soaking, and altitude can tweak that time. Always pay attention to the pressure release, especially natural release for larger beans, to ensure perfect tenderness. Don’t be afraid to experiment a little! Your pressure cooker can handle it.
Next time you crave a hearty bean dish, grab your dried beans and your pressure cooker. You’re ready to transform them into a fantastic meal without the hours of waiting.
Frequently Asked Questions
Can I pressure cook beans without soaking them?
Yes, absolutely! Many modern electric pressure cookers are powerful enough to cook most dried beans perfectly well without soaking. While soaking can sometimes slightly reduce cooking time, it’s often an optional step if you’re short on time.
How much water do I need for pressure cooking beans?
A good general rule is to use about 3 cups of liquid for every 1 cup of dried beans. This ratio can vary slightly depending on the type of bean and your specific pressure cooker model. Always check your cooker’s manual for specific recommendations.
What happens if I don’t do a natural pressure release for my beans?
Skipping or rushing the natural pressure release can prevent your beans from finishing cooking gently. This might result in beans that are still a bit firm or have a mushy texture. Natural release helps them absorb remaining liquid and firm up properly.
Should I add salt before or after pressure cooking beans?
It’s generally best to add salt and other seasonings *after* your beans have finished pressure cooking. Adding salt too early can sometimes toughen the skins of the beans, affecting their tenderness and texture.
How do I know if my beans are cooked enough in the pressure cooker?
The best way to check for doneness is to taste a few beans after the pressure has been released. If they aren’t as tender as you’d like, you can simply bring the pressure cooker back up to pressure for a few more minutes until they reach your desired tenderness.