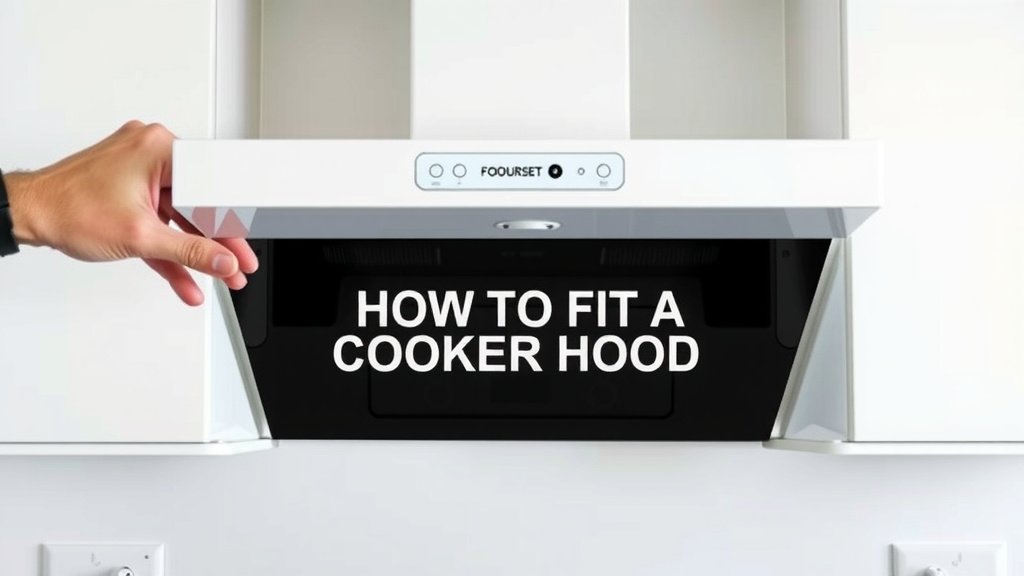
How to Fit a Cooker Hood: A Step-by-Step Guide
Fitting a cooker hood yourself is totally doable with the right tools and a little patience. You’ll want to make sure it’s securely mounted and properly vented to keep your kitchen air fresh and clean. We’ll guide you through the steps to get it done right.
This project involves working with electricity and potentially cutting into your walls. Following the manufacturer’s instructions is key for safety and performance. Getting this right means a happier, healthier kitchen environment for everyone.
- Find the right spot for your hood.
- Gather your tools and safety gear.
- Mount the hood bracket securely.
- Connect the ductwork or recirculate air.
- Wire the hood according to instructions.
- Test it to make sure it works.
Ready to get started? Let’s walk through how to fit your cooker hood step by step, making sure you feel confident at each stage.
Installing Your New Cooker Hood: A Step-by-Step Guide
So, you’re ready to tackle fitting your cooker hood? That’s fantastic! You’re not just upgrading your kitchen’s look; you’re also investing in a healthier environment. A well-fitted hood removes cooking fumes and grease. This can lead to cleaner air and less cleaning in your kitchen. We’ll walk you through the process, making it as straightforward as possible. Remember, safety first, always!
Preparation is Key: What You Need Before You Start
Before you even think about drilling holes, let’s get prepared. Gathering everything you need upfront saves you trips to the hardware store. It also makes the whole installation process much smoother. You’ll want to be sure you have the right tools and materials on hand.
Essential Tools and Materials for Installation
Having the right tools makes any DIY job easier. For fitting a cooker hood, you’ll want a reliable drill, a level, a tape measure, and screwdrivers. A stud finder is also a good idea. You might need a pencil to mark positions. Don’t forget safety gear like safety glasses and gloves. Of course, you’ll need your new cooker hood itself, plus any mounting hardware it came with. If you’re venting outside, you’ll also need ducting and appropriate clamps or sealant. Always check your hood’s manual for specific requirements.
Understanding Your Kitchen Layout and Hood Type
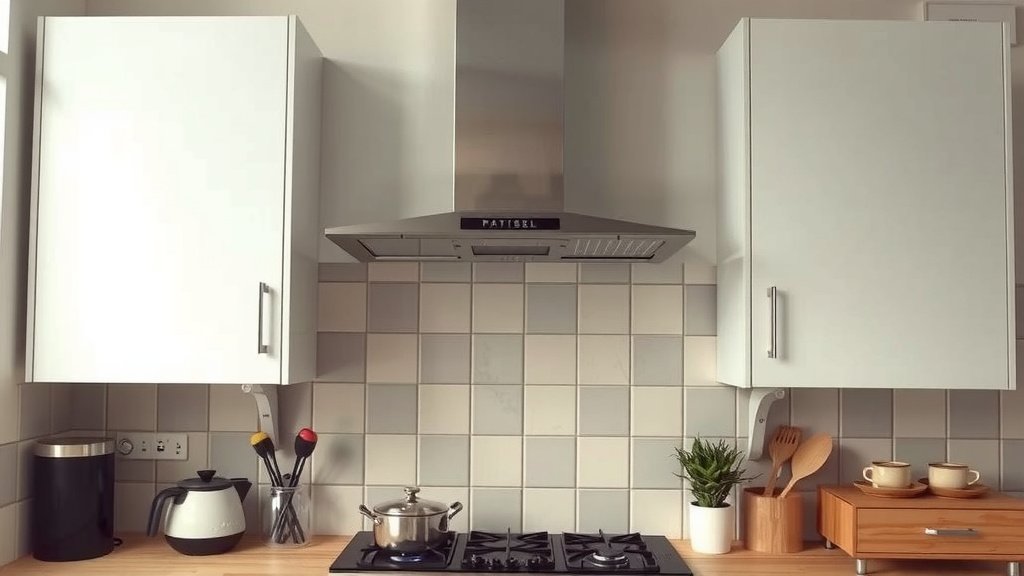
Where will your hood live? This is a big decision. Most hoods are mounted directly above the hob. You need to consider the height from your hob. Too low, and it could be a safety hazard or get damaged by heat. Too high, and it won’t effectively capture steam and smoke. Many experts suggest a height of about 24 to 30 inches between the hob and the hood (National Kitchen and Bath Association).
What kind of hood are you installing? There are several types, each with slightly different installation needs.
| Hood Type | Mounting Location | Venting Option |
|---|---|---|
| Wall-Mounted Chimney Hood | Against a wall above the hob | Ducts outside or recirculates air |
| Under-Cabinet Hood | Underneath a kitchen cabinet above the hob | Ducts outside or recirculates air |
| Island Hood | Hangs from the ceiling above a hob on a kitchen island | Ducts outside or recirculates air |
| Downdraft Hood | Rises from the countertop behind the hob | Typically recirculates air, some can vent |
Knowing your hood type helps you plan your mounting location and any necessary modifications to cabinets or ceilings. We’re focusing on the more common wall-mounted and under-cabinet types here, as they involve similar basic steps.
Mounting the Cooker Hood: Securing the Bracket
This is where your hood starts to take shape in your kitchen. The mounting bracket is what holds everything in place. Getting this securely attached is non-negotiable for safety.
Locating Wall Studs for a Solid Mount
Most cooker hoods are fairly heavy, especially once you factor in ducting. You don’t want to rely on drywall alone. Your best bet is to find wall studs. Use a stud finder to locate the vertical wooden beams within your wall. Mark their centers lightly with a pencil. This gives you solid anchor points for your mounting bracket. If you can’t find studs in the ideal location, you might need to use heavy-duty drywall anchors. However, studs are always preferred. Many building codes recommend anchoring to studs (International Residential Code).
Attaching the Mounting Bracket to the Wall
Hold the mounting bracket against the wall at the desired height. Use your level to ensure it’s perfectly straight. Now, mark the screw hole positions onto the wall. If you’re drilling into studs, pre-drill pilot holes slightly smaller than your screws. This makes driving the screws easier and prevents the wood from splitting. If you’re using drywall anchors, follow the anchor manufacturer’s instructions for hole size and installation. Securely fasten the bracket to the wall using the appropriate screws. Give it a good tug to ensure it’s firm.
Connecting the Venting System: Airflow is Everything
Now for the part that actually cleans your air! You have two main options for your cooker hood: venting the air outside or recirculating it back into your kitchen. Venting outside is generally considered more effective for removing grease and odors. Many studies show better air quality with external venting (Environmental Protection Agency).
Option 1: Venting Cooker Hoods to the Outside
If your hood is designed for external venting, you’ll need to create a path for the air to escape your home. This usually involves cutting a hole in an exterior wall or your ceiling and then through the roof. You’ll need to connect your hood’s exhaust outlet to the ducting. Flexible or rigid ducting can be used. Ensure all connections are sealed tightly with tape or sealant to prevent air leaks. You’ll also need a vent cap on the outside to keep out rain and pests.
Option 2: Recirculating Cooker Hoods
If venting outside isn’t an option, a recirculating hood is your next best bet. These hoods pull air through filters (often charcoal filters) to clean it. Then, the cleaned air is blown back into your kitchen. While they don’t remove moisture, they do a decent job of capturing grease and odors. You’ll need to install the filters according to the manufacturer’s instructions. These filters will need regular replacement to keep the system working effectively. Many experts recommend changing filters every 6-12 months depending on usage (Consumer Reports).
Wiring the Cooker Hood: Powering Up Safely
This is perhaps the most critical step, and it involves working with electricity. If you’re not comfortable with electrical wiring, it’s highly recommended to hire a qualified electrician. Safety is paramount here, as improper wiring can be dangerous. Always turn off the power at the breaker box before starting any electrical work.
Connecting the Power Supply
Your cooker hood will have a power cord or require direct wiring. If it has a plug, you’ll need an outlet near the hood. If it requires direct wiring, you’ll need to connect it to your home’s electrical circuit. This typically involves connecting the wires from your house to the wires on the hood (usually black to black, white to white, and ground to ground). Follow the manufacturer’s wiring diagram precisely. Using wire nuts to secure connections is standard practice. Ensure all connections are secure and then replace the electrical box cover.
Final Steps and Testing Your New Hood
You’re almost there! Let’s do a quick check and then fire it up to see your new hood in action.
Securing the Hood and Finishing Touches
Once the bracket is mounted and venting/wiring is connected, you can attach the hood itself. This usually involves lifting the hood onto the bracket and securing it with screws. Again, refer to your hood’s manual for the exact method. Once the hood is firmly attached, install any decorative covers or trim pieces. Give the whole area a quick clean-up.
Testing for Functionality and Airflow
With everything connected and secured, it’s time for the moment of truth. Turn the power back on at the breaker box. Turn on your cooker hood and test all its settings – fan speeds and lights. You should feel air being drawn in. If you’ve vented externally, check outside to ensure air is actually being expelled. If it’s recirculating, you should feel air coming back into the kitchen. If anything doesn’t seem right, turn off the power immediately and re-check your connections or consult the manual.
Here’s a quick checklist to ensure you haven’t missed anything:- Mounting bracket is level and securely fastened to studs or appropriate anchors.
- Venting is properly connected and sealed, or recirculating filters are installed.
- Electrical connections are secure and correctly wired according to the manual.
- Power is restored, and all fan speeds and lights are tested.
- Exterior vent cap (if applicable) is installed and unobstructed.
Conclusion
You’ve successfully navigated the steps to fit your new cooker hood! Remember, securing the mounting bracket and correctly connecting your venting or recirculating system are the foundations for a safe and effective installation. Double-checking your electrical connections with the manufacturer’s diagram is also vital for peace of mind. You’ve invested time and effort into creating a cleaner, fresher kitchen environment. Now, enjoy your improved kitchen. If you feel uncertain about any step, especially the electrical wiring, don’t hesitate to call a qualified electrician.
Frequently Asked Questions
How high should I mount my cooker hood above my hob?
For most standard electric hobs, mounting your cooker hood about 24 to 30 inches above the cooking surface is recommended. Gas hobs might require slightly more clearance, often around 30 to 36 inches. Always check your specific hob and hood manuals for exact measurements, as this ensures optimal performance and safety.
What’s the difference between ducted and recirculating cooker hoods?
Ducted hoods expel cooking fumes and grease directly outside your home through ductwork, which is generally more effective at air purification. Recirculating hoods, on the other hand, draw air through filters (like charcoal) to remove odors and grease before returning the cleaned air into your kitchen. Recirculating models are simpler to install if external venting isn’t possible.
Can I install a cooker hood myself if I’m not an electrician?
While many steps of cooker hood installation are DIY-friendly, electrical wiring can be hazardous if not done correctly. If you’re uncomfortable working with electricity, it’s always best to hire a qualified electrician to handle the power connections. Your safety is the top priority.
How do I know if I’ve mounted the hood bracket securely?
A securely mounted bracket will not budge or feel loose when you gently pull or push on it after the screws are tightened. It’s essential to attach the bracket to wall studs whenever possible. If you must use drywall anchors, ensure you’re using heavy-duty ones rated for the hood’s weight and follow their installation instructions precisely.
How often do I need to replace filters in a recirculating cooker hood?
The frequency of filter replacement depends on how often you cook and the type of filters your hood uses. Generally, charcoal filters in recirculating hoods should be replaced every 6 to 12 months. It’s a good idea to check your manufacturer’s manual for specific recommendations and to clean grease filters regularly.