How to Connect Your Gas Cooker Safely
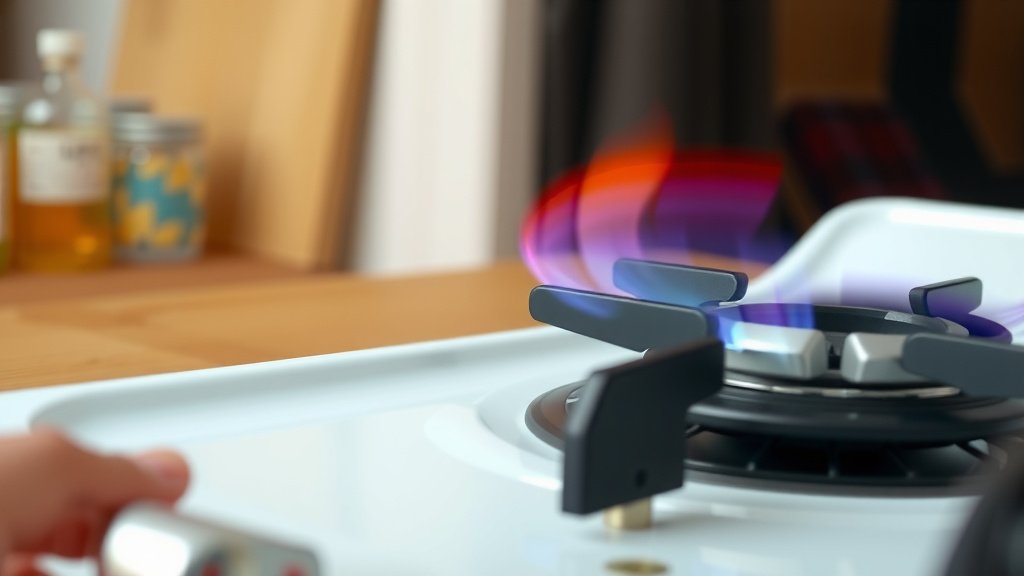
Connecting a gas cooker is a task you can do yourself if you have the right tools and follow safety steps carefully. The most common method involves using a flexible gas hose designed specifically for cookers and ensuring a tight, leak-free seal. It’s essential to perform a leak test afterward to confirm everything is secure before using your appliance. Many people successfully connect their own gas cookers, saving time and money.
Before you begin, it’s good to know that not all gas hoses are created equal. You’ll need the correct type, usually a flexible stainless steel or rubber hose with appropriate fittings, and you must ensure it’s compatible with both your cooker and your gas supply type. We found that many experts stress the importance of using approved fittings and checking for any signs of damage on the hose itself.
- Safety first is key for any gas connection.
- Use the correct type of hose for your cooker.
- Ensure all connections are snug and leak-free.
- Always perform a leak test when you’re done.
Ready to get your new cooker hooked up? Let’s walk through the process step by step to make sure you connect your gas cooker safely and correctly.
Connecting Your Gas Cooker: A Step-by-Step Guide
Hooking up your new gas cooker might seem a bit daunting, but it’s quite manageable with the right approach. We’ve found that understanding the basic components and following safety protocols makes this a very DIY-friendly task. Let’s get your kitchen cooking!
Gathering Your Tools and Materials
Before you twist any fittings, make sure you have everything you need. This prevents frustrating trips to the hardware store mid-job. Having the correct items on hand is the first step to a safe and successful connection.
The Essential Gas Hose
Your gas cooker needs a specific type of hose. These aren’t your average garden hoses. They are designed to handle the pressure and type of gas you’ll be using. You’ll typically see two main types recommended by appliance manufacturers and safety organizations.
Flexible Stainless Steel Hoses
These are a popular choice for good reason. Stainless steel hoses are durable and resistant to corrosion. They usually come with fittings already attached, which simplifies the process. Many experts recommend these for their longevity and safety features.
Rubber or Polymer Hoses
You might also find rubber or polymer hoses. These are often more flexible, making them easier to maneuver. It’s critical to ensure these are specifically rated for natural gas or propane, depending on your supply. Always check the product specifications to confirm suitability.
Necessary Fittings and Sealants
Beyond the hose, you’ll need a few other items. A gas-rated sealant tape (also known as pipe dope or Teflon tape) is crucial. This ensures a watertight seal at threaded connections. You’ll also need the correct gas fittings, often adapters or connectors, to bridge the gap between your cooker’s inlet and the gas supply line. Make sure these are designed for gas use.
Handy Tools for the Job
While you might not need a full toolbox, a couple of wrenches will be very helpful. Adjustable wrenches are good for gripping different-sized fittings. You may also need a pipe wrench if you encounter very stubborn connections. Always use two wrenches when tightening: one to hold the fitting on the appliance steady, and the other to turn the connector nut on the hose. This prevents putting undue stress on the cooker’s gas valve.
Understanding Your Gas Supply
Knowing what kind of gas you’re working with is non-negotiable. Connecting the wrong type of appliance or using incompatible fittings can be extremely dangerous. Most homes in the US use either natural gas or propane.
Natural Gas vs. Propane
Natural gas comes directly from a utility line to your home. It’s at a lower pressure and has a different chemical composition than propane. Propane is stored in a tank and is more common in areas without natural gas lines. Your cooker will be designed for one or the other, and the hose and regulator must match. You can usually find this information on a data plate on the back of your cooker or in the user manual.
Checking Regulator Compatibility
Your gas supply will have a regulator. This device controls the pressure of the gas flowing to your appliance. It’s vital that the regulator is set for the correct pressure for your cooker and gas type. Many cookers come with a convertible regulator. If you’re unsure, consult your cooker’s manual or a qualified professional. Safety guidelines strongly advise against tampering with regulators without proper knowledge (U.S. Consumer Product Safety Commission).
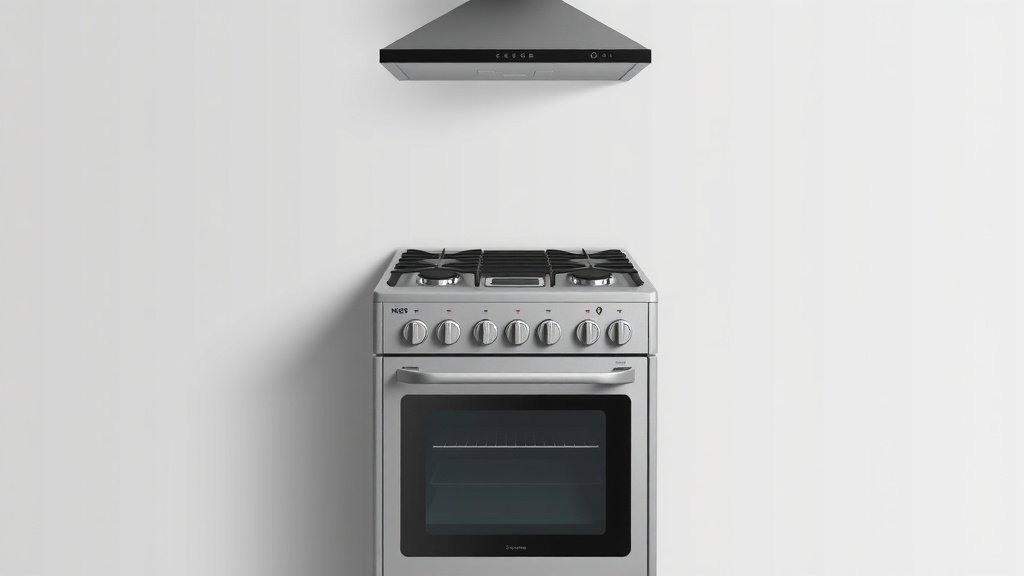
The Connection Process: Step-by-Step
Now that you’ve gathered your supplies and understand your gas type, let’s get down to connecting the cooker. Remember, the goal is a secure and leak-free connection.
Step 1: Prepare the Cooker’s Gas Inlet
Locate the gas inlet valve on the back of your cooker. It’s usually a brass fitting. Ensure it’s clean and free of debris. If it has a protective cap, remove it carefully. You might need to use a bit of the gas-rated sealant tape on the threads of the inlet valve itself, depending on the type of connection your hose has. Wrap the tape clockwise around the threads about three to four times.
Step 2: Attach the Hose to the Cooker
Take one end of your flexible gas hose. If it has a specific fitting that screws directly onto the cooker inlet, attach it now. Gently screw it on by hand first to ensure it’s not cross-threaded. Once it’s snug, use your two wrenches to tighten it securely. Remember: one wrench to hold the cooker inlet steady, and the other to tighten the hose fitting. Do not overtighten, as this can damage the fitting.
Step 3: Connect the Hose to the Gas Supply
Now, move to the other end of the hose and the gas supply valve. This valve is typically found on the wall or floor where the gas line enters your kitchen. Ensure the valve is in the “off” position. Apply gas-rated sealant tape to the threads of the gas supply valve, again wrapping clockwise. Attach the other end of your flexible gas hose to this valve. Hand-tighten first, then use your wrenches to secure it. Again, use two wrenches to avoid stressing the valve.
Step 4: Turn On the Gas and Test for Leaks
This is the most critical safety step. Once both ends of the hose are connected and tightened, slowly turn the gas supply valve to the “on” position. You’ll want to have a soapy water solution ready. Mix a generous amount of dish soap with water in a small bowl. Using a brush or sponge, apply the soapy water generously to all the connections you just made: where the hose meets the cooker and where it meets the gas valve.
Interpreting the Bubbles
Look very closely at each connection. If you see any tiny bubbles forming or growing, that indicates a gas leak. If you spot bubbles, immediately turn the gas supply valve back to the “off” position. You’ll need to re-tighten the connection or reapply sealant tape and try again. Repeat the soapy water test until you are absolutely certain there are no bubbles anywhere. Many safety agencies stress that a leak test is non-negotiable before operating the appliance (National Fuel Gas Code).
Checklist for a Safe Connection
To make sure you haven’t missed anything, run through this quick checklist:
- Gas valve is fully turned OFF before you begin.
- Correct hose type for your gas and cooker is used.
- Sealant tape applied correctly to threaded connections.
- Connections are snug but not overtightened.
- Soapy water test performed on all fittings.
- No bubbles observed during the leak test.
If you’re uncomfortable at any point during this process, or if you suspect a leak that you can’t resolve, please don’t hesitate to call a qualified gas engineer or your gas utility company. Safety is always the top priority when dealing with gas appliances.
Conclusion
You’ve successfully navigated the steps to connect your gas cooker! Remember, the key to a safe installation lies in using the right materials, ensuring tight connections, and most importantly, performing a thorough leak test with soapy water. We found that taking your time and double-checking each step prevents potential issues and gives you peace of mind. Now that your cooker is properly hooked up, you’re ready to start creating delicious meals in your kitchen!
Frequently Asked Questions
How do I know if my gas cooker is compatible with natural gas or propane?
You can typically find this information on a data plate located on the back of your cooker or within the appliance’s user manual. This plate will clearly state whether the appliance is designed for natural gas or propane.
Can I reuse the old gas hose if it looks okay?
No, it’s strongly recommended to always use a new gas hose. Old hoses can degrade over time, developing unseen cracks or weakening seals, which could lead to dangerous gas leaks. Always opt for a new, approved hose for your specific gas type and cooker.
What’s the best way to tighten gas fittings without overtightening?
Use two wrenches: one to hold the fitting on the appliance steady and the other to turn the connector nut on the hose. Tighten until snug, then give it a small additional turn. Avoid excessive force, as this can damage threads or fittings.
How long should the soapy water sit on the connections to check for leaks?
You don’t need to let it sit for an extended period. Apply the soapy water generously and watch for bubbles immediately. Even a few small bubbles appearing quickly indicates a leak that needs addressing.
What should I do if I’m unsure about any part of the connection process?
If you feel uncertain at any stage, it’s always best to stop and call a qualified gas engineer or your local gas utility company. Safety is paramount, and professional assistance ensures the job is done correctly and safely.