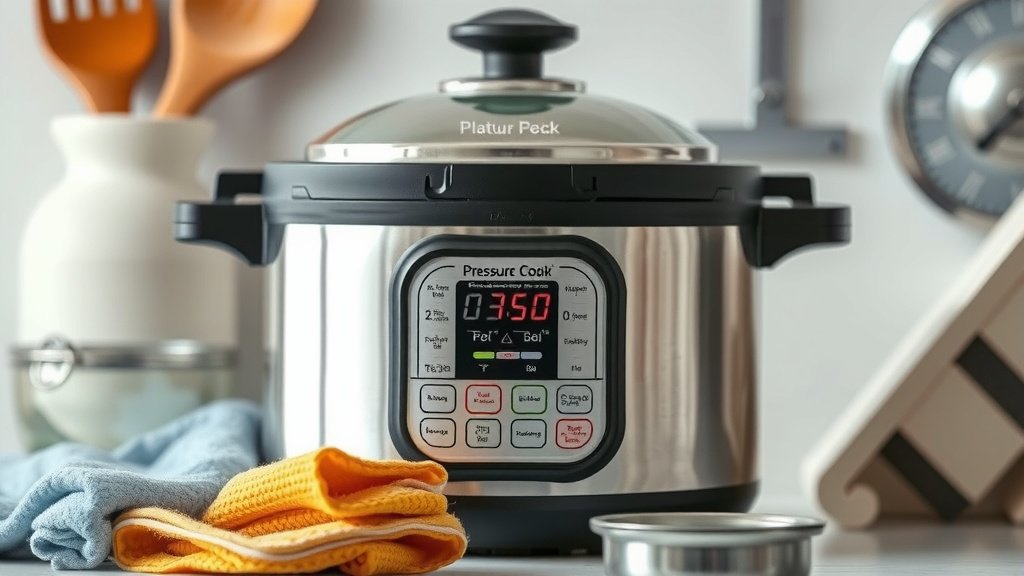
How to Clean Your Pressure Cooker for Best Results
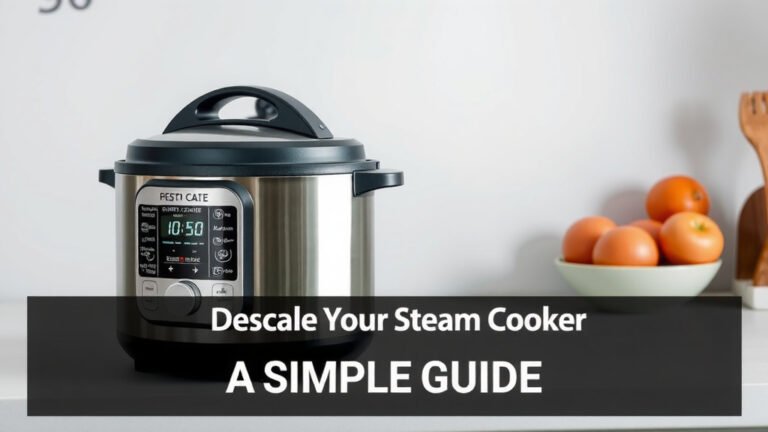
The easiest way to clean a pressure cooker involves a few simple steps. You’ll want to start by disassembling the lid and washing the pot itself with warm, soapy water. For tougher stains or residue, a paste of baking soda and water can work wonders. Proper cleaning ensures your pressure cooker stays in great working condition for years to come.
Keeping your pressure cooker clean is more than just making it look good. It’s about maintaining its performance and safety. Food particles left behind can affect future meals or even damage the sealing mechanisms. Regular, gentle cleaning will prevent stubborn build-up and keep your cooker running efficiently, making meal prep a breeze.
- Soak the pot and lid separately.
- Use warm, soapy water for daily cleaning.
- Baking soda paste tackles tough spots.
- Don’t forget the sealing ring and vent.
- Dry everything thoroughly before reassembling.
Let’s walk through exactly how to get your pressure cooker sparkling clean, from the main pot to those hard-to-reach nooks and crannies.
Alright, let’s get down to the nitty-gritty of making your pressure cooker shine again. You’ve probably got food splatters, maybe some stubborn residue, or just that general “used-a-lot” look. Don’t worry, it’s usually much simpler than you think! We’ll break it down so you can get back to making delicious meals without a second thought.
Keeping Your Pressure Cooker Pristine
Giving your pressure cooker a good clean after each use is key. This keeps it working safely and efficiently. Plus, nobody wants yesterday’s dinner flavors sneaking into today’s lunch, right?
Step 1: Disassembly is Your Friend
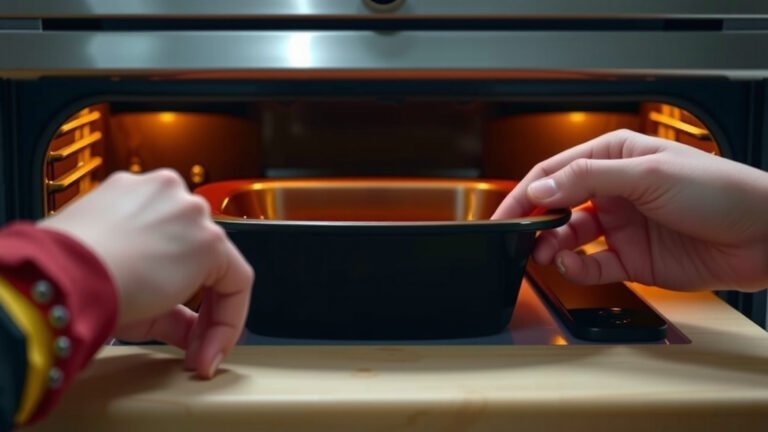
The first thing you’ll want to do is take things apart. This isn’t rocket science, just a few easy pieces. You’ll usually need to remove the lid, the sealing ring, and sometimes the anti-block shield. Many pressure cooker lids come apart with just a gentle pull or twist. If you’re unsure, your user manual is your best friend here.
Removing the Sealing Ring
That rubbery ring is super important for creating a good seal. But it can also trap food bits. Most sealing rings just pull right out. Gently ease it out from the lid. Be careful not to stretch it too much.
The Anti-Block Shield (If You Have One)
Some models have a small metal shield over the steam vent. This stops food from clogging things up. You can usually just unscrew or pop this off for cleaning. Check your manual if it seems stuck.
Step 2: Washing the Main Pot
Now for the main event – the pot itself. For everyday cleaning, warm, soapy water works wonders. Use a soft sponge or cloth. You’re aiming to get rid of any visible food particles or grease. Avoid abrasive scrubbers. Steel wool or harsh scouring pads can scratch the pot’s surface. Research suggests that mild dish soap is effective for removing common food residues.
Tackling Tougher Stains
What if you have burnt-on bits or stains that just won’t budge? This is where a simple paste comes in handy. Mix baking soda with a little water to create a paste. Apply this paste to the stained areas. Let it sit for about 15-30 minutes. Then, gently scrub with a soft sponge. Baking soda is a mild abrasive that’s often recommended for cleaning cookware.
For really stubborn stains, some people have success using a bit of Bar Keepers Friend. However, always test it on an inconspicuous area first. And be sure to rinse thoroughly afterward. You don’t want any cleaning residue left behind.
Dealing with Discoloration
Stainless steel pots can sometimes get a rainbow-like discoloration from heat. This is normal and doesn’t affect performance. A paste of baking soda and water can often help restore the shine. For more intense discoloration, a specialized stainless steel cleaner might be needed, but use it sparingly.
Step 3: Cleaning the Lid and Its Parts
The lid needs just as much attention as the pot. It has several small parts that can trap food. Wash the lid with warm, soapy water. Pay close attention to the rim and any grooves where food might hide. Many lids are dishwasher safe, but check your manual. Handwashing is generally the safest bet to prolong its life.
Don’t Forget the Vent Pipe and Float Valve
These are critical for your pressure cooker’s function and safety. Food particles can easily clog the steam vent. Use a small brush or even a toothpick to gently clear any debris from the vent pipe. The float valve should also be removed and cleaned. Many float valves simply lift out. Make sure there are no stuck bits of food in the valve opening or on the valve itself. Safety guidelines from manufacturers always stress keeping these clear.
Step 4: Rinsing and Drying
This step is often overlooked but super important. Rinse everything thoroughly with clean water. You want to make sure all soap and baking soda residue is gone. Then, dry every single piece completely with a soft towel. Moisture left behind can lead to water spots or even rust, especially on metal parts. Letting parts air dry is okay, but a quick towel dry ensures everything is ready to go.
Step 5: Reassembly
Once everything is sparkling clean and bone dry, it’s time to put it back together. Reinsert the sealing ring. Make sure it’s seated evenly all the way around the lid. Reattach the anti-block shield if your model has one. Your pressure cooker should now look and feel like new, ready for its next culinary adventure!
A Quick Checklist for Shine
Here’s a handy rundown to keep your pressure cooker in tip-top shape:
- Disassemble lid, sealing ring, and vent parts.
- Wash the pot with warm, soapy water.
- Use baking soda paste for stubborn stains.
- Clean the lid, vent pipe, and float valve thoroughly.
- Rinse all components completely.
- Dry all parts thoroughly before reassembly.
Occasional Deep Cleaning
For a really deep clean or to tackle lingering odors, you can run a cleaning cycle. Fill the pot about halfway with water. Add a tablespoon of white vinegar or lemon juice. Close the lid and bring it up to pressure. Let it simmer under pressure for a few minutes, then carefully release the pressure. Let it cool, then wash as usual. Many sources suggest this method for deodorizing.
What to Avoid for a Happy Pressure Cooker
Just a few quick notes on what *not* to do. Avoid harsh chemicals. They can damage the pot and leave residues. Don’t put aluminum foil directly on the bottom of the pot during cooking or cleaning. Never use abrasive cleaners or steel wool. These can scratch the surface and affect the seal. Always refer to your manufacturer’s guide for specific cleaning advice. They know their cooker best!
Conclusion
You’ve now learned how to keep your pressure cooker in top shape! A clean pressure cooker isn’t just about appearances; it’s essential for safety and performance. By following these simple steps, from disassembly to thorough drying, you ensure your meals cook perfectly every time. Make a habit of cleaning after each use. This small effort will extend the life of your appliance and keep your kitchen adventures running smoothly. Get into the habit, and your pressure cooker will be a reliable friend for years to come!
Frequently Asked Questions
Can I put my pressure cooker lid in the dishwasher?
It’s best to check your owner’s manual. Many pressure cooker lids are not dishwasher safe, as the harsh detergents and high heat can damage the seals or coatings. Handwashing the lid with warm, soapy water is generally the safest approach to ensure its longevity and proper function.
What’s the best way to remove burnt-on food from my pressure cooker?
For burnt-on food, a paste of baking soda and water is highly effective. Apply the paste generously to the affected area and let it sit for about 15-30 minutes. Then, gently scrub with a soft sponge or cloth. This mild abrasive should lift most stubborn residues without scratching the pot.
How do I get rid of discoloration on my stainless steel pressure cooker?
Rainbow-like discoloration on stainless steel is common and harmless. A baking soda paste can often help restore shine. For more noticeable discoloration, you might consider a specialized stainless steel cleaner, but always test it in a small area first and rinse very thoroughly afterward.
Why is it important to clean the vent pipe and float valve?
These parts are critical for your pressure cooker’s safety and proper operation. Food particles can easily clog the steam vent, preventing it from releasing pressure correctly. Keeping them clean ensures your cooker functions efficiently and safely during use.
How often should I replace the sealing ring on my pressure cooker?
You should inspect your sealing ring regularly for signs of wear, such as cracks, tears, or hardening. Most manufacturers recommend replacing the sealing ring every 1-2 years, or sooner if you notice it’s no longer creating a proper seal or if it retains strong odors. A worn-out ring can lead to steam leaks and affect cooking times.