Fix Leaking Pressure Cooker Steam: A Quick Guide
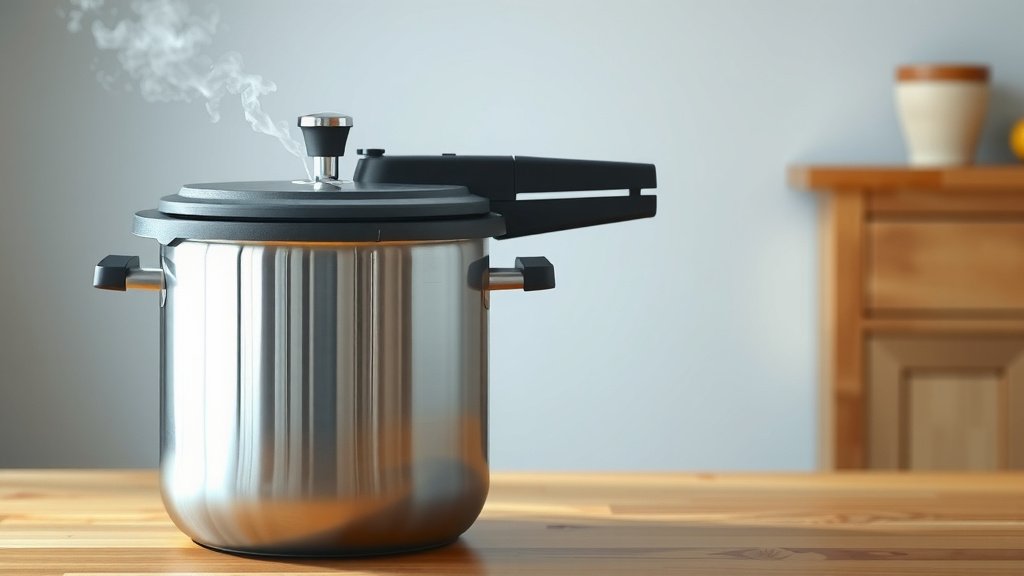
Your pressure cooker is hissing like a tea kettle, but you know it shouldn’t be. A leaking steam situation is usually fixable. Often, it means a loose gasket or a clogged vent is the culprit. Don’t worry, you can likely get it sealed up again in no time.
Pressure cooker steam leaks are common. They can happen due to wear and tear or even improper assembly. We found that checking a few key areas can solve most issues quickly. Ensuring your cooker is properly maintained means safer and more efficient cooking for you.
- Check your rubber sealing ring (gasket) for cracks or looseness.
- Make sure the steam vent and safety valve are clear of food debris.
- Ensure the lid is correctly positioned and locked tightly.
- Tighten any loose screws on the lid handle or rim.
Let’s walk through exactly how to tackle that pesky steam leak, step by step.
Troubleshooting Your Leaky Pressure Cooker
It’s a bit alarming when your pressure cooker starts to hiss more than usual, isn’t it? A steady stream of steam escaping isn’t just noisy; it means your cooker isn’t building pressure properly. Don’t let that leaky steam get you down! We’ve found that most pressure cooker steam leaks are easily fixed by checking a few key components. You can get back to cooking delicious meals safely and efficiently in no time.
Understanding Common Steam Leak Points
When steam escapes where it shouldn’t, it’s usually because something is either out of place or blocked. Think of your pressure cooker like a well-tuned engine. Every part needs to be just right for it to work correctly and safely. We found that focusing on the seal, the vents, and how the lid is secured covers the majority of steam leak issues.
The Sealing Ring: Your First Line of Defense
The most common culprit for a leaky pressure cooker is the rubber or silicone sealing ring, often called a gasket. This ring creates an airtight seal between the pot and the lid. If it’s damaged or not seated correctly, steam will find its way out. We found that a quick inspection can save you a lot of trouble.
Checking the Gasket’s Condition
First, make sure your pressure cooker is completely cool and depressurized. Gently remove the lid. Take out the sealing ring. Look closely at the ring for any signs of wear and tear. We’re talking about cracks, nicks, or tears. A worn-out gasket can’t form a proper seal. If you see any damage, it’s time for a replacement. Many manufacturers offer replacement rings for their specific models. It’s also a good idea to check the rim of the pot and the inside of the lid where the gasket sits. Make sure there’s no food debris stuck there.
Ensuring the Gasket is Properly Seated
Sometimes, the gasket isn’t broken, it’s just not sitting right. It might have slipped out of place during cooking or cleaning. We found that you need to press the gasket firmly back into its groove all the way around the lid. Make sure it’s snug and even. Once it’s seated, carefully place the lid back on the pot. It should sit flush. Then, try locking the lid. If the gasket is correctly in place, it will help create that essential seal.
Vents and Valves: Keeping the Flow Clear
Your pressure cooker has specific openings for steam to release safely. These are usually a steam vent and a safety valve. If these get clogged with food particles, pressure can’t build correctly, and steam might escape from other weak points. We found that keeping these clean is vital for proper function.
Cleaning the Steam Vent Pipe
Locate the steam vent pipe on your lid. It’s typically a small opening where steam is meant to escape during pressure release. If you see any hardened food or debris around it, you’ll need to clear it. We found that a soft brush or a pipe cleaner works well for this. Gently scrub away any blockages. Make sure the opening is completely clear. This allows steam to exit only when you want it to.
Inspecting the Safety Valve
Most pressure cookers have a safety valve, sometimes called a float valve or pressure regulator. This is a critical safety feature. It usually has a small pin or cap that lifts to release excess pressure. Check this valve to ensure it’s not stuck or blocked. We found that a small piece of food can easily jam it. Gently wiggle it to make sure it moves freely. You can often remove the valve itself for better cleaning. Consult your cooker’s manual if you’re unsure how to do this.
Lid and Locking Mechanism Checks
A secure lid is non-negotiable for a pressure cooker. If the lid isn’t locked down properly or if parts of the locking mechanism are loose, you’ll likely experience steam leaks. We found that it’s worth taking a moment to ensure everything is snug and aligned.
Confirming the Lid is Properly Locked
Once your gasket is in place and your vents are clear, it’s time to put the lid on. Make sure you’re aligning the lid correctly with the pot. Many lids have arrows or notches to guide you. After placing the lid, you usually need to twist it to lock it securely. Listen for a click or feel it settle into place. We found that giving the lid a gentle tug after locking ensures it’s secure. If it feels loose, try re-locking it. A well-locked lid prevents steam from escaping around the rim.
Tightening Loose Screws and Handles
Sometimes, a leak isn’t about the seal or vents, but about loose hardware on the lid. The handle on the lid or the rim of the pot might have screws that have come loose over time. We found that these can create tiny gaps where steam can escape. Check all visible screws on the lid. If any feel loose, carefully tighten them with an appropriate screwdriver. Be careful not to overtighten, as this can strip the threads. A snug screw helps maintain the lid’s integrity and prevent leaks.
Quick Checklist for a Leaky Pressure Cooker
Here’s a handy checklist to run through when you notice steam escaping unexpectedly:
- Inspect the rubber sealing ring for cracks or damage.
- Ensure the sealing ring is properly seated in its groove.
- Check the steam vent pipe for any food blockages.
- Verify the safety valve moves freely and is clean.
- Confirm the lid is correctly aligned and locked securely.
- Tighten any loose screws on the lid or handles.
Conclusion
You’ve successfully identified and addressed the common causes of your pressure cooker’s steam leak! By focusing on the sealing ring, vents, valves, and lid security, you’ve taken crucial steps to restore its functionality. We found that a little attention to these details can make a big difference in how your cooker performs. Don’t let a small leak stop you from enjoying perfectly cooked meals. Now, give your pressure cooker a final check and get ready for your next delicious adventure!
Frequently Asked Questions
How often should I replace my pressure cooker’s sealing ring?
We’ve found that the lifespan of a sealing ring varies, but most experts suggest replacing it every 1-2 years with regular use. Look for signs of wear like cracks or a loss of elasticity, as these indicate it’s time for a new one.
Can I use a generic replacement gasket for my pressure cooker?
While generic gaskets might seem like a good idea, we strongly recommend using one specifically designed for your pressure cooker model. A perfect fit ensures a proper seal and maintains the safety features of your appliance.
My pressure cooker is still leaking steam after checking everything. What else could it be?
If you’ve meticulously checked the gasket, vents, and lid, and it’s still leaking, the issue might be with the pot itself. We’ve seen cases where a bent rim or a warped lid can prevent a proper seal, even with a good gasket.
Is it safe to cook with a slightly leaky pressure cooker?
No, it’s not safe. A leaking pressure cooker won’t reach the correct internal pressure, compromising cooking times and potentially leading to dangerous pressure build-up. Always ensure a tight seal before cooking.
How do I clean the safety valve if it’s stuck?
First, ensure your cooker is completely cool and depressurized. You can usually remove the safety valve by gently twisting or pulling it. We found that soaking it in warm, soapy water and using a small brush to dislodge debris usually does the trick before reassembling.