Perfect Rice Cooker Water Ratio: The Ultimate Guide
Figuring out how much water to use for your rice cooker can feel like a science experiment. For most white rice, a good starting point is a 1:1 ratio of rice to water, measured in cups. So, for one cup of uncooked rice, you’ll add one cup of water. This is generally true for standard rice cookers and medium-grain white rice, giving you perfectly fluffy results every time.
Of course, not all rice is created equal, and your rice cooker might have its own quirks. Factors like the type of rice (brown rice needs more water) and the age of your cooker can affect the ideal water amount. We found that many users have success by adjusting slightly based on these details. It’s all about finding that sweet spot for your specific needs.
TL;DR:
- For white rice, start with a 1:1 rice to water ratio.
- Brown rice generally needs more water, around 1:1.5 or 1:2.
- Always rinse your rice before cooking.
- Check your rice cooker’s manual for specific guidelines.
- Don’t be afraid to slightly adjust water for your preferred texture.
Let’s dive into the details and get your rice cooked just right, every single time.
Getting the Water-to-Rice Ratio Right in Your Rice Cooker
You’ve got your rice, your trusty rice cooker, and a craving for perfectly cooked grains. Now, the big question: how much water? It’s simpler than you think! For most common types of white rice, the golden rule is a 1:1 ratio. That means one part rice to one part water. If you measure one cup of uncooked rice, you’ll add one cup of water.
This simple ratio is a fantastic starting point for many rice cookers. We found that for standard medium-grain white rice, this 1:1 ratio usually leads to fluffy, delicious results. It’s like a secret handshake between your rice and your cooker. So, if you’re new to rice cooking or just want a reliable method, grab your measuring cups and go with 1:1.
Understanding Different Rice Types and Their Water Needs
While 1:1 is great for white rice, not all grains are created equal. Some require a bit more hydration to cook properly. Think of it like different people needing different amounts of sleep; rice has its own unique needs.
The Tale of Brown Rice
Brown rice is a whole grain, meaning it still has its outer bran and germ layers. These layers act like a little armor, making it tougher and requiring more time and water to soften. We found that for brown rice, you’ll typically need more water than rice. A good starting point is often a 1:1.5 or even 1:2 ratio. This means for every cup of brown rice, you’ll use one and a half to two cups of water. It might seem like a lot, but trust us, it helps break down that extra fiber.
Basmati and Jasmine Rice: Delicate Flavors, Precise Ratios
These aromatic long-grain varieties are a bit more forgiving. For basmati and jasmine rice, many people stick close to the 1:1 ratio. However, some users find that a slightly less amount of water, perhaps closer to 1:0.75 (meaning less water than rice), can yield slightly firmer, more distinct grains. It really comes down to your preference. We recommend trying the 1:1 ratio first and then adjusting if you prefer a less sticky texture.
Short-Grain Rice: The Sticky Situation
Short-grain rice, often used for sushi, naturally becomes quite sticky due to its starch content. For this type of rice, a 1:1 ratio is usually perfect. The starch helps the grains cling together beautifully, creating that classic sushi rice texture.
Specialty Rice Varieties
What about Arborio rice for risotto, or wild rice? These often have different cooking requirements. Arborio rice, for instance, is designed to absorb a lot of liquid slowly, so it’s usually cooked on the stovetop with specific instructions. Wild rice isn’t technically rice but a grass seed and often requires a 1:3 or 1:4 ratio of grain to water. Always check the package instructions for specialty grains.
The Importance of Rinsing Your Rice
Before you even think about water, give your rice a good rinse. Why? Uncooked rice is often coated in a fine layer of starch. This starch can make your rice clump together and turn mushy. We found that rinsing under cold water until the water runs mostly clear removes this excess starch. It’s a simple step that makes a big difference in achieving separate, fluffy grains.
To rinse, place your rice in a fine-mesh sieve. Run cold water over it while gently swirling the rice with your hand. Do this for about 30 seconds to a minute, or until the water is no longer cloudy. Drain it well before adding it to your rice cooker.
Beyond the Basic Ratio: Adjusting for Your Cooker and Taste
Your rice cooker is a wonderful appliance, but they aren’t all created equal. Older models might have less precise heating, and some brands have their own unique quirks. We found that understanding your specific cooker can save you a lot of trial and error.
Consulting Your Rice Cooker’s Manual
Your rice cooker came with a manual for a reason! Many manufacturers include specific water-to-rice ratio guidelines for different types of rice. We highly recommend checking it. Some cookers even have measuring lines inside the pot. If yours does, use those lines for the most accurate results. They’re calibrated specifically for that model.
Factors Affecting Water Absorption
Did you know the age of your rice can matter? Older rice tends to be drier and may absorb a little more water. If your rice has been sitting in the pantry for a while, you might consider adding an extra tablespoon or two of water. Conversely, very fresh rice might need slightly less. It’s a subtle adjustment, but it can help prevent over or undercooked rice.
Your Preferred Texture: The Ultimate Guide
Ultimately, the best ratio is the one that gives you the texture you love. Do you prefer your rice a little firmer, with each grain distinct? You might want to reduce the water slightly the next time. Or do you like it softer and a bit more tender? Add a splash more water. After you’ve rinsed the rice and used the recommended ratio, taste it. If it’s not quite right, make a mental note for the next batch.
Think of it like adjusting seasoning on a dish. A little bit more salt or pepper can make all the difference. Your rice cooker water is no different! It’s about finding that sweet spot for your perfect bowl.
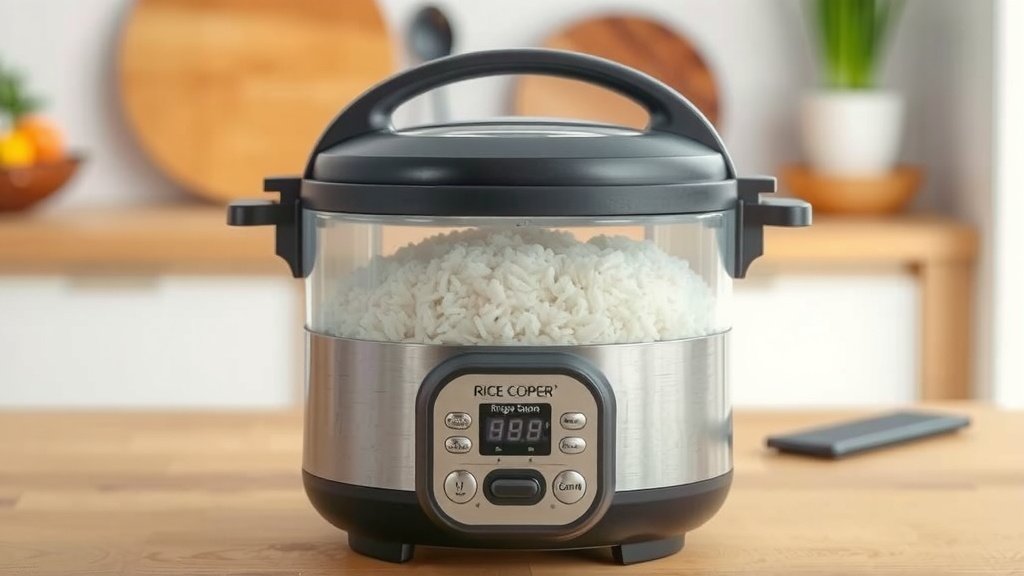
Quick Checklist for Rice Cooking Success
Ready to put it all into practice? Here’s a quick rundown:
- Measure your rice accurately using a standard measuring cup.
- Rinse your rice thoroughly until the water runs clear.
- Use the correct water ratio: 1:1 for most white rice, more for brown.
- Check your cooker’s manual for specific guidelines.
- Add water to the cooker after rinsing your rice.
- Let the cooker do its job without peeking too often!
When to Adjust Water for Different Rice Types: A Quick Reference
Here’s a simple table to help you remember the general guidelines. Remember these are starting points, and your personal preference might lead to slight adjustments.
| Type of Rice | Recommended Water Ratio (Rice:Water) | Notes |
|---|---|---|
| White Rice (Medium/Long Grain) | 1:1 | Fluffy and separate grains. |
| Brown Rice | 1:1.5 to 1:2 | Needs more water for tenderness. |
| Jasmine/Basmati Rice | 1:1 (can lean towards 1:0.75 for firmer texture) | Aromatic and delicious. |
| Sushi Rice (Short Grain) | 1:1 | Naturally sticky. |
| Wild Rice | 1:3 to 1:4 | Actually a grass seed, requires significant hydration. |
Don’t be afraid to experiment a little! Over time, you’ll become a rice-cooking pro, intuitively knowing how much water your rice needs. Happy cooking!
Conclusion
You’ve now got the knowledge to conquer your rice cooker! Remember that the 1:1 ratio is your trusty starting point for most white rice, but don’t be afraid to adjust. Brown rice and specialty grains will need more water, so check those guidelines. Rinsing your rice is a simple step that makes a big difference for fluffy, separate grains. Your rice cooker’s manual is your best friend for model-specific advice. The ultimate goal is perfectly cooked rice that you love, so trust your taste buds and make small adjustments as needed. Start with these tips, and you’ll be serving up delicious rice every time!
Frequently Asked Questions
What if my rice cooker doesn’t have measuring lines inside?
If your rice cooker lacks internal measuring lines, you’ll rely on standard measuring cups for both your rice and water. Stick to the recommended ratios for different rice types, like 1:1 for white rice. Using a consistent measuring cup is key for accurate results.
Can I use the same water amount for all types of white rice?
Generally, a 1:1 rice-to-water ratio works well for most common white rice varieties, like medium and long-grain. However, you might find slight variations based on the age of the rice or your specific cooker. It’s always good to start with 1:1 and adjust if needed.
My rice came out too mushy. What did I do wrong?
Mushy rice often means too much water was used, or the rice wasn’t rinsed properly. Try reducing the water by a tablespoon or two for your next batch. Also, ensure you’re rinsing the rice thoroughly until the water runs clear to remove excess starch.
How do I get firmer rice grains instead of sticky ones?
To achieve firmer, more distinct rice grains, you can slightly reduce the amount of water you use. For white rice, you might try a ratio closer to 1:0.75 (less water than rice). Rinsing your rice well also helps prevent it from becoming overly sticky.
Does the type of water matter for cooking rice?
For most home cooks, using regular tap water is perfectly fine. If your tap water has a very strong taste or odor, using filtered water might subtly improve the flavor of your rice. The cooking process itself is not significantly impacted by the type of water.