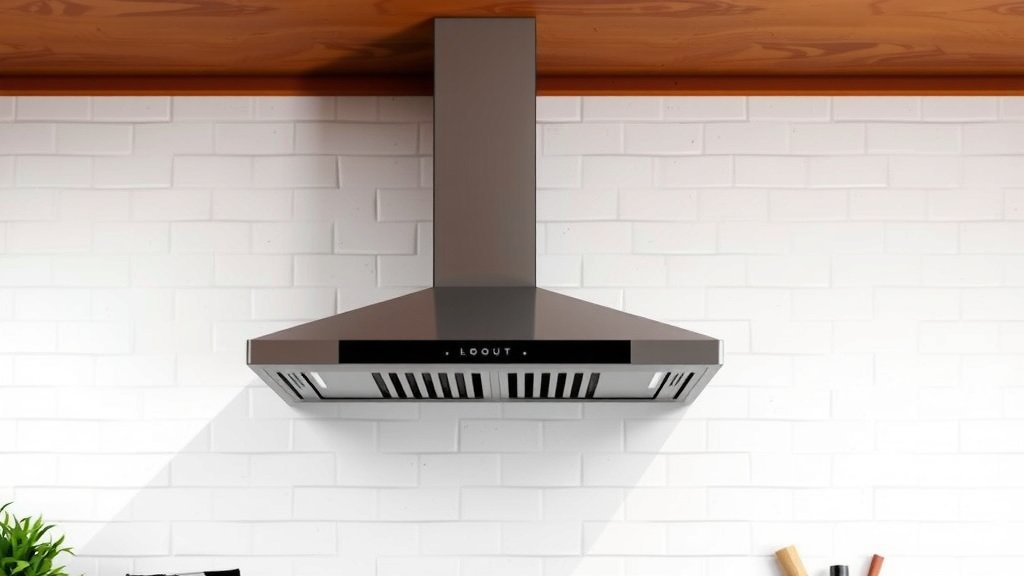
Vent Cooker Hood Outside: A Complete Installation Guide
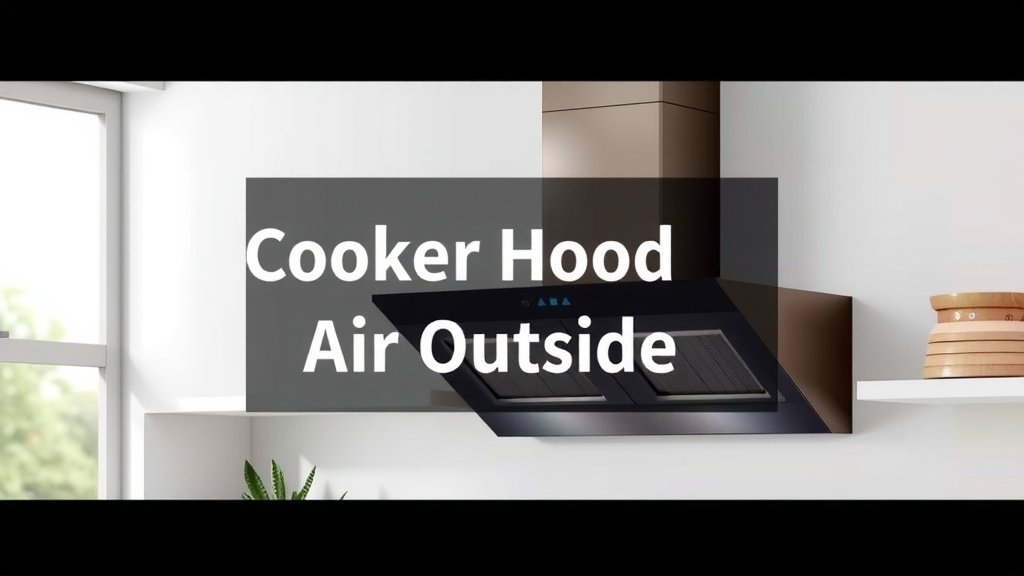
You can absolutely vent your cooker hood outside, and it’s often the best way to remove smoke and grease. Proper venting sends cooking fumes directly outdoors, keeping your kitchen air clean and reducing the risk of grease buildup. This improves your kitchen’s air quality significantly.
Venting your cooker hood outside is a smart move for any home. It’s not just about a pleasant cooking environment, but also about preventing potential issues like mold or lingering odors. We found that many homeowners choose this method for its long-term effectiveness and the healthier living space it creates.
- Vent your cooker hood outside for cleaner air.
- It removes smoke, grease, and odors effectively.
- This prevents kitchen buildup and improves health.
- It’s a recommended practice for most kitchens.
Ready to make your kitchen a fresher place? Let’s walk through the best ways to vent your cooker hood outside.
You’ve decided to vent your cooker hood outside – that’s a fantastic choice for a healthier, cleaner kitchen! Now you might be wondering, “Exactly where does all that cooking air go?” This guide will walk you through the best locations and methods to ensure your cooker hood is venting effectively outdoors.
Directing Your Cooker Hood Air Outside: The Essentials
Venting your cooker hood outside is the most effective way to remove smoke, grease particles, and cooking odors. It prevents these airborne contaminants from recirculating in your home. This not only keeps your air fresh but also helps protect your kitchen surfaces from grease buildup and can even prevent moisture-related issues like mold growth (Cleveland Clinic).
Choosing the Right Venting Path
The goal is to create a clear, unobstructed path from your cooker hood to the exterior of your home. This path is typically made up of ductwork. We’ve found that the simpler the path, the more efficient the system will be.
The Most Common Venting Locations
You generally have a few primary options for where to exit the ductwork:
- Through an exterior wall: This is often the most straightforward. You’ll need to drill a hole through your home’s outer wall and install a vent cap.
- Through the roof: This is a good option if wall venting isn’t feasible due to your kitchen’s layout or obstructions. A roof vent cap is installed on the highest point of your roof.
- Through a soffit or eave: Less common, but sometimes practical, this involves venting through the underside of your roof overhang.
Considering Your Home’s Structure
Before you grab your tools, take a good look at your kitchen’s position within your home. Are you on the ground floor with easy access to an exterior wall? Or are you on an upper level where a roof vent might be more practical? The structure of your home plays a big role in determining the easiest and most efficient venting route.
Understanding Your Venting Kit Components
Most cooker hoods come with or require a venting kit. These kits typically include:
- Ducting: This is the flexible or rigid pipe that carries the air. Flexible ducting is easier to maneuver around obstacles, but rigid ducting is often more efficient for airflow.
- Vent Cap: This is the exterior piece that allows air to escape while preventing rain, pests, and drafts from entering your home.
We found that using high-quality components can make a difference in your hood’s performance and longevity.
Step-by-Step: Venting Your Cooker Hood Outside
Let’s break down the typical process. Remember, if you’re unsure about any step, it’s always best to consult a qualified professional.
1. Planning Your Vent Route
This is where you map out the journey for your cooking fumes. Measure the distance from your cooker hood to your chosen exterior exit point (wall, roof, or soffit). Shorter, straighter runs are always better for airflow. Avoid sharp bends in the ducting, as these can impede air movement and increase noise.
Obstacles to Watch For
During your planning phase, be on the lookout for structural beams, electrical wiring, plumbing pipes, or HVAC ducts. You absolutely do not want to cut into any of these. Many experts advise carefully inspecting wall studs and roof rafters before drilling.
2. Installing the Exterior Vent Cap
This is the gateway to the outside. For a wall vent, you’ll drill a hole slightly larger than your ducting diameter through the exterior wall. Then, you’ll insert the vent cap and secure it, ensuring it’s sealed properly to prevent water leaks.
For a roof vent, the process involves cutting an opening in the roof and installing a specialized roof flashing and vent cap. This requires working with roofing materials, so it’s often a job for a professional if you’re not experienced.
We found that using a weather-resistant vent cap is essential for durability.
3. Connecting the Ductwork
Now, you’ll connect the ducting from your cooker hood to the exterior vent cap. If you’re using flexible ducting, gently extend it and connect it securely to both the hood’s outlet and the vent cap. Ensure there are no kinks or excessive slack. For rigid ducting, you’ll use appropriate connectors and couplings.
It’s important to make sure all connections are airtight and secure. You can use foil tape designed for ductwork to seal any joints.
4. Testing Your System
Once everything is connected, turn on your cooker hood. You should feel air being drawn into the hood and expelled through the exterior vent. There shouldn’t be any unusual noises or leaks. A quick test can prevent future headaches.
Tips for Optimal Cooker Hood Venting
Beyond the installation itself, a few extra steps can ensure your system works at its best.
Duct Size Matters
Most cooker hoods are designed for a specific duct diameter (often 6 inches). Using a smaller duct will restrict airflow, making your hood work harder and less effectively. Conversely, a much larger duct might not be as efficient. Always check your cooker hood’s manual for the recommended duct size.
Keep Ducts Clean
Over time, grease and debris can build up inside your ductwork. This reduces airflow and can even become a fire hazard. Regular cleaning is key. We found that most manufacturers recommend cleaning the ducts at least once or twice a year, depending on your cooking habits.
Consider a Recirculating Hood (If Venting Outside Isn’t Possible)
If you’ve explored all your options and venting outside is simply not feasible for your home, don’t despair! Recirculating cooker hoods filter the air and release it back into the kitchen. They use charcoal filters to trap odors and grease filters to catch particles. While they don’t remove moisture or reduce heat like vented hoods, they can still improve your kitchen air quality.
However, for maximum effectiveness in removing grease and moisture, external venting remains the gold standard.
The “Ideal” Venting Scenario Checklist:
- Your chosen vent path is as short and straight as possible.
- You’ve avoided all structural elements, wiring, and plumbing.
- Your exterior vent cap is appropriate for the weather and location.
- All duct connections are sealed airtight with proper tape.
- The duct diameter matches the cooker hood manufacturer’s recommendation.
- You’ve tested the system and confirm good airflow outdoors.
Conclusion
You’ve learned the best places to vent your cooker hood outside for a healthier kitchen. Venting through a wall, roof, or soffit all have their advantages. Remember, a clear and short duct path is key to efficient airflow. Taking the time to plan and install correctly ensures your kitchen air stays fresh and free from grease. Your next step is to assess your kitchen’s layout and choose the vent location that best suits your home. With proper external venting, you’ll enjoy a cleaner, more comfortable cooking space.
Frequently Asked Questions
Can I vent my cooker hood through a chimney?
While a chimney might seem like an easy exit, it’s generally not recommended for cooker hood venting. Chimneys are designed for smoke and gases from fireplaces, and grease buildup from a cooker hood could pose a fire risk. They also may not provide a sufficient draft for your hood’s exhaust. It’s best to stick to the primary venting locations like walls or the roof.
What happens if my cooker hood ducting is too long?
If your ducting run is excessively long or has many bends, it will significantly reduce your cooker hood’s efficiency. The fan will struggle to push air through, leading to poor performance and increased noise. We found that shorter, straighter duct runs are always the most effective for optimal airflow.
Do I need a special vent cap for a roof vent?
Yes, you absolutely do. A roof vent cap is specifically designed to be installed on a roof and often includes flashing to integrate seamlessly with your roofing materials. This prevents water from entering your home. You cannot simply use a standard wall vent cap on a roof.
Is it okay to vent my cooker hood into the attic?
No, venting your cooker hood into the attic is a bad idea. Attics are enclosed spaces where moisture and grease can build up, leading to mold, mildew, and potential structural damage. The primary goal of venting is to expel these elements entirely from your home, not just relocate them.
How often should I clean my cooker hood ducts?
Regular cleaning is essential for safety and performance. We’ve found that most manufacturers suggest cleaning your cooker hood ducts at least once or twice a year. If you do a lot of frying or cooking with heavy grease, you might need to clean them more often to prevent dangerous buildup.