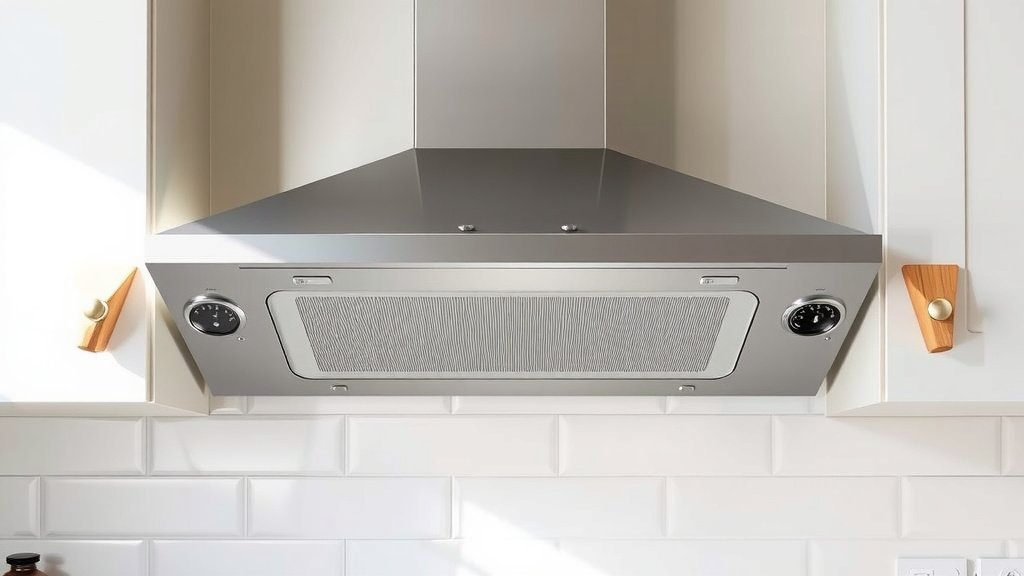
How to Vent a Cooker Hood: A Step-by-Step Guide
Venting your cooker hood yourself is totally doable and saves you money. You’ll need to run a duct from your hood to the outside. This process requires basic tools and a bit of DIY know-how. Getting it right helps remove smoke and grease from your kitchen.
A properly vented hood makes your kitchen a healthier place. It removes airborne grease and odors effectively. This prevents buildup on your cabinets and walls. Many homeowners find this a rewarding weekend project.
- Vent your cooker hood to the outside.
- This removes grease and odors from your kitchen.
- You’ll need basic tools for the job.
- It’s a DIY-friendly project.
Let’s walk through exactly how to vent your cooker hood step by step. We’ll cover everything you need to know to get it done right.
Getting Your Range Hood Ducted to the Outside
Venting your range hood properly is key. It sends smoke, grease, and odors right out of your home. This keeps your air cleaner. It also prevents yucky buildup on your kitchen surfaces. Let’s break down how to get this done.
Your Venting Options and What You’ll Need
First, you need to decide on your venting method. Most hoods can be set up for external venting. This is the best way to go for effectiveness. You might have a ductless hood. Those just recirculate air through filters. But for true ventilation, you need a path to the outside.
Choosing the Right Ducting
The ducting itself is important. You’ll want to use rigid or semi-rigid metal ducting. Plastic ducting isn’t recommended. Many experts suggest metal because it’s more durable. It also handles grease buildup better over time. The diameter of the duct needs to match your range hood’s outlet. This is usually 6 or 8 inches. Always check your hood’s manual for the exact size.
Tools and Materials Checklist
Before you start, gather your supplies. Having everything ready saves you time. You’ll need the duct pipe, any necessary elbows, and clamps to secure the connections. You’ll also need a drill with various bits. A jigsaw or reciprocating saw will likely be needed to cut holes. Measuring tape, a level, and a stud finder are also essential. Don’t forget safety gear like gloves and eye protection. It’s also smart to have some caulk or sealant on hand.
Planning Your Duct Route
Think about where the duct will go. The shortest path to the outside is usually the best. This means fewer turns and less resistance for the air. You can vent through an exterior wall. You can also vent through the roof. Consider what’s behind your walls and above your ceiling. You don’t want to hit any pipes or wires. Researching this early prevents major headaches.
Routing Through a Wall
Venting through a wall is often simpler. You’ll need to drill a hole through the exterior sheathing. The hole size depends on your duct diameter. You’ll need a wall cap to finish the exterior. This cap has a damper to keep out weather and pests. Make sure the cap is installed correctly. This prevents water from getting inside your house. Many home maintenance guides stress the importance of proper sealing here (National Association of Home Builders).
Routing Through the Roof
Roof venting requires a bit more care. You’ll need a roof vent cap. This cap is designed to withstand the elements. It also has a way to seal against your roofing material. You’ll need to cut a hole through the roof deck. Then, you’ll install the vent cap. Proper flashing around the vent is critical. This prevents leaks. Many roofers recommend using a professional for this part if you’re unsure. Water damage can be very costly.
The Installation Steps: A Detailed Walkthrough
Now, let’s get to the actual work. This is where your planning pays off. Take your time and follow these steps carefully.
Step 1: Prepare the Range Hood
First, disconnect power to the hood. You don’t want any surprises. Most hoods have a power cord or a direct wire connection. Make sure it’s unplugged or the breaker is off. Then, attach the duct adapter to the hood’s exhaust outlet. This is usually a simple collar that screws or snaps into place. Secure it tightly.
Step 2: Cut Holes for the Duct
If venting through a wall, locate your desired exit point. Use a stud finder to avoid studs. Mark the center of your hole. Drill a pilot hole from the inside. Check it from the outside. If it’s clear, use a larger drill bit or a hole saw. If venting through the roof, find a clear spot. Again, drill a pilot hole. Then, cut your main hole for the roof vent. Be mindful of rafters above.
Step 3: Run the Ductwork
Now, connect your duct pipe to the hood adapter. If you need to go around obstacles, use elbow pieces. Keep the duct as straight as possible. Secure each connection with a duct clamp. Make sure the seams are tight. You might need to cut the duct pipe to length. A hacksaw or metal snips work well for this. Ensure the duct runs smoothly through your wall or ceiling space.
Step 4: Install the Exterior Vent Cap
Mount the wall cap or roof vent cap in the hole you created. For wall caps, use screws and caulk to seal it. For roof vents, follow the manufacturer’s instructions carefully. This usually involves shingling the flashing correctly. Seal all edges to prevent leaks. Many experts suggest using a high-quality exterior caulk for this (Building Science Corporation).
Step 5: Connect the Duct to the Exterior Vent
From inside, connect the end of your duct run to the exterior vent cap. Use another clamp to secure it. This connection needs to be airtight. A good seal ensures all the air goes outside. You don’t want any leaks back into your attic or walls.
Step 6: Final Checks and Power Up
Before turning the power back on, do a final check. Are all connections secure? Is the exterior vent cap properly sealed? Make sure no tools or debris are left in the ductwork. Once you’re confident, restore power. Turn on your range hood. Check for airflow at the exterior vent. You should feel air being pulled strongly from your cooktop.
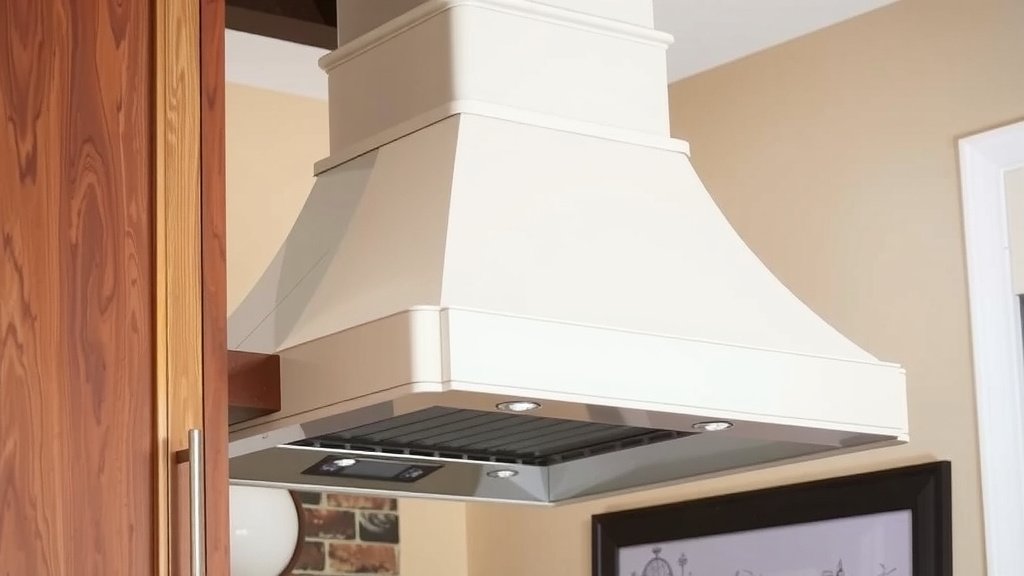
Maintaining Your Vented Range Hood
Regular maintenance keeps your hood working well. Periodically check the exterior vent cap. Make sure it’s clear of debris. Clean the filters inside your hood. These capture grease. They should be cleaned or replaced as per the manufacturer’s recommendations. A clean filter improves airflow and efficiency.
Quick Checklist for a Successful Venting Project
- Plan your duct route carefully.
- Gather all necessary tools and materials.
- Ensure all duct connections are secure and airtight.
- Properly seal the exterior vent cap to prevent leaks.
- Always disconnect power before starting work.
- Test airflow after installation.
Conclusion
You’ve learned how to vent your cooker hood to the outside. This project is achievable with basic tools and careful planning. By following the steps, you ensure your kitchen air stays clean and free of grease. Remember, a properly vented hood improves your kitchen’s environment significantly. You can do this!
Your next step is to gather your supplies. Then, pick a weekend and start the installation. You’ll be enjoying a fresher kitchen in no time.
Frequently Asked Questions
How do I know if my cooker hood needs venting?
If your current hood only recirculates air through filters, it’s likely ductless. For effective removal of smoke and grease, external venting is best. Check your hood’s manual for its specifications.
Can I vent my cooker hood through an existing vent?
Typically, range hood ducts need a dedicated path to the outside. Existing vents like bathroom fans may not be designed for the volume of air and grease from a kitchen hood. It’s best to create a new, direct path.
What’s the difference between rigid and semi-rigid ducting?
Rigid metal ducting is stiffer and offers the best airflow with fewer obstructions. Semi-rigid metal ducting is more flexible, making it easier to maneuver around obstacles. Both are good options, but rigid is often preferred for efficiency.
How important is sealing the duct connections?
Sealing duct connections is very important. It prevents air and grease from escaping into your walls or attic. This ensures maximum airflow to the outside and avoids potential moisture or fire hazards.
How often should I clean my range hood filters?
You should clean your range hood filters regularly, usually every 1-3 months, depending on your cooking habits. Check your hood’s manual for specific cleaning or replacement recommendations. Clean filters greatly improve your hood’s performance.