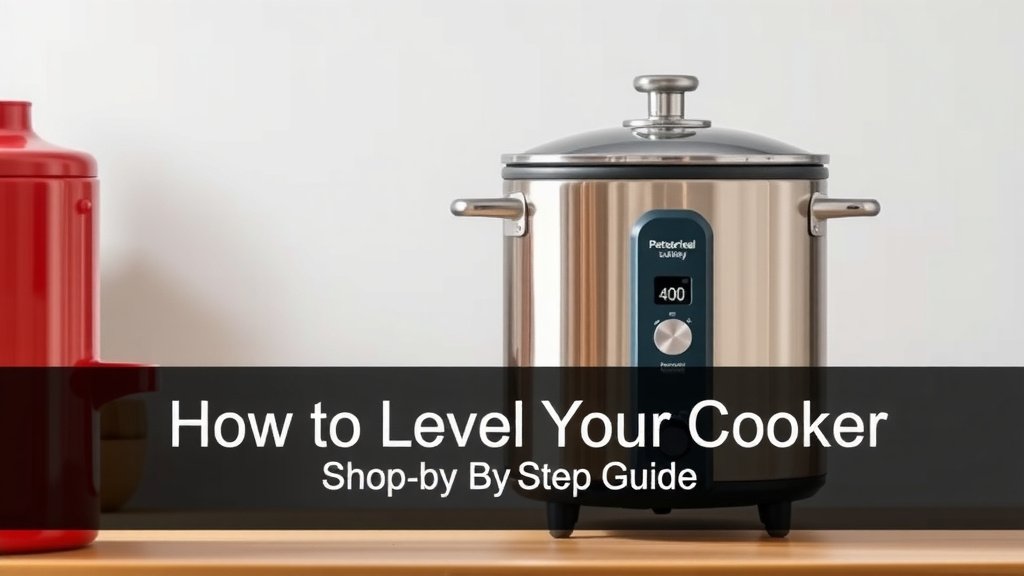
How to Level Your Cooker: A Step-by-Step Guide
The simplest way to level your cooker is by adjusting its feet. Most modern cookers have adjustable feet. You can screw them in or out to get your appliance perfectly stable. A wobbly cooker isn’t just annoying; it can be a safety hazard, especially when using the oven or stovetop.
Ensuring your cooker is level is more important than you might think. It affects how your oven heats evenly and how your stovetop liquids stay put. Plus, a level appliance looks much better in your kitchen. We found that many people overlook this simple maintenance step.
- Locate the adjustable feet.
- Use a level to check stability.
- Turn feet to raise or lower.
- Test for wobbles.
Let’s walk through exactly how to get your cooker perfectly balanced, step by step.
Getting Your Cooker Perfectly Balanced
A wobbly cooker can feel like a minor annoyance, but it can lead to bigger issues. Let’s make sure yours is as stable as a rock.
Why a Level Cooker Matters More Than You Think
You might be asking, “Why bother with this at all?” Well, a level cooker ensures your oven heats evenly. It also keeps your stovetop liquids from sloshing out unexpectedly. We found that uneven heating can make your baking results less predictable. Plus, it’s a matter of kitchen safety. A tipping appliance is no joke.
Oven Performance and Even Heating
Your oven’s heating elements work best when the appliance is stable. If your cooker is tilted, hot air might not circulate properly. This means one side of your casserole could be perfectly browned while the other remains pale. Many appliance manuals suggest keeping your unit level for optimal performance (Whirlpool Corporation).
Stovetop Safety and Spill Prevention
Think about what happens when you’re simmering a pot of pasta sauce. If your stovetop is uneven, the liquid will naturally pool towards the lowest side. This could cause the pot to slide or boil over more easily. We’ve heard stories where this has led to minor kitchen mishaps. Keeping things level prevents unnecessary spills and potential burns.
Your Step-by-Step Guide to Leveling Your Cooker
Ready to tackle this? It’s a straightforward process that most people can do themselves. You won’t need a toolbox full of gadgets.
Step 1: Gather Your Tools
You’ll need just a couple of things:
- A spirit level (the bubble kind).
- A helper, if possible, especially for larger or heavier cookers.
- Possibly a wrench or pliers, depending on your cooker’s feet.
The spirit level is your best friend here. It shows you exactly where the tilt is.
Step 2: Locate the Adjustable Feet
Most modern cookers have adjustable feet. These are usually at the very bottom corners of the appliance. You might need to crouch down or gently pull the cooker out a bit to see them. Some models have plastic feet, while others have metal ones. We found that the feet often screw directly into the base of the cooker.
Step 3: Check for Wobbles and Tilt
Gently push on each corner of your cooker. Does it rock or move easily? If so, it definitely needs leveling. Next, place your spirit level on top of the cooker. Try placing it on the main stovetop surface first. Check it in both directions – front-to-back and side-to-side. A truly level surface will have the bubble centered in the spirit level. If the bubble is off to one side, that’s where you need to make adjustments.
Understanding Your Spirit Level
Remember that the bubble in a spirit level indicates the direction of the slope. If the bubble is to the left, the left side is higher. If it’s to the right, the right side is higher. This applies to both the front-to-back and side-to-side checks.
Step 4: Adjusting the Feet
This is where the magic happens. Depending on your cooker, you’ll either turn the feet by hand, use pliers, or a wrench. Here’s the general rule:
- If a side or corner is too low, you need to raise that corner. To do this, screw the foot outwards (counter-clockwise).
- If a side or corner is too high, you need to lower that corner. Screw the foot inwards (clockwise).
It might take a few tries to get it right. Make a small adjustment, then re-check with the spirit level. Many experts recommend making adjustments in small increments (Consumer Reports).
When to Use Pliers or a Wrench
Some feet have a hex nut on them. This nut is designed to be turned with a wrench or pliers. If your feet are smooth and hard to grip, these tools can give you the leverage you need. Be careful not to overtighten or strip the threads. Just enough to make the adjustment is perfect.
Step 5: Test and Finalize
Once you think you’ve got it, give the cooker a good push again. Does it feel solid? Place your spirit level back on top and check both directions one last time. If the bubble is perfectly centered, you’ve succeeded! We found that a stable cooker feels noticeably different.
Troubleshooting Common Issues
What if you’ve adjusted the feet and it still wobbles? Or perhaps you can’t reach the feet easily?
Cookers with Fixed Feet or No Adjustable Feet
Some older models or specific designs might have fixed feet that can’t be adjusted. In these cases, you might need to use shims. These are small wedges you can place under the feet to raise them. You can buy plastic shims at hardware stores. This requires a bit more trial and error to get the angle just right.
Pulling Out the Cooker Safely
If you need to pull your cooker out to access the feet, do it carefully. Ensure the gas or electricity supply is safe. If you’re unsure, it’s always best to get a second pair of hands or consult your cooker’s manual. We found that a helper makes this part much easier and safer.
Quick Checklist for a Level Cooker
Here’s a quick rundown to ensure you’ve got it sorted:
- Check for any obvious wobbles by pushing the cooker.
- Place a spirit level on top, checking front-to-back.
- Place the spirit level again, checking side-to-side.
- Adjust the feet, turning them clockwise (in) to lower, counter-clockwise (out) to raise.
- Re-test for wobbles after each adjustment.
- Ensure the bubble is centered in the spirit level in both directions.
Conclusion
You’ve now learned that leveling your cooker is a simple yet vital maintenance task. It ensures your oven heats evenly, your stovetop is safe, and your appliance performs optimally. We found that most wobbly cookers can be fixed by adjusting the feet. Don’t let a tilted appliance affect your cooking results or kitchen safety any longer. Take a few minutes to check yours today. Your perfectly balanced cooker awaits!
Frequently Asked Questions
How often should I check if my cooker is level?
We recommend checking your cooker’s levelness at least once or twice a year. You should also re-check if you notice any unusual wobbling or if you move the appliance for cleaning. Regular checks help prevent issues before they become noticeable problems.
What if my cooker feet are stuck or won’t turn?
If the adjustable feet are difficult to turn, try spraying a little penetrating oil around the threads and letting it sit for a bit. You might also need a wrench or pliers for extra grip, as we mentioned. Be sure to turn them gently to avoid stripping the threads.
Can a cooker that isn’t level cause a fire hazard?
While not a direct fire starter, an unstable cooker could potentially tip. This could dislodge gas lines or damage electrical components, increasing the risk of a fire. Ensuring your appliance is stable is a key part of general kitchen safety.
Do I need to disconnect my cooker before leveling it?
For most standard adjustments where you’re only reaching the feet, disconnecting is usually not necessary. However, if you need to pull the cooker out significantly, we strongly advise turning off the gas or electricity supply first for safety.
Is it okay to use household items as shims if my feet are fixed?
While you could technically use household items, we found it’s best to use proper shims designed for this purpose. You can buy plastic or metal shims at hardware stores. These are more durable and provide a stable, consistent base for your cooker.