Cook Perfect Quinoa in Your Rice Cooker Every Time
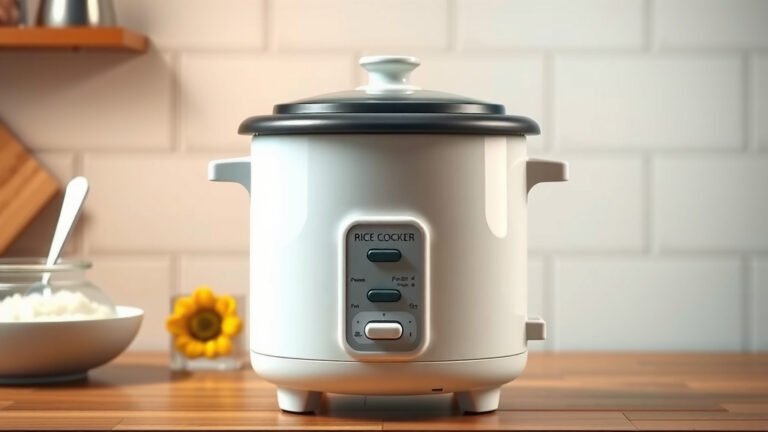
Yes, you can absolutely cook quinoa in a rice cooker! It’s a super simple and often hands-off method. Your rice cooker handles the heat and timing, making fluffy quinoa a breeze.
Using your rice cooker means less guesswork. You can achieve perfectly cooked quinoa every single time. It’s a great way to prepare this healthy grain for meals throughout the week.
TL;DR:
- Yes, rice cookers are great for quinoa.
- It’s an easy, hands-off cooking method.
- Get perfectly fluffy quinoa every time.
- Simple ratio: 1 part quinoa to 2 parts water.
Let’s walk through exactly how to get your quinoa cooked perfectly in your trusty rice cooker.
Mastering Quinoa in Your Rice Cooker
You’ve got this! Cooking quinoa in a rice cooker is simpler than you might think. It takes the guesswork out of getting that perfect fluffy texture. Your rice cooker is essentially a set-it-and-forget-it kitchen appliance. This method works for most standard rice cooker models. You’ll find it’s incredibly reliable. Let’s break down the steps for success.
The Simple Quinoa to Water Ratio
The golden rule for cooking quinoa in a rice cooker is a 1:2 ratio. This means for every one part of quinoa, you’ll need two parts of liquid. Most commonly, this liquid is water. Some people prefer to use broth for added flavor. You can easily adapt this ratio. If you’re using 1 cup of quinoa, you’ll use 2 cups of water or broth.
We found that this ratio consistently yields well-cooked grains. They are separate and tender. Not mushy or dry. Stick with this simple guideline. It’s your best friend for fluffy quinoa.
Prepping Your Quinoa for the Cooker
Before you toss your quinoa into the rice cooker, a little prep work is essential. Many types of quinoa are coated in a natural substance called saponin. This can give your cooked quinoa a bitter or soapy taste. Nobody wants that! So, rinsing is key.
Why Rinsing Matters
Rinsing removes the saponin. It also gets rid of any dust or debris. Think of it as giving your quinoa a quick bath. This step significantly improves the flavor. It ensures a clean, nutty taste.
How to Rinse Properly
Grab a fine-mesh sieve. Place your desired amount of quinoa in the sieve. Rinse it thoroughly under cold running water. Gently swish the quinoa around with your fingers. Continue rinsing until the water runs clear. This usually takes about 30 seconds to a minute. Make sure all the bubbly foam is gone. This simple action makes a huge difference in the final taste.
Adding Quinoa and Liquid to Your Rice Cooker
Once your quinoa is rinsed, it’s time to get it into the rice cooker. Add the rinsed quinoa directly to the inner pot of your rice cooker. Then, pour in your measured liquid. As we discussed, the standard ratio is 1 part quinoa to 2 parts liquid. For example, if you used 1 cup of quinoa, add 2 cups of water or broth.
Some people like to add a pinch of salt at this stage. This can enhance the flavor of the quinoa. It’s entirely optional, of course. Mix the quinoa and liquid gently with a spoon.
Selecting the Right Rice Cooker Setting
This is where your rice cooker shines! Most modern rice cookers have a specific setting for cooking grains. Look for a button labeled “Quinoa,” “Grain,” “Brown Rice,” or a similar option. If your rice cooker has a dedicated “Quinoa” setting, that’s the one you want to use. It’s programmed for the perfect cooking time and temperature.
If you don’t see a specific quinoa setting, don’t worry. The “White Rice” or “Standard” setting often works just fine. Some research suggests that the “Brown Rice” setting can also be effective. This is because brown rice typically requires a bit more cooking time, similar to quinoa. We found that using the standard white rice setting is usually a safe bet for most cookers.
Letting the Rice Cooker Do Its Magic
Once you’ve selected your setting, close the lid of your rice cooker. Press the start button. Now, you can step away! Your rice cooker will take over. It will manage the heat and cook the quinoa until it’s done. There’s no need to stir or monitor it constantly.
The cooking time will vary depending on your rice cooker model and the amount of quinoa. It typically takes anywhere from 15 to 30 minutes. Many rice cookers will automatically switch to a “Keep Warm” mode once the cooking cycle is complete. This is incredibly convenient.
The Crucial Resting Period
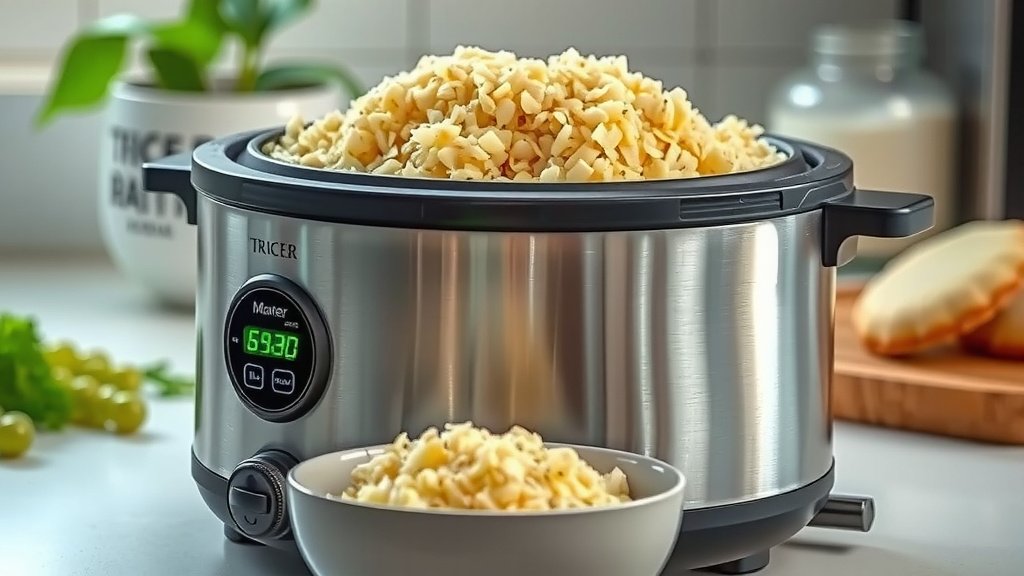
This step is just as important as the cooking itself. Once your rice cooker finishes, resist the urge to open the lid immediately. Let the quinoa rest in the cooker for about 5 to 10 minutes. This resting period allows the steam to redistribute evenly.
It helps the quinoa absorb any remaining moisture. This results in a fluffier, more perfectly cooked texture. Skipping this step can sometimes lead to slightly wetter quinoa. Patience truly pays off here.
Fluffing Your Perfectly Cooked Quinoa
After the resting period, open the lid. You’ll likely see fluffy quinoa! Use a fork or a rice paddle to gently fluff the quinoa. Stir it from the bottom up. This separates the grains and ensures a light, airy consistency. Your beautifully cooked quinoa is now ready to serve.
Tips for Delicious Quinoa Every Time
Here are a few extra pointers to ensure your quinoa cooking adventures are always successful:
- Rinse thoroughly: Never skip the rinsing step. It’s vital for taste.
- Use the right ratio: Stick to 1 part quinoa to 2 parts liquid.
- Experiment with liquid: Try vegetable or chicken broth instead of water for more flavor.
- Don’t peek: Let the rice cooker do its job without opening the lid during cooking.
- Rest and fluff: Always allow the quinoa to rest before fluffing.
Troubleshooting Common Quinoa Cooking Issues
Even with a rice cooker, sometimes things don’t go perfectly. Here are a couple of common issues and how to fix them.
My Quinoa is Mushy
If your quinoa turns out mushy, it usually means there was too much liquid, or it wasn’t rested long enough. Next time, try slightly reducing the liquid. Ensure you let it rest for the full 10 minutes. Sometimes, just fluffing it well can help separate the grains.
My Quinoa is Dry or Hard
A dry or hard texture often indicates not enough liquid or an insufficient cooking time. Double-check your 1:2 ratio. If using the “White Rice” setting, and it still seems dry, try a bit more liquid next time. You can also add a tablespoon or two of extra water during the resting phase if it seems too dry.
My Quinoa Tastes Bitter
This is almost always due to not rinsing the saponin off. Make sure to rinse your quinoa until the water runs completely clear. This is the most common culprit for a bitter taste. A thorough rinse is key.
A Quick Reference Guide
Here’s a quick summary to keep handy when you’re ready to cook:
| Step | Action |
|---|---|
| Measure | Use a 1:2 ratio (quinoa:liquid). |
| Rinse | Rinse quinoa thoroughly under cold water. |
| Combine | Add quinoa and liquid to the rice cooker pot. |
| Cook | Select the appropriate setting (Quinoa, White Rice, etc.) and start. |
| Rest | Let it sit for 5-10 minutes after cooking. |
| Fluff | Gently fluff with a fork before serving. |
Conclusion
You’ve now got the simple secrets to cooking fluffy quinoa in your rice cooker. Remember the magic 1:2 ratio and the essential step of rinsing your grains. Your rice cooker takes the hard work out of it, turning a healthy staple into an easy win for your weeknight meals. You’ve learned how to avoid common pitfalls like mushy or bitter quinoa. Now, go ahead and press that start button. Your perfectly cooked quinoa awaits!
Frequently Asked Questions
Can I cook different types of quinoa in a rice cooker?
Yes, you can! White, red, and black quinoa all cook well in a rice cooker using the same 1:2 ratio and method. Red and black quinoa might take a few minutes longer, but the rice cooker’s settings will generally handle it just fine.
What if my rice cooker doesn’t have a quinoa setting?
No problem at all! The standard “White Rice” or “Regular” setting on most rice cookers works perfectly for quinoa. Some users have also found success with the “Brown Rice” setting, as it often provides a bit more cooking time.
How do I prevent quinoa from tasting bitter?
The most common reason for bitter quinoa is not rinsing off the saponin coating. Always rinse your quinoa thoroughly under cold water in a fine-mesh sieve until the water runs clear. This simple step makes a big difference.
Can I add vegetables or other ingredients to the quinoa while cooking?
You can try adding heartier vegetables like diced carrots or peas towards the end of the cooking cycle, or after fluffing. For softer vegetables or herbs, it’s best to mix them in after the quinoa is cooked and fluffed to preserve their texture and flavor.
How long does cooked quinoa last in the refrigerator?
Cooked quinoa stores well in an airtight container in your refrigerator for about 3 to 5 days. It’s a fantastic make-ahead grain for salads, bowls, or as a side dish throughout the week.