How to Wire an Electric Cooker Safely: A Step-by-Step Guide
Wiring an electric cooker is a manageable DIY project if you follow safety guidelines carefully. You’ll need to ensure the power is off at the breaker box before you begin. Proper wiring is essential for both **appliance safety** and your home’s **electrical system integrity**. This guide will walk you through the process step-by-step.
Most modern electric cookers use a three-prong or four-prong plug. Understanding the difference between these and identifying the correct wiring connections is key. We’ll cover common wiring scenarios and what tools you’ll likely need, like a **voltage tester** and **wire strippers**, to get the job done right and **avoid costly mistakes**.
- Turn off power at the breaker.
- Identify your cooker’s plug type (3 or 4 prong).
- Use a voltage tester to confirm power is off.
- Connect wires matching colors to terminals.
- Secure connections and test carefully.
Let’s walk through exactly how to wire your electric cooker safely and effectively, ensuring everything is connected correctly.
Connecting Your Electric Cooker: A Step-by-Step Guide
Wiring an electric cooker can seem daunting, but it’s totally doable with the right approach. Think of it like connecting puzzle pieces for your kitchen! We’ll break down the process so you can feel confident tackling this project.
Gathering Your Essential Tools
Before you even think about touching wires, let’s make sure you have the right tools. This will make the job much smoother and safer. You wouldn’t build a house without a hammer, right? The same goes for kitchen appliance wiring.
The Must-Have Toolkit
- Voltage Tester: This is your absolute best friend for safety. It tells you if the power is truly off.
- Wire Strippers/Cutters: You’ll need these to expose the copper wire ends.
- Screwdriver Set: Typically, you’ll need Phillips and flathead screwdrivers.
- Pliers: Needle-nose pliers are handy for manipulating wires.
- Work Gloves: Protect your hands from nicks and scrapes.
- Safety Glasses: Keep those eyes protected from any stray debris.
Safety First: Power Down Completely
This is the most important step. If the power is on, you risk serious injury or worse. Your home’s electrical panel, often called a breaker box, controls power to different circuits. Find the breaker that controls your cooker’s outlet.
Locating and Shutting Off the Breaker
Look for a label near the breaker that says “Range,” “Cooker,” “Oven,” or “Appliance.” If it’s not labeled clearly, you might need to test which breaker it is. Some people even turn off the main breaker to the whole house for extra peace of mind, but this will cut power to everything.
Always confirm the power is off using your voltage tester. Touch the tester to the wires or terminals where you’ll be working. If it lights up or beeps, the power is still on. Go back to the breaker box and find the correct switch.
Understanding Your Cooker’s Plug and Wiring
Most modern electric cookers use either a three-prong or a four-prong plug. The type of plug depends on your home’s wiring configuration. Older homes might have a three-prong outlet, while newer ones typically have a four-prong setup.
The Three-Prong Connection
A three-prong plug has three wires: hot (usually black), neutral (white), and ground (green or bare copper). The outlet will have corresponding slots. The neutral and ground are combined in older wiring systems.
The Four-Prong Connection
A four-prong plug has four wires: two hot wires (black and red), one neutral wire (white), and one ground wire (green or bare copper). This is a more modern system that separates the neutral and ground connections for increased safety, as recommended by the National Electrical Code (NEC) since 1996 (NEC).
Identifying the Wires on Your Cooker
Look at the back of your cooker where the power cord attaches. You’ll see terminals or wires coming out of the appliance. They will typically be color-coded: black and red for the hot wires, white for the neutral, and green or bare copper for the ground.
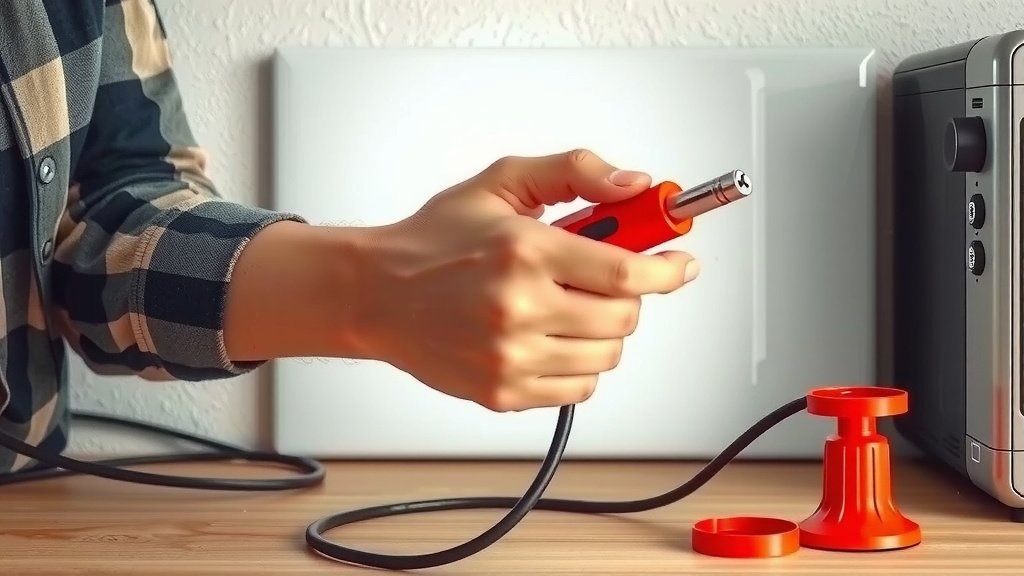
Making the Connections: Step-by-Step
Now for the actual wiring. Remember, power is OFF, right? Good. We’re going to match wires from the cooker to the wires coming from the wall outlet. This is where your wire strippers come in handy.
Preparing the Wires
If the wires are not already exposed, use your wire strippers to carefully remove about ½ to ¾ inch of insulation from the end of each wire. You want to see clean copper. Be careful not to nick the copper itself, as this can weaken the wire.
Connecting the Ground Wire
This is usually the easiest and most critical connection. The ground wire (green or bare copper) from your cooker should connect to the ground screw or terminal, which is often green, in your wall outlet box. Secure it tightly with a screwdriver.
Connecting the Neutral Wire
The white neutral wire from the cooker connects to the neutral terminal in the wall outlet box. This terminal is usually silver. Ensure the connection is snug.
Connecting the Hot Wires
This is where the three-prong and four-prong setups differ slightly in connection.
- For a four-prong connection: Connect the black wire from the cooker to one hot terminal (often brass colored) and the red wire from the cooker to the other hot terminal (also often brass colored).
- For a three-prong connection: In older systems, the white neutral wire often doubles as a ground path. If you’re dealing with a three-wire setup, you might connect the black and red cooker wires to the two hot terminals, and the white cooker wire might connect to the center neutral terminal, which could also serve as the ground in some older setups. If your cooker has a separate ground wire, and your wall outlet only has three prongs, you’ll need to consult your cooker’s manual or an electrician. Many newer cookers are designed for four-prong outlets.
Securing the Connections
Once all wires are connected, make sure they are all tightly secured to their respective terminals. Give each wire a gentle tug to ensure it won’t come loose. Loose connections can cause overheating and fire hazards.
Final Checks and Testing
Before you plug your cooker back in, do a final visual inspection. Are all wires secure? Are there any stray strands of copper touching other terminals or the metal casing? This is where safety glasses are a lifesaver.
The Moment of Truth: Testing
Turn the power back on at the breaker box. Listen for any unusual sounds. Then, try turning on a burner or the oven element on your cooker. If everything works, congratulations! If not, turn the power off immediately at the breaker and re-check your connections.
A Quick Safety Checklist Before Powering On:
- Did you confirm power is OFF at the breaker?
- Are all wire connections secure and tight?
- Are there any bare wires touching where they shouldn’t be?
- Does the cooker’s plug match the outlet type (3 or 4 prong)?
- Did you consult your cooker’s manual for specific instructions?
Conclusion
You’ve now learned the essential steps for wiring your electric cooker. Remember, safety is always your top priority. Always turn off power at the breaker before starting. Properly identifying your cooker’s plug type and matching the wires correctly to the terminals in your wall outlet is key. A little care and attention to detail ensures your cooker operates safely and efficiently. If you ever feel unsure, don’t hesitate to call a qualified electrician to complete the job for you.
Frequently Asked Questions
Can I use my old three-prong outlet for a new four-prong cooker?
Generally, no. Newer cookers are designed for four-prong outlets which separate the ground and neutral wires for better safety. You may need to have a qualified electrician install a new four-prong outlet if your home only has a three-prong setup.
What happens if I connect the hot wires to the wrong terminals?
Connecting hot wires incorrectly can cause the cooker to not function, trip your breaker, or even create a fire hazard. Always double-check your connections against the cooker’s manual and the outlet wiring.
How do I know if the power is truly off?
Use a voltage tester before you touch any wires. Touch the tester to the wires or terminals where you’ll be working. If it lights up or beeps, the power is still on. Go back to the breaker box and find the correct switch.
What if my cooker doesn’t have color-coded wires?
If your cooker’s wires aren’t clearly color-coded, consult your appliance’s manual immediately. It should provide a wiring diagram or specific instructions on how to identify each wire based on its function (hot, neutral, ground).
Do I need to replace the cooker’s cord if it’s damaged?
Yes, if the cord or plug on your electric cooker is damaged, it’s essential to replace it before wiring. A damaged cord is a serious safety risk and can lead to electrical shocks or fires.