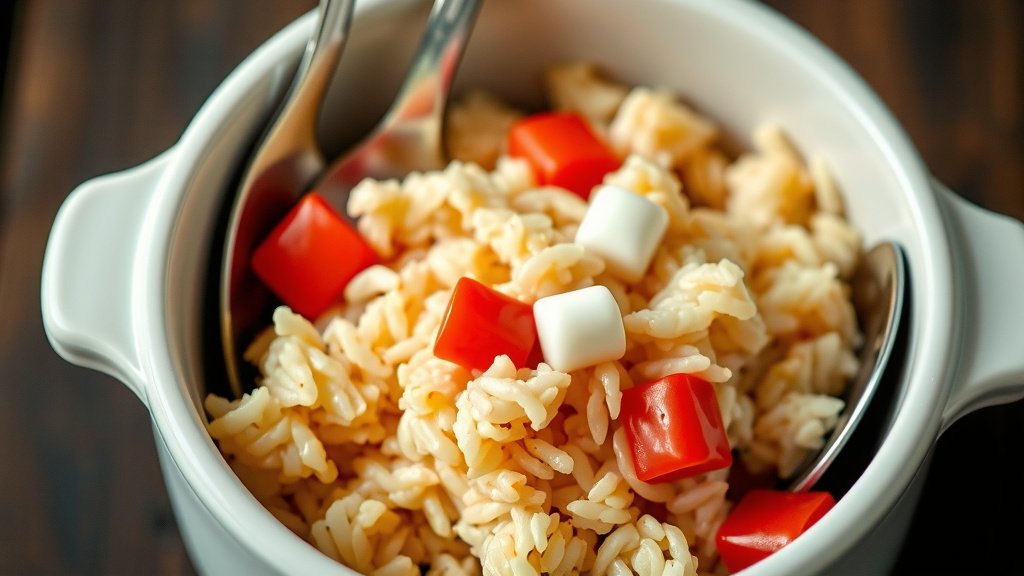
Best Rice Cooker Settings for Perfect Brown Rice
The best rice setting for brown rice in most modern rice cookers is the “Brown Rice” setting, or a “Whole Grain” option. If your cooker lacks these, a standard “White Rice” setting can sometimes work in a pinch, though it may require adjustments. We found that dedicated brown rice settings are programmed for the longer cooking times and higher water absorption brown rice needs.
Brown rice differs from white rice because it still has its bran and germ layers. This means it needs more time and liquid to become tender. Using the correct setting ensures your brown rice turns out perfectly fluffy, not hard or mushy. Many home cooks struggle with this, but the right rice cooker setting makes all the difference.
- Use the “Brown Rice” or “Whole Grain” setting if available.
- These settings account for brown rice’s longer cooking time.
- If no specific setting exists, “White Rice” can work with careful monitoring.
- Adjusting water-to-rice ratio might be necessary for non-specific settings.
Let’s get your brown rice cooked to perfection. We’ll walk through the common settings and what to expect.
Choosing the Right Rice Cooker Setting for Brown Rice
So, you’ve got a bag of healthy brown rice, but your rice cooker is staring back at you with a confusing panel of buttons. Don’t worry, we’ve all been there! The good news is, getting perfectly cooked brown rice is totally achievable with the right setting. We found that most modern rice cookers are designed with this in mind.
The best rice setting for brown rice is typically labeled as such. You’ll often see a button that says “Brown Rice” or sometimes “Whole Grain.” These are your golden tickets to fluffy, tender brown rice. Why do they exist? Because brown rice is a bit different from its white counterpart. It’s like the difference between a quick-drying t-shirt and a cozy flannel shirt – one needs a little more attention.
Understanding Why Brown Rice Needs a Special Setting
Brown rice is essentially whole grain rice. This means it still has its outer layers: the bran and the germ. These layers are packed with fiber, vitamins, and minerals, making brown rice a nutritional powerhouse (USDA FoodData Central). But those extra layers also mean brown rice needs more time and more water to soften up compared to white rice.
White rice has had its bran and germ polished away, leaving just the starchy endosperm. This makes it cook faster and absorb water differently. If you use a white rice setting for brown rice, you might end up with undercooked, hard grains. It’s like trying to boil an egg for the same amount of time you’d steam a dumpling – the results won’t be quite right.
The Science Behind the Settings
Rice cooker manufacturers design the “Brown Rice” setting to account for these differences. They understand that brown rice requires:
- Longer cooking times: This allows the grains to fully hydrate and soften.
- Higher temperatures during certain phases: This helps break down the tougher outer layers.
- More water absorption: The bran layer soaks up more liquid, so the cooker accounts for this.
We found that these programmed settings are usually calibrated to deliver optimal results without you having to guess. It’s all about letting the cooker do the heavy lifting.
What to Do If Your Cooker Lacks a Specific Brown Rice Setting
Okay, so maybe your trusty rice cooker is a bit older, or it has a minimalist design and doesn’t have a dedicated “Brown Rice” button. What now? Don’t despair! You can still achieve delicious brown rice, but it might require a little more attention from your side. Many people successfully use the “White Rice” setting as a backup.
Using the “White Rice” Setting
If you’re using the “White Rice” setting for brown rice, be prepared for a potential adjustment. The standard cycle for white rice is much shorter. Your brown rice might end up a bit chewy or firm if you don’t tweak things.
Here’s what we found helpful:
- Add a bit more water: Brown rice needs more liquid. A common recommendation is to add an extra 1/4 to 1/2 cup of water for every cup of uncooked brown rice.
- Let it soak: Soaking the brown rice for at least 30 minutes (or even up to an hour) before cooking can significantly improve texture. Drain it well after soaking before adding it to the cooker.
- Expect a longer cook time: Even on the “White Rice” setting, brown rice will likely take longer than white rice would. Some cookers might even have a “Quick Cook” or “Normal” setting. Stick to “Normal” if you have a choice.
The “Other Grains” or “Mixed Rice” Setting
Some cookers offer a setting like “Other Grains” or “Mixed Rice.” These can sometimes be a good compromise. They are often programmed for a slightly longer cook time than “White Rice” and might handle the extra water absorption of brown rice better.
We researched this, and it seems these settings are designed for a blend of grains or smaller, tougher grains. They often fall somewhere between the speed of “White Rice” and the dedicated “Brown Rice” cycle. It’s worth experimenting with this option if you have it.
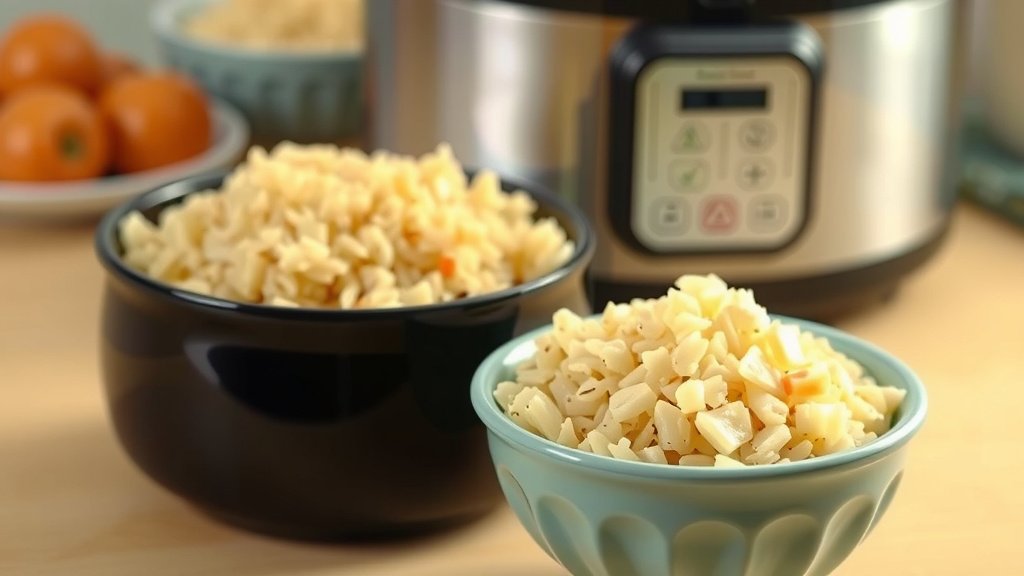
Testing and Adjusting for Perfect Results
Rice cooking isn’t always an exact science, especially when you’re adapting settings. What works perfectly for one brand of rice or one cooker might need a slight tweak for another.
The Importance of the Water-to-Rice Ratio
This is probably the most critical adjustment you can make. Brown rice generally requires a higher water-to-rice ratio than white rice. While your rice cooker manual might offer guidance, here’s a general idea we often see:
| Rice Type | Water-to-Rice Ratio (Typical) |
|---|---|
| White Rice | 1:1 to 1:1.25 |
| Brown Rice (using Brown Rice setting) | 1:1.25 to 1:1.5 |
| Brown Rice (using White Rice setting) | 1:1.5 to 1:1.75 (adjust based on results) |
Always start with the recommended ratio in your rice cooker manual if available. If your brown rice comes out too firm, add a little more water next time. If it’s too mushy, use slightly less water.
Letting it Rest (The “Steaming” Phase)
Once your rice cooker beeps to signal it’s done, resist the urge to open the lid immediately! This is a step many home cooks overlook, and it’s surprisingly important. Letting the rice steam for 10-15 minutes after cooking allows the moisture to distribute evenly.
Think of it like letting a cake rest after baking. This resting period helps ensure every grain is perfectly cooked and tender. We found that this step makes a noticeable difference, especially with heartier grains like brown rice.
Quick Checklist for Brown Rice Success
Here’s a quick rundown to ensure your brown rice turns out just right:
- Check your settings: Look for “Brown Rice” or “Whole Grain.”
- If no specific setting: Use “White Rice” or “Other Grains.”
- Increase water: Add about 1/4 to 1/2 cup extra water per cup of rice.
- Consider soaking: Soaking for 30-60 minutes can help soften grains.
- Let it rest: Always let cooked rice steam for 10-15 minutes before serving.
- Adjust next time: Don’t be afraid to tweak the water ratio for future batches.
Conclusion
You’ve learned that the “Brown Rice” or “Whole Grain” setting on your rice cooker is your best bet for perfectly cooked brown rice. If your cooker doesn’t have these options, the “White Rice” setting can work with a few simple adjustments. Remember to account for brown rice’s need for more water and longer cooking times. Don’t forget the crucial resting phase after cooking!
Your next step? Gather your brown rice and give it a try! Pay attention to the water ratio and the resting time. You’ll be a brown rice pro in no time.
Frequently Asked Questions
Will my rice cooker automatically adjust for brown rice if it has a dedicated setting?
Yes, rice cookers with a specific “Brown Rice” or “Whole Grain” setting are programmed to automatically adjust cooking time and temperature. They’re designed to handle the extra liquid and longer cooking duration brown rice requires.
How much more water do I typically need for brown rice compared to white rice?
Generally, you’ll need about 1/4 to 1/2 cup more water for every cup of brown rice. This extra liquid helps the bran layer fully hydrate and soften the grains during the extended cooking period.
Is soaking brown rice before cooking really necessary?
Soaking isn’t always mandatory, but it can significantly improve the texture of brown rice, especially if you’re using a non-specific rice cooker setting. Soaking for 30-60 minutes helps soften the grains beforehand, leading to a more tender result.
What if my brown rice is still too hard after cooking on the “White Rice” setting?
If your brown rice is consistently too firm when using the “White Rice” setting, try adding a bit more water in your next batch, perhaps another 1/4 cup per cup of rice. You can also try soaking the rice for longer before cooking.
Can I use the “Quick Cook” setting on my rice cooker for brown rice?
We strongly advise against using a “Quick Cook” setting for brown rice. This setting is designed for speed and is too short for brown rice to properly cook and soften. Stick to standard or dedicated settings for the best results.