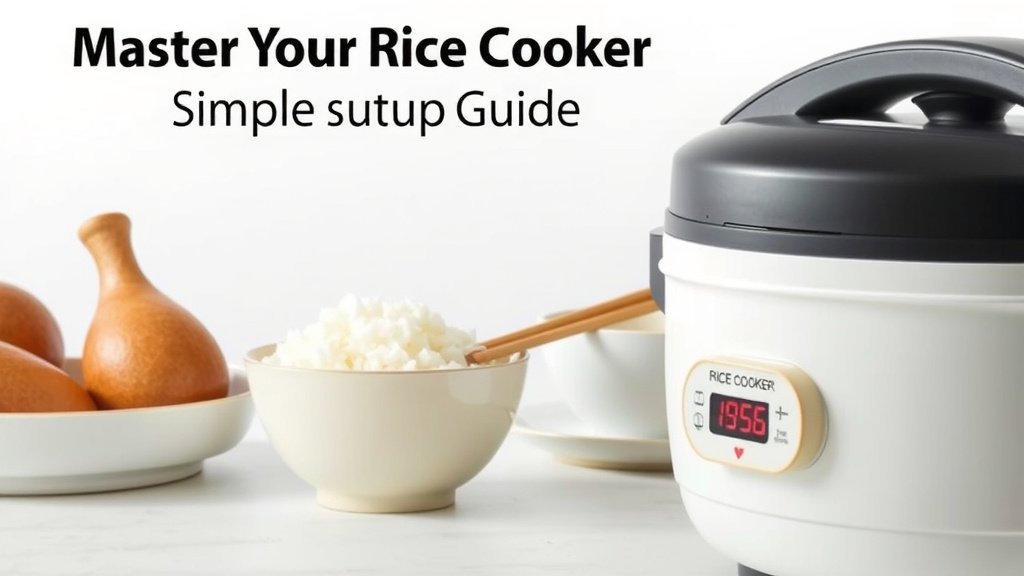
Master Your Rice Cooker: Simple Setup Guide
Setting up your rice cooker is surprisingly simple and can be done in just a few easy steps. You’ll want to start by rinsing your rice thoroughly before adding it to the cooker’s inner pot. This simple step helps remove excess starch for fluffier rice.
Many people wonder if their rice cooker has special settings. Most modern rice cookers offer various cooking modes for different types of rice, like white, brown, or sushi rice. You’ll also find options for keeping rice warm after it’s done cooking, which is a fantastic feature.
TL;DR:
- Rinse your rice well.
- Add rice and water to the inner pot.
- Close the lid and select the correct setting.
- Press start and let the cooker do its magic.
- Enjoy perfectly cooked rice!
Ready to make delicious rice without the guesswork? Let’s walk through exactly how to set up your rice cooker step by step to get you cooking in no time.
Getting Your Rice Cooker Ready for Perfect Rice
Setting up your rice cooker is a straightforward process. You’ll be enjoying perfectly fluffy rice in no time. It all starts with a few simple steps to ensure your cooker is prepped and ready to go. We’ll guide you through each stage.
Preparing Your Rice and Cooker Pot
Before you add anything to your rice cooker, there are a couple of essential prep steps. These ensure both your rice cooker and your rice are in the best condition for cooking.
The Importance of Rinsing Your Rice
You might be wondering why you need to rinse rice. It’s a simple yet vital step. Rinsing removes excess starch from the surface of the rice grains. This prevents them from clumping together during cooking. The result is lighter, fluffier rice, just like you’d get at your favorite restaurant. Many culinary resources, like the USDA, recommend rinsing grains for better texture (USDA).
To rinse your rice, place the desired amount into a fine-mesh sieve. Hold the sieve under cool running water. Gently swirl the rice with your hand. Continue rinsing until the water runs mostly clear. This might take a few rinses, and that’s perfectly normal. Some people prefer to rinse rice directly in the cooker’s inner pot. If you do this, be very careful not to scratch the non-stick coating.
Using the Inner Pot Correctly
Your rice cooker comes with a specific inner pot. This pot is designed to distribute heat evenly. It also has non-stick properties to make cleanup a breeze. Always use this pot when cooking rice. Never place rice directly into the cooker’s main housing unit. This could damage the appliance and won’t cook your rice properly.
Ensure the outer exterior of the inner pot is clean and dry before placing it into the rice cooker. Any moisture or debris can interfere with the heating element. Make sure it’s seated correctly in the cooker base.
Adding Rice and Water: The Right Ratio
This is where many people feel a bit uncertain. Getting the water-to-rice ratio right is key to achieving your desired rice consistency. Luckily, your rice cooker makes this easy.
Understanding Rice Cooker Markings
Look closely at the inside of your rice cooker’s inner pot. You’ll see markings along the side. These markings are usually little lines with numbers next to them. They correspond to the amount of uncooked rice you’ve added. For example, you might see a ‘2’ and a ‘3’ line.
If you put in two cups of rice, you’ll fill the water up to the line marked ‘2’. If you used three cups of rice, you’ll fill it to the ‘3’ line. These markings are calibrated for typical white rice. Different types of rice might require slight adjustments, but these lines are an excellent starting point.
Water Measurement Tips
Some people prefer using a measuring cup for water instead of the pot markings. If you do this, use a standard liquid measuring cup. Remember to use the same measuring cup for both your rice and your water. This ensures accuracy. Always use cold, filtered water if possible for the best flavor.
What if you’re cooking brown rice or sushi rice? These often need a bit more water than white rice. Many rice cooker manuals include a small chart. This chart provides specific water ratios for different rice types. We found that for brown rice, adding an extra quarter-cup of water per cup of rice is a good rule of thumb. Sushi rice often benefits from a slightly lower water ratio for that perfect sticky texture.
Common Water-to-Rice Ratios
Here’s a quick reference for common rice types. These are general guidelines and can be adjusted based on your cooker and preference.
| Rice Type | Water to Rice Ratio (by volume) |
|---|---|
| White Rice | 1:1.5 or 1:2 (depending on cooker markings) |
| Brown Rice | 1:2 or 1:2.5 |
| Sushi Rice | 1:1.25 or 1:1.5 |
| Jasmine/Basmati Rice | 1:1.5 |
Remember, your rice cooker’s markings are your best friend for standard white rice. Don’t be afraid to experiment slightly to find your personal perfect ratio!
Selecting the Right Cooking Setting
Modern rice cookers have become quite sophisticated. They offer more than just a simple “cook” button. Understanding your cooker’s settings will help you get the best results every time.
Understanding Different Cooking Modes
Most rice cookers have a few core settings:
- Standard/White Rice: This is the default setting for regular white rice. It’s designed for the most common type of rice.
- Brown Rice: Brown rice takes longer to cook and requires more water. This setting adjusts the cooking time and temperature accordingly.
- Quick Cook: This setting is for when you’re in a hurry. It cooks rice faster but might result in a slightly less perfect texture. We found it useful for busy weeknights.
- Keep Warm: Once the rice is finished cooking, the cooker automatically switches to this mode. It keeps your rice warm without overcooking it.
Some advanced models might have settings for porridge, steaming, or even cake. Always refer to your rice cooker’s manual for specific functions. It’s like a little instruction booklet for your appliance.
How to Choose Your Setting
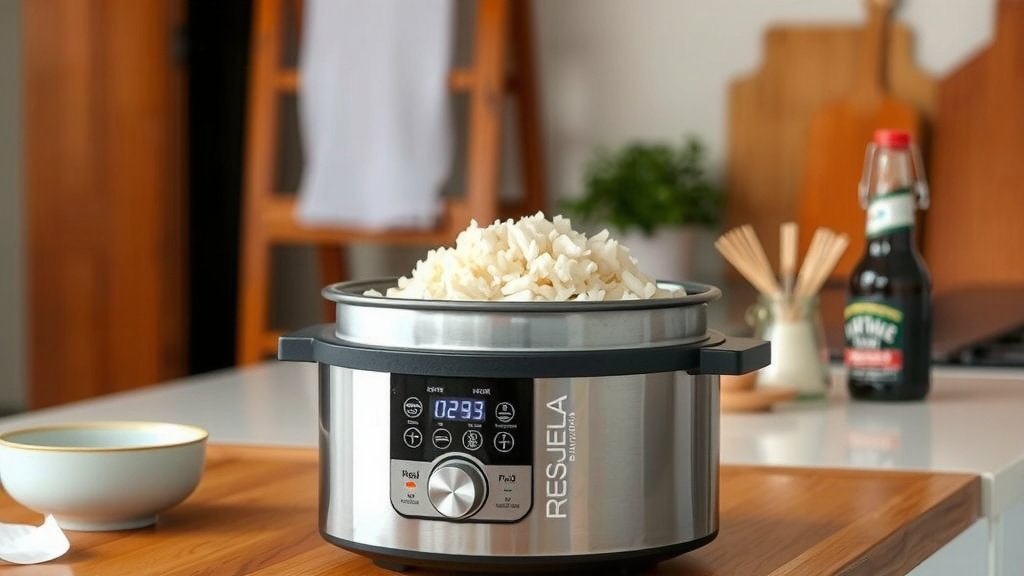
The choice is usually quite intuitive. If you’re cooking standard long-grain white rice, select the ‘White Rice’ or ‘Standard’ setting. If you’re preparing brown rice, opt for the ‘Brown Rice’ setting. If your cooker has a ‘Quick Cook’ option and you’re short on time, that’s your go-to. Always match the setting to the type of rice you are cooking.
Starting the Cooking Process
You’ve prepped your rice, measured your water, and selected your setting. Now comes the easiest part: starting the cooker.
Closing the Lid Securely
Before you press any buttons, make sure the lid is properly closed. Most rice cookers have a latch or a button to secure the lid. You should hear a distinct click when it’s properly locked. This seal is important for maintaining the correct temperature and steam levels inside the cooker. Without a secure lid, your rice may not cook evenly.
Pressing the Start Button
Once the lid is secured, locate the ‘Start’ or ‘Cook’ button. Press it firmly. The indicator light will usually illuminate to show that the cooker is active and cooking. That’s it! Your rice cooker will now take over. You can relax and let it do its magic.
Don’t be tempted to open the lid during the cooking cycle. We know it’s hard to resist peeking! However, lifting the lid releases steam and heat. This can disrupt the cooking process. It often leads to undercooked or gummy rice. Patience is key here. Let the cooker work its wonders undisturbed.
What Happens Next: The Cooking Cycle
Once you hit start, your rice cooker enters its cooking phase. It intelligently manages temperature and steam. It knows exactly how long each type of rice needs. The cooker will typically display a countdown timer or simply indicate it’s in “Cook” mode. When the cooking is complete, it will usually beep or make a sound. Then, it automatically switches to the “Keep Warm” function.
The Waiting Game
This is the time to let your rice cooker shine. It will manage the heat and steam levels internally. For standard white rice, this usually takes about 20-30 minutes. Brown rice can take 45-60 minutes or more. The cooker handles all the timing and temperature control. You don’t need to stir or check on it.
Resting Your Rice
After the cooker signals that it’s done, resist the urge to open the lid immediately. Many experts recommend letting the rice rest for about 10-15 minutes after cooking. This resting period allows the steam to redistribute evenly throughout the rice. It helps each grain become perfectly fluffy and tender. This extra step makes a noticeable difference.
Fluffing Your Rice
Once the resting period is over, open the lid. You’ll be greeted with the wonderful aroma of perfectly cooked rice! Use the rice paddle that came with your cooker. Gently fluff the rice by moving the paddle through it in a cutting and folding motion. This separates the grains and ensures an even texture. It’s the final touch before serving.
Checklist for Rice Cooker Success:
- Rinse rice thoroughly until water runs clear.
- Use the correct inner pot and ensure it’s clean.
- Measure rice and water accurately using pot markings or a cup.
- Select the appropriate cooking setting for your rice type.
- Close the lid securely and press start.
- Allow rice to rest before fluffing and serving.
Conclusion
You’ve now learned the simple steps to set up your rice cooker for perfectly cooked rice every time. Remember to always rinse your rice first for fluffier results. Accurate water measurements, using your cooker’s markings or a consistent cup, are key. Matching the cooking setting to your rice type ensures the best texture. Don’t forget that crucial resting period after cooking before you fluff and serve.
Ready to put your new knowledge to the test? Grab your favorite rice and get your rice cooker ready for your next delicious meal!
Frequently Asked Questions
What if I don’t have markings inside my rice cooker pot?
If your inner pot lacks clear markings, using a standard measuring cup is your best bet. Always use the same cup to measure both your rice and your water. A common starting point for white rice is a 1:1.5 or 1:2 ratio of rice to water. You can find specific ratios for different rice types in your rice cooker’s manual or online resources.
Can I put rice directly into the rice cooker without rinsing it?
While you can cook rice without rinsing, we highly recommend rinsing it first. Rinsing removes excess surface starch, which prevents clumping and leads to fluffier, more separated grains. Skipping this step might result in stickier or gummier rice, which isn’t ideal for most dishes.
My rice cooker has a “Quick Cook” setting. Should I use it?
The “Quick Cook” setting is great for when you’re short on time. It significantly reduces cooking time. However, we’ve found that it can sometimes result in a slightly less perfect texture compared to the standard setting. It’s a good option for busy weeknights, but for special occasions, the standard mode often yields better results.
How do I know when my rice is done cooking?
Most rice cookers will signal completion with an audible beep or chime. Many also automatically switch to a “Keep Warm” mode once cooking is finished. You’ll usually see an indicator light change to show it’s now keeping the rice warm, not actively cooking it.
Is it okay to open the lid while the rice cooker is on?
It’s best to avoid opening the lid during the cooking cycle. Doing so releases essential steam and heat, which can disrupt the cooking process. This often leads to unevenly cooked rice, whether it’s undercooked or too mushy. Patience is key; let the cooker do its job undisturbed.