Assemble Your Pressure Cooker: A Step-by-Step Guide
Assembling a pressure cooker is quite straightforward once you understand the basic parts. You’ll typically be connecting the lid to the pot and ensuring the gasket and valve are properly seated. It’s less complicated than you might think!
Modern pressure cookers often come with just a few key components. Understanding what each part does, like the safety valve and pressure regulator, will help you feel confident in its use. Many people worry about getting it right, but it’s designed for simplicity and safety.
TL;DR:
- Check your pressure cooker manual first.
- Ensure the rubber gasket is clean and properly placed.
- Attach the lid securely.
- Place the pressure regulator and safety valve correctly.
- Test the steam vent for obstructions.
Let’s walk through exactly how to assemble your pressure cooker step by step so you can get cooking with confidence.
Putting Your Pressure Cooker Together: A Simple Guide
So, you’ve got a shiny new pressure cooker and you’re ready to dive in. But wait, how does this thing actually go together? It’s natural to feel a little unsure. We’re here to make sure you assemble it correctly so you can cook with confidence and safety. Most pressure cookers are designed with user-friendliness in mind, so you’ll find it’s less of a puzzle and more of a simple process.
The key is understanding the main parts. You’ll be working with the pot, the lid, the gasket (or sealing ring), and the pressure-regulating valve. Getting these in place is the bulk of the assembly. Think of it like putting the right piece in the right spot. We’ve broken it down into easy steps, so let’s get started.
Understanding the Components
Before you start connecting things, it’s helpful to know what each part does. This isn’t just about assembly; it’s about understanding how your cooker works safely.
The Pot and the Lid
This is pretty straightforward. The pot is the main cooking vessel where your food will go. The lid is designed to seal tightly onto the pot, creating that enclosed environment needed for pressure to build. Most lids have a handle, and the pot usually has its own handles too. Make sure both are clean and free of any debris before you start.
The Gasket or Sealing Ring
This is arguably the most important part for creating a good seal. The gasket is typically a thick, flexible rubber or silicone ring. Its job is to create an airtight barrier between the lid and the pot. Without a proper seal, your pressure cooker won’t build pressure. We found that a clean gasket is essential for optimal performance (Cleveland Clinic).
The Pressure Regulator and Safety Valve
These are your safety features. The pressure regulator, often a small weighted piece or a spring-loaded mechanism, sits on top of a vent pipe. It controls the amount of pressure inside by releasing excess steam. The safety valve is another backup, designed to release pressure if the primary regulator fails. Understanding these parts helps build your confidence.
Step-by-Step Assembly Guide
Now that you know the players, let’s get them on the field. Follow these steps carefully to ensure your pressure cooker is ready for action.
Step 1: Prepare the Gasket
First, locate the rubber or silicone gasket. You’ll usually find it inside the lid or nestled in its own packaging. Rinse it under cool water and dry it thoroughly with a clean cloth. Then, inspect it for any nicks, tears, or hardening. If it looks damaged, you’ll need a replacement. Place the gasket into the groove inside the lid. It should fit snugly. Press it in evenly all the way around.
Step 2: Attach the Lid to the Pot
Hold the pot steady. Take the lid and align it with the top of the pot. Most lids have a specific way they should be positioned, often indicated by arrows or notches. Lower the lid onto the pot. You’ll then need to secure it. This usually involves turning the lid clockwise or engaging a locking mechanism, like a handle that turns or clips that snap into place.
Make sure the lid feels securely locked. You shouldn’t be able to easily lift it off. Some models might require you to press a button or a lever while turning the lid. Always refer to your specific model’s manual if you’re unsure.
Step 3: Place the Pressure Regulator and Safety Valve
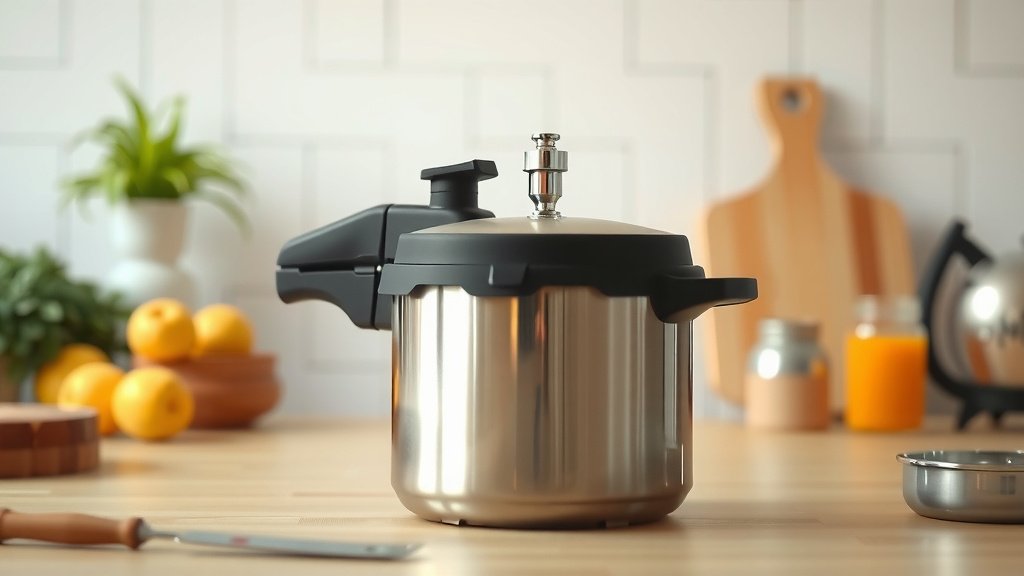
The pressure regulator and safety valve are often combined or separate small pieces. The vent pipe is usually visible on the lid. Gently place the pressure regulator onto this pipe. It should sit loosely, allowing steam to escape when needed. Some regulators are weighted and just rest on top, while others might have a slight twist-and-lock motion.
The safety valve might be a small pin or plug that goes into another hole on the lid, or it might be integrated with the regulator. Ensure it’s properly seated. These parts are critical for preventing dangerous over-pressurization. Many experts emphasize checking these components before every use (NIH).
Step 4: Check the Steam Vent for Obstructions
This is a crucial final check. Sometimes, food particles can get stuck in the steam vent or the regulator. Use a small brush or a pipe cleaner to gently ensure the vent pipe and the regulator’s opening are completely clear. You want steam to be able to escape freely when the cooker reaches pressure. A blocked vent is a serious safety hazard.
Common Assembly Questions Answered
We know that putting something new together can bring up questions. Here are a few common ones we’ve encountered.
Is the Gasket Supposed to Be Loose?
The gasket itself should be snug in its groove, but the lid might feel like it has a little play before it’s fully locked. Once you engage the locking mechanism (turning or handle), the lid should feel very secure. The gasket’s job is to seal when pressure builds, not necessarily to hold the lid rigidly in place before that.
What If My Lid Doesn’t Lock?
If your lid doesn’t feel secure after attempting to lock it, stop and re-read your manual. Make sure the gasket is correctly seated, and that no food debris is preventing the lid from closing properly. Sometimes, the locking mechanism itself needs to be engaged fully. If it still won’t lock, there might be an issue with the mechanism, and it’s best to contact the manufacturer.
Pre-Use Checklist
Before you fire up your pressure cooker for the first time or after a long storage period, run through this quick checklist:
- Inspect the gasket: Ensure it’s clean, pliable, and free of damage.
- Check the lid seal: Make sure the lid closes and locks securely.
- Verify valve placement: Confirm the pressure regulator and safety valve are correctly seated.
- Clear all vents: Ensure no food particles or debris block steam release paths.
- Review your manual: Always double-check any specific instructions for your model.
It might seem like a lot of steps, but each one is quick and contributes to a safe and effective cooking experience. You’re almost ready to enjoy the wonders of pressure cooking!
Conclusion
You’ve successfully learned how to assemble your pressure cooker! Remember, a correctly assembled cooker is key to safe and efficient cooking. We walked through preparing the gasket, securing the lid, and ensuring your safety valves and vents are clear. Take a moment to admire your work – you’re ready to harness the speed and flavor of pressure cooking! Your next step? Consult your owner’s manual for your first delicious recipe and get cooking!
Frequently Asked Questions
How often should I replace my pressure cooker’s gasket?
It’s a good idea to inspect your gasket before each use. If you notice any nicks, tears, hardening, or if it loses its flexibility, it’s time for a replacement. Many manufacturers recommend replacing the gasket every 1-2 years with regular use.
Can I use a pressure cooker if the lid doesn’t lock tightly?
No, absolutely not. If your lid doesn’t lock securely, do not attempt to use the pressure cooker. This indicates a potential problem with the gasket, the locking mechanism, or debris preventing a proper seal, which could be dangerous.
What’s the difference between the pressure regulator and the safety valve?
The pressure regulator controls the cooking pressure by releasing excess steam. The safety valve acts as a backup safety feature, designed to release pressure if the regulator malfunctions or if pressure builds too high for other reasons.
Is it okay for steam to escape from the sides of the lid?
During the initial heating phase, a small amount of steam might escape around the lid as it heats up, especially if the gasket isn’t fully sealed yet. However, once the cooker reaches pressure, you should not see or feel steam escaping from the sides. If you do, turn off the heat immediately and re-check your assembly.
Do I need to grease the gasket on my pressure cooker?
Most modern pressure cooker gaskets do not require greasing. In fact, applying oil or grease can sometimes degrade the gasket material over time or create an improper seal. Always check your owner’s manual for specific instructions regarding gasket maintenance for your model.