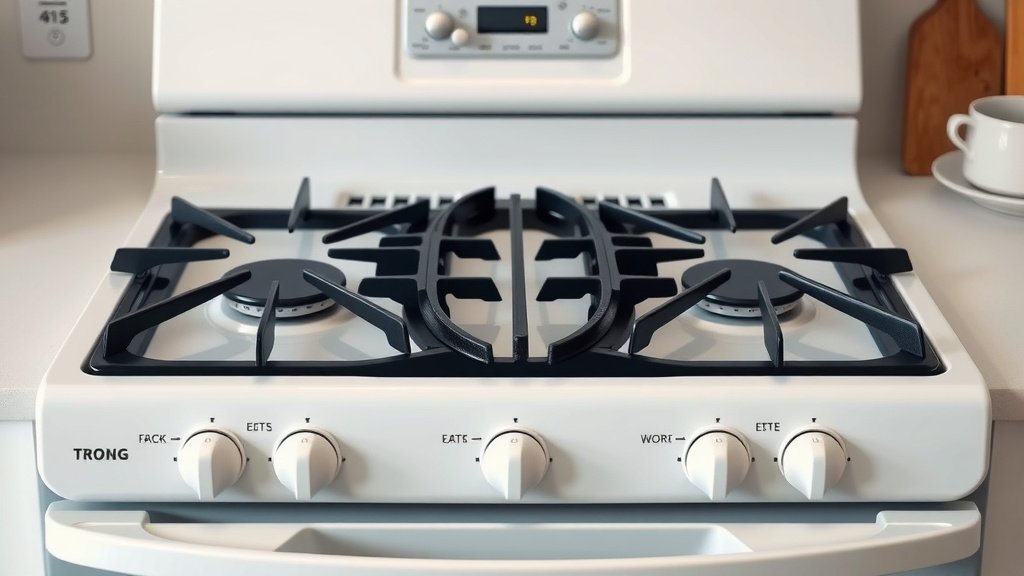
How to Clean Your Gas Cooker: A Step-by-Step Guide
The easiest way to clean your gas cooker is by using a gentle degreaser and a non-abrasive sponge. Make sure your cooker is completely cool before you begin. This method will tackle most everyday spills and splatters effectively.
Keeping your gas cooker clean not only makes it look better but also helps it run more efficiently and safely. Regular cleaning prevents grease buildup, which can be a fire hazard. We found that a consistent routine makes the job much easier.
- Remove grates and burner caps first.
- Soak stubborn parts in hot, soapy water.
- Wipe down surfaces with a degreaser.
- Clean the hob and oven interior.
- Dry everything thoroughly before reassembly.
Ready to get started? Let’s walk through exactly how to get your gas cooker sparkling again, step by step.
A Step-by-Step Guide to Cleaning Your Gas Cooker
Cleaning your gas cooker doesn’t have to be a dreaded chore. With the right approach and a few simple supplies, you can get it looking nearly new. We’ve found that tackling it section by section makes the job much more manageable. Let’s get your kitchen appliance sparkling clean.
Preparing Your Gas Cooker for Cleaning
Before you even think about grabbing a sponge, you need to make sure your cooker is safe to clean. The most important first step is ensuring it’s **completely cool**. Never attempt to clean a warm or hot appliance. This is for your safety and to prevent damage to the surfaces.
Gathering Your Cleaning Supplies
Having everything ready before you start will make the process much smoother. You’ll want a few key items on hand. A gentle degreaser is essential for cutting through grease and grime. We found that a dish soap solution works wonders for everyday messes.
- Non-abrasive sponge: Avoid anything that could scratch your cooker’s surfaces.
- Microfiber cloths: For wiping and drying without leaving lint.
- Dish soap: A mild dish soap is excellent for most cleaning tasks.
- Baking soda: This is your go-to for tougher, baked-on stains.
- Warm water: For rinsing and creating cleaning solutions.
- Rubber gloves: To protect your hands from cleaning agents.
Removing Removable Parts
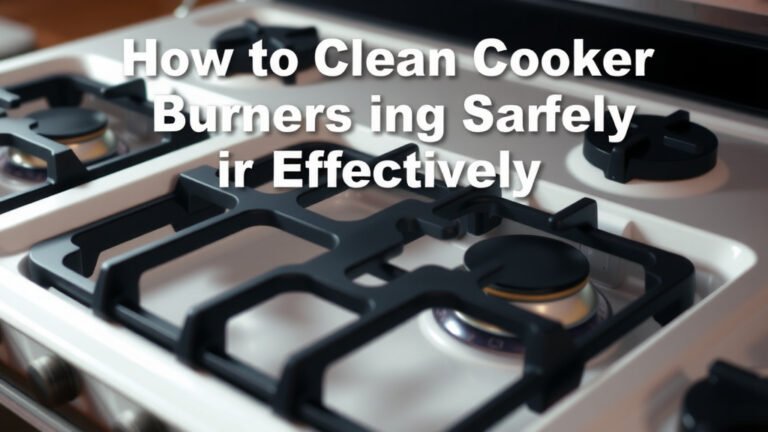
The easiest way to clean is to take things apart. Start by carefully removing the burner grates. These are usually heavy cast iron or coated metal. Next, lift off the burner caps. These are the small, often circular pieces that sit on top of the burners. Be sure to set these aside in a safe place where they won’t get lost or damaged.
Cleaning the Cooker Grates and Burner Caps
These are often the dirtiest parts, especially the grates, as they catch spills directly. We found that soaking is the most effective method here.
Soaking Stubborn Parts
Fill your sink or a large basin with **hot, soapy water**. Add a good squirt of dish soap. Submerge the grates and burner caps in the water. Let them soak for at least 15-30 minutes. For really tough, baked-on grease, you might need to soak them for longer, even up to an hour.
Scrubbing Away Grime
After soaking, use your non-abrasive sponge or a soft-bristled brush to scrub away loosened food particles and grease. For any particularly stubborn spots, you can create a paste of baking soda and water. Apply the paste to the grimy areas and let it sit for a few minutes before scrubbing. Rinse all parts thoroughly with clean water. Make sure to get rid of all soap residue.
Cleaning the Cooker Hob (The Top Surface)
The hob is the workhorse of your cooker, and it needs regular attention. We recommend cleaning this after each use, but a deeper clean is necessary periodically.
Wiping Down the Surface
Start by wiping away any loose crumbs or debris. Then, spray your chosen degreaser or a mixture of warm water and dish soap onto the hob. Let it sit for a minute or two to break down grease. Use your damp microfiber cloth to wipe the entire surface clean. For areas around the burners, you might need to use a cloth or sponge to get into the crevices.
Tackling Baked-On Messes
If you have stubborn, burned-on food, the baking soda paste is your best friend again. Apply it generously to the affected areas. Let it sit for at least 10-15 minutes. Gently scrub with your non-abrasive sponge. You may need to repeat this process for very tough spots. Always wipe down the entire hob afterward with a clean, damp cloth to remove any baking soda residue.
Cleaning Around the Burner Openings
It’s important to keep the burner openings clear. Use a damp cloth or a cotton swab dipped in cleaning solution to gently clean around them. Never use anything sharp that could damage the igniter or gas ports. Many experts suggest keeping these areas dry to ensure proper ignition (National Fire Protection Association).
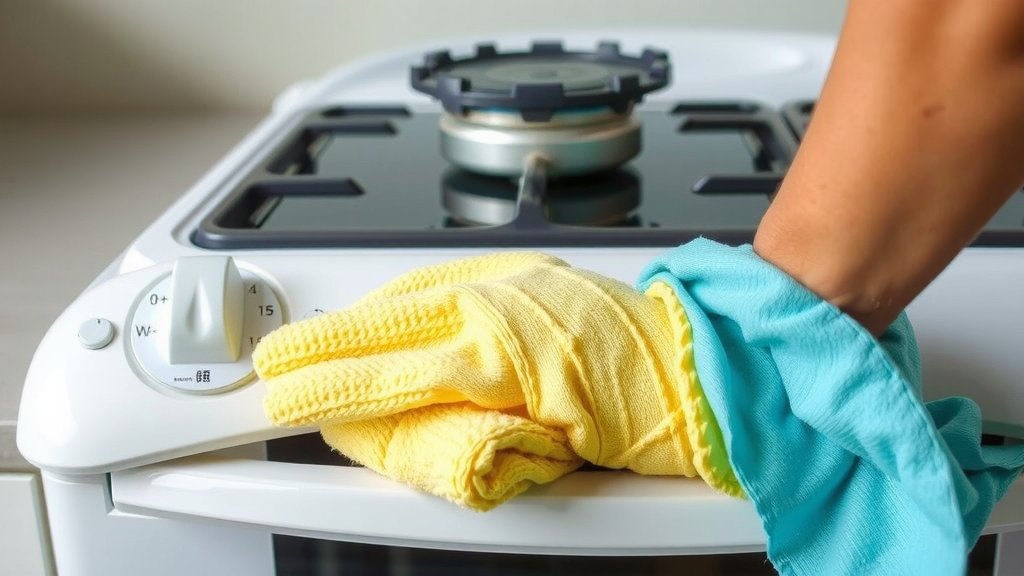
Cleaning the Oven Interior
The oven interior can accumulate grease splatters and food residue over time. Cleaning it can seem daunting, but we found a systematic approach works best.
Preparing the Oven for Cleaning
Remove any oven racks or other accessories inside. If your oven has a self-cleaning function, consult your manual to see if it’s suitable for your specific model and the type of mess you have. For manual cleaning, clear out any loose debris.
Using a Degreaser or Baking Soda Paste
For light messes, a simple spray of warm water with a bit of dish soap can work. For heavier grease, spray a commercial oven cleaner or apply a paste of baking soda and water. Many manufacturers recommend avoiding harsh chemicals on oven linings to prevent damage. Let the cleaner or paste sit for the time recommended on the product label or for at least 30 minutes for the baking soda paste. This dwell time is key to breaking down tough grime.
Scrubbing and Wiping the Interior
Use your non-abrasive sponge or a soft cloth to scrub the interior surfaces. For very tough spots, you might need a bit more elbow grease or a gentle scrubbing pad specifically designed for oven interiors. Be careful around heating elements and fans. After scrubbing, use a clean, damp cloth to wipe away all the cleaner and loosened grime. You’ll likely need to rinse and wring out your cloth multiple times to get everything truly clean.
Cleaning the Oven Door
Don’t forget the oven door! The glass can get smudged and greasy. You can use the same degreasing spray or baking soda paste. For the inside of the glass, a paste of baking soda and water works well. Let it sit, then wipe away with a damp cloth. For tough streaks, a solution of vinegar and water can help restore shine. If your oven door has removable glass panels, check your manual for instructions on how to clean them more thoroughly.
Drying and Reassembly
This final step is just as important as the cleaning itself. Moisture left behind can lead to rust or affect the performance of your cooker.
Thoroughly Drying All Parts
Use clean, dry microfiber cloths to wipe down every surface you’ve cleaned – the hob, the interior, the grates, and the burner caps. Ensure they are completely dry before you put them back together. This is especially important for the burner components to prevent ignition issues.
Putting It All Back Together
Once everything is dry, carefully reassemble your gas cooker. Place the burner caps back onto their correct positions. Then, put the grates back in place. Double-check that everything is seated properly. A quick check ensures your cooker is ready for its next use.
A Quick Checklist for Your Next Cooker Clean
Here’s a handy checklist to help you remember the key steps:
- Ensure the cooker is completely **cool**.
- Remove and soak grates and burner caps.
- Scrub and rinse all removable parts.
- Wipe down the hob and oven interior.
- Dry all parts thoroughly.
- Reassemble the cooker carefully.
Conclusion
You’ve now got the know-how to tackle that gas cooker cleaning! Remember, a clean cooker isn’t just about looks. It contributes to a safer kitchen and can even help your appliance perform better. By following these steps, you’ve successfully removed grease and grime from your grates, hob, and oven.
Make cleaning a regular part of your kitchen routine. Schedule your next deep clean for a month from now to maintain that sparkle. Your gas cooker will thank you for it!
Frequently Asked Questions
How often should I clean my gas cooker?
For general upkeep, wipe down the hob after each use to tackle fresh spills. A more thorough cleaning, like the one outlined here, is recommended about once a month. If you cook frequently or have significant splatters, you may need to clean it more often.
Can I use harsh chemicals to clean my gas cooker?
It’s best to avoid harsh chemicals, especially on your oven lining and burner components. We found that gentle degreasers, dish soap, and baking soda are effective for most messes. Harsh chemicals can damage surfaces or leave behind residues that are harmful.
What if some parts of my gas cooker are really stubborn to clean?
For tough, baked-on grease, the soaking method is key. Letting the grates and burner caps sit in hot, soapy water for an hour or more can loosen them. A paste of baking soda and water also works wonders for stubborn spots before you scrub.
How do I clean the igniter without damaging it?
Always ensure the igniters are dry. You can gently wipe around them with a damp cloth or a cotton swab dipped in a mild cleaning solution. Never submerge them in water or use anything sharp that could cause damage, as this can affect your cooker’s ability to light.
Is it safe to clean my gas cooker if I’m not sure how it works?
Yes, this guide focuses on safe, accessible cleaning methods. The most important safety step is ensuring your cooker is completely cool before starting. If you’re ever unsure about a specific part or function, always consult your cooker’s manual.