Pressure Cooker Rice: Your Quickest Cooking Method
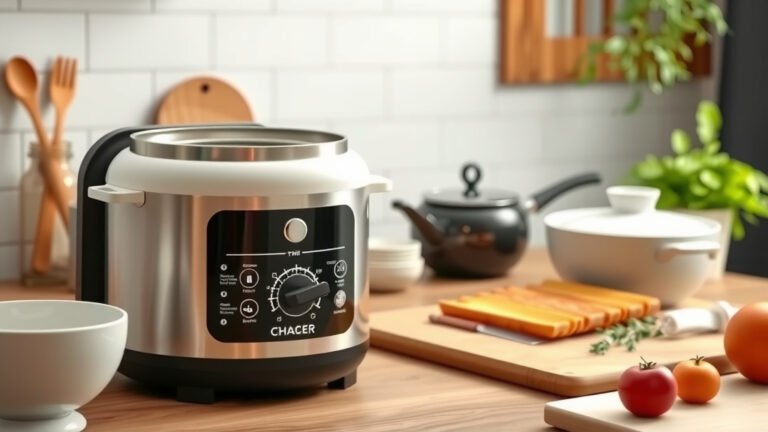
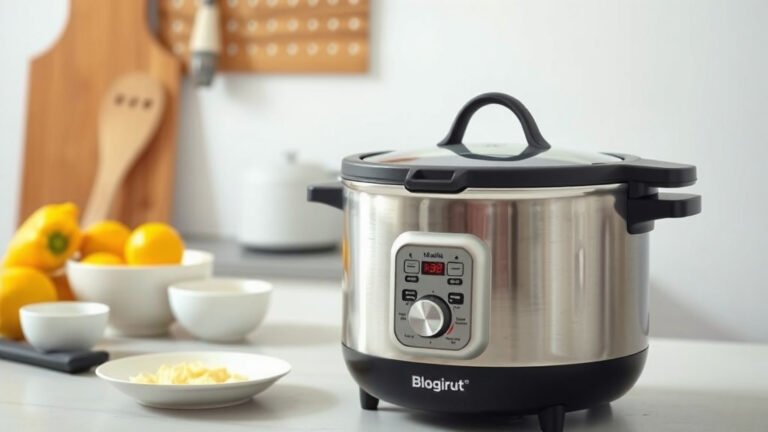
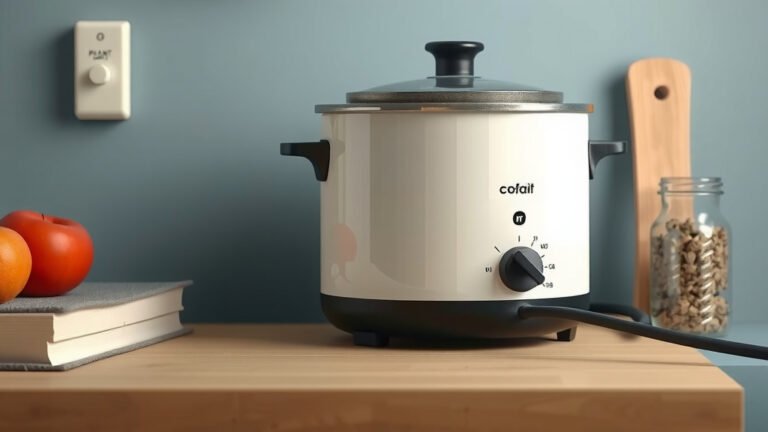
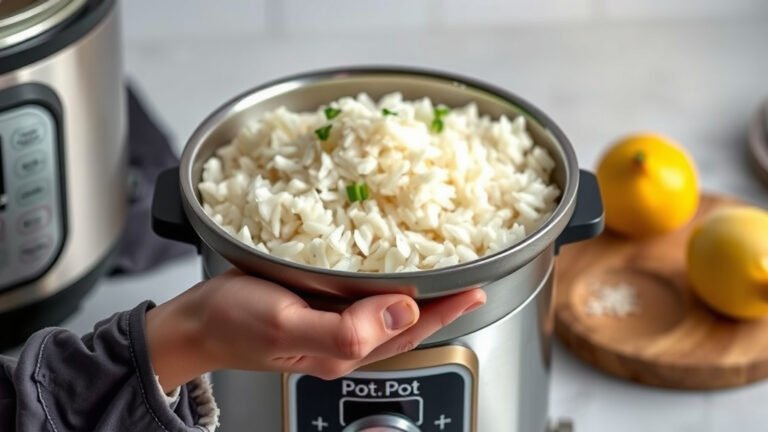
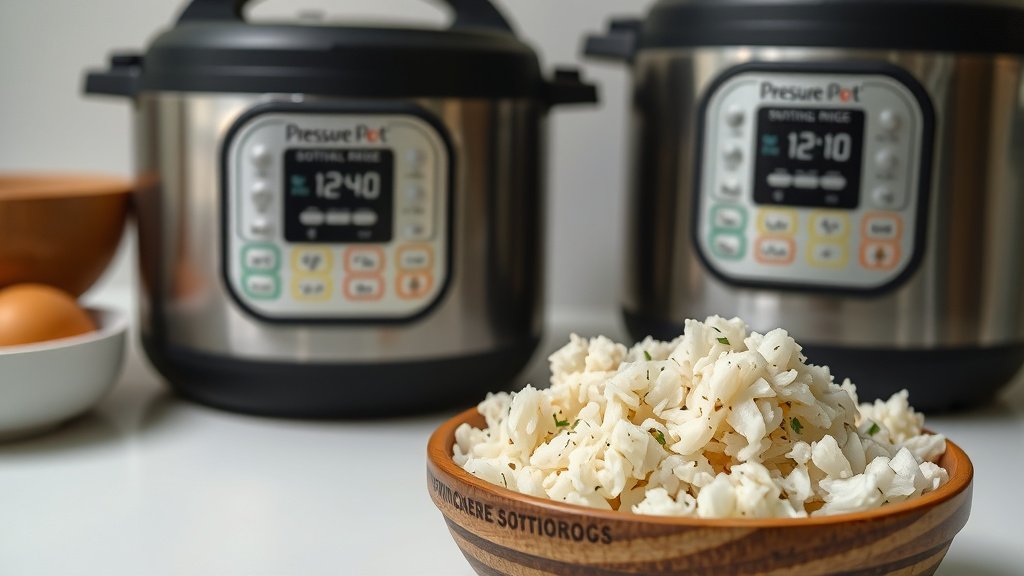
Yes, you can absolutely cook rice in a pressure cooker, and it’s often one of the fastest and easiest methods. You’ll get perfectly cooked, fluffy rice with minimal effort, making it a fantastic option for busy weeknights. Many home cooks have found this appliance to be a game-changer for rice preparation.
Beyond just saving time, using a pressure cooker for rice can lead to more consistent results than stovetop methods. It helps lock in moisture and flavor, preventing the dreaded undercooked or mushy rice. This method is particularly helpful for various types of rice, from white to brown.
- Pressure cookers make rice super fast.
- You get perfectly cooked rice every time.
- It’s an easy and convenient method.
- Works well for different rice varieties.
- Less watching and stirring required.
Ready to ditch the guesswork? Below, we’ll walk you through exactly how to get delicious rice from your pressure cooker.
Cooking Rice: Your Pressure Cooker Advantage
You’re probably wondering, “Can I really cook rice in my pressure cooker?” The answer is a resounding yes! It’s a method many home cooks swear by for its speed and reliability. You can achieve perfectly fluffy, evenly cooked rice without the usual fuss of stovetop monitoring.
The Science Behind Pressure Cooker Rice
Pressure cookers work by trapping steam. This steam builds up, increasing the internal pressure. Higher pressure means a higher boiling point for water. This hotter water cooks the rice much faster than regular boiling water on the stovetop. It’s like giving your rice a super-hot, efficient bath.
This efficient cooking process also helps lock in moisture. You’ll find your rice stays wonderfully moist. It’s a stark contrast to the potential for dried-out edges you might sometimes get on the stove. Many food science resources confirm that sealed environments enhance cooking efficiency.
Why it Works So Well
Imagine a tiny, personal sauna for your rice. That’s essentially what a pressure cooker creates. The controlled environment ensures every grain gets evenly heated and hydrated. This consistent heat distribution prevents hot spots and results in uniform cooking from bottom to top. It’s a bit like magic, but it’s really just smart physics at play.
Getting Started: What You’ll Need
The good news is that you likely already have most of what you need. Your pressure cooker is the star. You’ll also need your favorite type of rice, of course. And water, which is pretty essential for cooking anything. A measuring cup is also key for getting the rice-to-water ratio just right.
Some recipes might call for a pinch of salt or a bit of butter for flavor. These are optional but can add a nice touch. Always make sure your pressure cooker is clean and in good working order. Safety first, always!
The Basic Pressure Cooker Rice Method
The core of pressure cooking rice is simple: rice, water, and heat. The exact amounts and timings will vary slightly depending on your rice type. But the general process is quite straightforward. You’ll be amazed at how little effort is involved.
Rinsing Your Rice: A Good Habit
Before you add your rice to the pressure cooker, it’s a good idea to rinse it. You can do this by placing the rice in a fine-mesh sieve and running cool water over it. Swish the rice around with your hand until the water runs mostly clear. This removes excess starch, which can prevent your rice from becoming gummy or clumpy.
We found that this step makes a noticeable difference in the final texture. It helps each grain stay separate and fluffy. Think of it as giving your rice a quick pre-wash to get it ready for its hot bath.
The Crucial Rice-to-Water Ratio
This is perhaps the most important part. Too much water, and your rice will be mushy. Too little, and it will be hard and undercooked. Most pressure cooker manufacturers provide a general guideline for their models. However, here’s a common starting point that works for many people:
| Type of Rice | Ratio (Rice:Water) | Typical Cook Time (High Pressure) |
|---|---|---|
| White Rice (Long Grain) | 1:1 to 1:1.25 | 3-5 minutes |
| White Rice (Short Grain) | 1:1 to 1:1.25 | 3-5 minutes |
| Brown Rice (Long Grain) | 1:1.25 to 1:1.5 | 15-20 minutes |
| Basmati Rice | 1:1 to 1:1.25 | 3-5 minutes |
| Jasmine Rice | 1:1 to 1:1.25 | 3-5 minutes |
Note: These are general guidelines and may need slight adjustments based on your specific pressure cooker model and the age of your rice. Always consult your pressure cooker’s manual for the most accurate recommendations.
Cooking Time and Natural Release
Once your rice and water are in the pot, you’ll seal the lid and set it to cook. For most white rice varieties, the actual cooking time under high pressure is surprisingly short—often just 3 to 5 minutes. Brown rice takes longer, typically around 15 to 20 minutes. For most white rice varieties, the actual cooking time under high pressure is surprisingly short, as detailed in our guide to pressure cooker rice timing.
After the cooking time is up, don’t immediately try to open the lid. This is where the “natural release” method comes in. You let the pressure dissipate on its own. This usually takes about 10 to 15 minutes. Many experts recommend natural release for rice as it allows the grains to finish absorbing moisture gently.
It might feel like an eternity when you’re hungry, but this waiting period is essential. It prevents the rice from sputtering out of the valve and ensures a tender result. Think of it as the rice taking a relaxing steam after its intense cooking session.
Tips for Perfect Pressure Cooker Rice Every Time
Even with a great method, a few extra tips can ensure your rice is always spot on. These little tricks are born from trial and error, and many experienced cooks swear by them.
- Don’t overfill your pressure cooker. Rice expands as it cooks, so stick to filling the pot no more than halfway.
- Adjust water slightly if your rice consistently comes out too wet or too dry. Small tweaks make a big difference.
- Let it rest after natural release. Fluff the rice with a fork immediately after opening. Then, let it sit for a few more minutes before serving.
- Clean your sealing ring. A clean ring ensures a proper seal, which is vital for the pressure cooker to function correctly.
Common Rice Types and Their Needs
While the general method works for many rices, some might require slight adjustments. Understanding these differences helps you achieve your desired outcome.
White Rice vs. Brown Rice
As you saw in the table, brown rice needs more time and often a little more water. This is because brown rice still has its bran and germ layers intact, making it denser and requiring more moisture to soften. White rice has these layers removed, so it cooks much faster.
Aromatic Rice (Basmati and Jasmine)
These fragrant rices are often favorites for their delicate flavor and texture. They typically cook very quickly in a pressure cooker. The key is getting the water ratio just right to maintain their signature fluffy, separate grains. They don’t like being crowded with too much water.
Troubleshooting Common Issues
Even with the best intentions, sometimes things don’t go perfectly. Don’t get discouraged! Most issues are easily fixed.
- Rice is mushy: You likely used too much water. For your next batch, try reducing the water by a tablespoon or two.
- Rice is hard/undercooked: Not enough water or not enough pressure time. Add a little more water and try cooking again for a couple more minutes. Or, ensure your lid sealed properly.
- Rice is sticking to the bottom: A bit of oil or butter added before cooking can help. Also, ensure you didn’t cook it too long without enough liquid.
Remember, practice makes perfect! Your pressure cooker is a fantastic tool for consistently great rice.
Conclusion
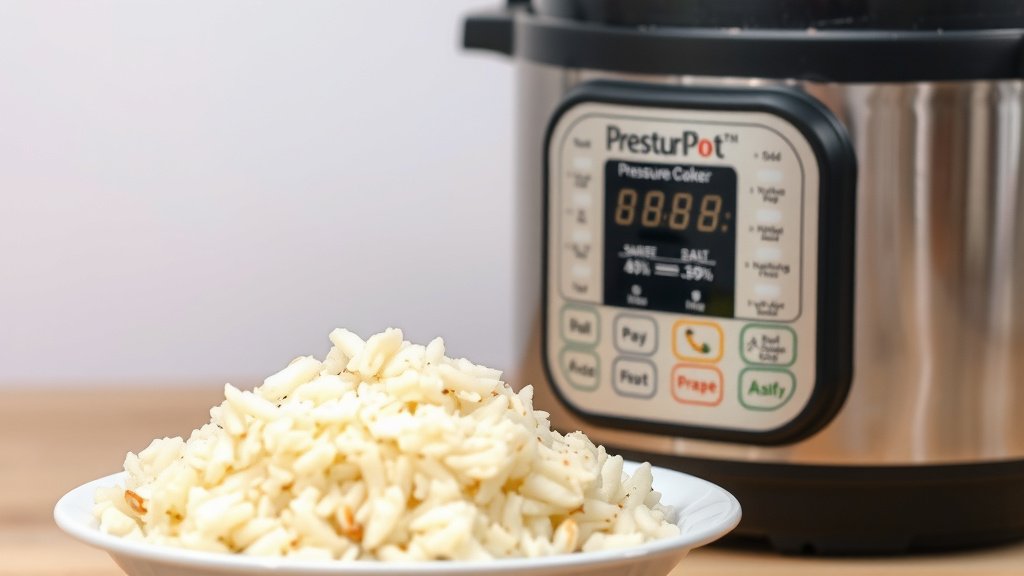
You’ve learned that your pressure cooker is a fantastic tool for making rice. It’s a quick, reliable method for getting fluffy, perfectly cooked grains every time. By understanding the basic ratios and the natural release process, you can bypass common stovetop frustrations. This approach saves you time and effort, making delicious rice accessible even on your busiest evenings. So, go ahead, get that pressure cooker fired up, and enjoy your perfectly cooked rice!
Frequently Asked Questions
How much water do I really need for pressure cooker rice?
The rice-to-water ratio is key, and it depends on the type of rice. A good starting point for white rice is often 1:1 (rice to water), while brown rice may need a bit more, like 1:1.25. Always check your pressure cooker’s manual for specific recommendations, as models can vary.
Can I cook different kinds of rice together in a pressure cooker?
It’s generally best to cook rice varieties separately. Different types of rice, like white and brown, have distinct cooking times and water needs. Cooking them together can lead to uneven results, with some grains being overcooked while others are undercooked.
What is “natural release” for pressure cooker rice, and why is it important?
Natural release means letting the pressure cooker vent on its own after cooking. For rice, this step is vital because it allows the grains to gently finish absorbing moisture. This prevents sputtering and ensures your rice remains tender and fluffy, rather than potentially tough or dry.
My pressure cooker rice is sticking to the bottom. What can I do?
Sticking can happen if there’s not enough liquid or if the rice is cooked too long. Adding a teaspoon of oil or butter before cooking can help create a non-stick barrier. Ensure you’re using the correct water ratio and avoiding overcooking times.
How do I clean my pressure cooker after making rice?
After ensuring the cooker has cooled and is depressurized, you can typically wash the inner pot with soap and water. Pay special attention to cleaning the sealing ring and the vent, as food particles can get trapped there. Most inner pots are also dishwasher safe, but always check your model’s instructions.