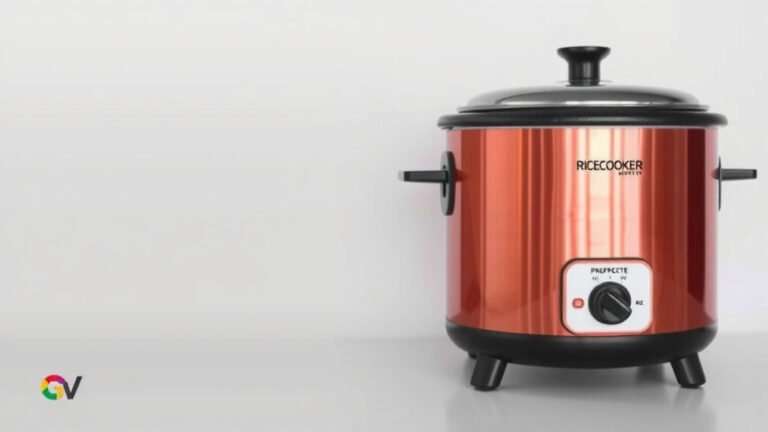

Cook Pasta in a Rice Cooker: Yes or No?
Yes, you absolutely can cook pasta in a rice cooker, and it’s surprisingly easy and effective. This method is perfect for times when you don’t have access to a stovetop or just want to simplify your cooking. We found that with a few simple steps, your pasta can come out perfectly al dente.
Thinking about making pasta without a traditional pot? Your rice cooker might be the unexpected hero you need. It’s a fantastic way to cook pasta when camping, in a dorm room, or even just to free up your stovetop. Many people are discovering this convenient alternative for weeknight meals.
- Yes, pasta can be cooked in a rice cooker.
- It’s a simple and convenient method.
- Works great when stovetop is unavailable.
- Results can be perfectly cooked pasta.
Let’s dive into how you can make delicious pasta using your rice cooker without any fuss.
Cooking Pasta in Your Rice Cooker: A Smart Kitchen Hack
You might be wondering if your trusty rice cooker can handle more than just rice. The good news is, yes, it can! We’ve found that cooking pasta in a rice cooker is a surprisingly straightforward process. It’s a fantastic option when your stovetop is occupied or if you’re looking for a simpler cooking method. Many users are finding success with this approach, achieving perfectly cooked pasta with minimal effort.
Getting Started: What You’ll Need
Before you begin, gather a few essential items. You’ll need your rice cooker, of course. Make sure it’s a model that has a basic ‘cook’ function. You’ll also need your pasta, water, and a pinch of salt for flavor. Some people like to add a tiny bit of oil to prevent sticking, but we found it’s often not strictly necessary, especially if you stir occasionally.
Choosing the Right Pasta
Most common pasta shapes work well. Think spaghetti, fettuccine, penne, and rotini. We found that longer strands like spaghetti can be a bit tricky, but they still cook up nicely. If you’re using spaghetti, you might need to break it in half to fit it comfortably in the cooker. For shorter shapes, it’s usually a simple pour-and-cook situation.
Understanding Your Rice Cooker’s Settings
Most standard rice cookers will work. The key is the ‘cook’ or ‘white rice’ setting. This setting typically heats the water to a boil and then maintains that temperature until the water is absorbed or evaporates. Some advanced rice cookers might have specific pasta settings, but the basic functions are more than adequate.
The Step-by-Step Guide to Pasta Perfection
Ready to give it a try? Follow these simple steps. We’ve broken it down so you can achieve a delicious bowl of pasta with ease.
Step 1: Add Water and Salt
Pour enough water into your rice cooker pot. A good rule of thumb is to use about 4 cups of water for every pound of pasta. This ensures the pasta has enough room to move and cook evenly. Add about 1 teaspoon of salt per quart of water. This is vital for flavoring the pasta from the inside out. Don’t skip the salt; it makes a big difference!
Step 2: Bring Water to a Boil
Close the lid and select your rice cooker’s ‘cook’ or ‘white rice’ setting. Let the water come to a rolling boil. This usually takes about 10-15 minutes, depending on your rice cooker model. You want the water to be hot and bubbling before you add the pasta.
Step 3: Add Your Pasta
Once the water is boiling, carefully open the lid. Add your pasta directly into the boiling water. If you’re using long pasta like spaghetti, you might need to gently press it down until it’s submerged. Stir the pasta immediately to prevent the pieces from sticking together. We found that a quick stir right after adding it is key.
Step 4: The Cooking Process
Close the lid again. Let the rice cooker do its work. The ‘cook’ setting will keep the water at a boil. For most pasta, you’ll want to cook it for about 8-12 minutes. The exact time will depend on the pasta shape and thickness. Check the pasta package for recommended cooking times. We found that testing a strand is the best way to gauge doneness. You can also stir it halfway through to ensure even cooking.
Step 5: Checking for Doneness
When the cooking time is nearing its end, carefully open the lid. Use a fork or spoon to remove a piece of pasta. Let it cool for a moment, then taste it. You’re looking for that perfect ‘al dente’ texture – tender but still with a slight bite. If it’s too firm, close the lid and cook for another 1-2 minutes. Repeat until it’s just right.
Step 6: Draining and Serving
Once your pasta is cooked to your liking, turn off the rice cooker. Carefully drain the water. You can do this by pouring the contents into a colander over the sink, just like you would with stovetop pasta. Be cautious, as the pasta and water will be very hot. Then, transfer your perfectly cooked pasta back into the rice cooker pot (or a serving bowl) and toss with your favorite sauce. Enjoy your conveniently made meal!
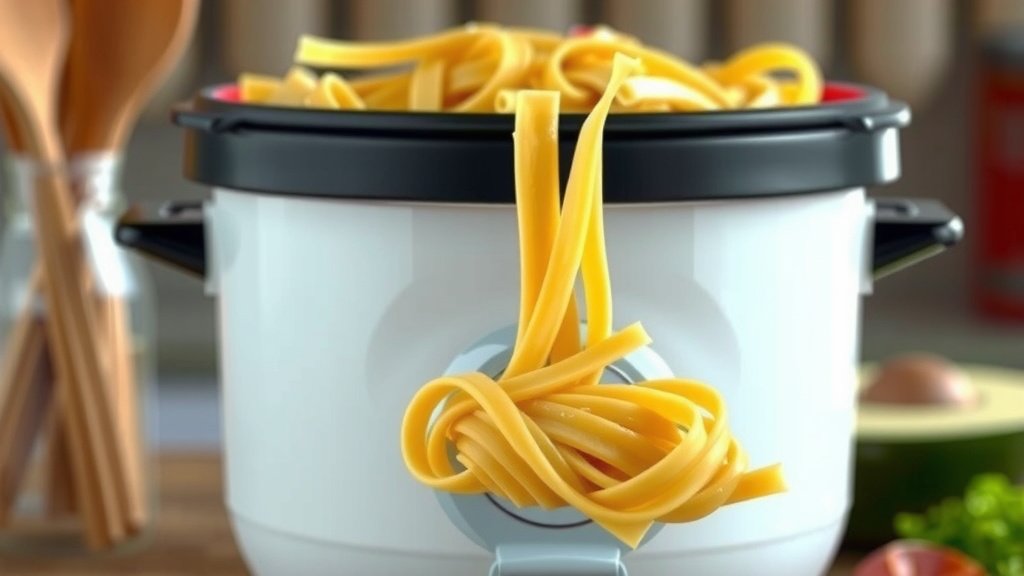
Tips for Optimal Rice Cooker Pasta
We’ve learned a few tricks along the way that can make your rice cooker pasta experience even better. These tips can help you avoid common pitfalls and ensure delicious results every time.
- Don’t overcrowd the pot. Use a rice cooker size appropriate for the amount of pasta you’re making. Overcrowding leads to uneven cooking.
- Stir often. Especially in the first few minutes, stirring prevents the pasta from clumping together.
- Adjust water levels if needed. If it looks like the water is evaporating too quickly before the pasta is cooked, you can carefully add a little more hot water.
- Consider pasta shapes. Shorter, thicker shapes generally cook more predictably than very thin or long strands.
Rice Cooker Pasta: A Culinary Checklist
To make sure you’re all set for your rice cooker pasta adventure, here’s a quick checklist:
- Rice cooker (clean and functional)
- Pasta (your preferred shape)
- Water (enough for cooking)
- Salt (for flavor)
- Stirring utensil (spoon or fork)
- Colander (for draining)
- Your favorite sauce or toppings
Conclusion
You’ve learned that cooking pasta in your rice cooker is a smart and simple hack. It’s a fantastic alternative when you’re short on kitchen space or simply want to streamline your meal prep. With just a few basic steps and ingredients, you can achieve perfectly cooked pasta, just like you would on the stovetop. So, next time you’re craving pasta, don’t hesitate to reach for your rice cooker. Give it a try and enjoy a wonderfully convenient meal!
Frequently Asked Questions
Will my rice cooker work for pasta?
Yes, most standard rice cookers with a basic ‘cook’ or ‘white rice’ setting will work perfectly for cooking pasta. The key is that the setting can bring water to a boil and maintain that heat. You don’t need a fancy model with specialized pasta programs.
How much water should I use in my rice cooker for pasta?
A good general rule is to use about 4 cups of water for every pound of pasta. This ensures the pasta has enough room to cook evenly without sticking together. Always make sure the water level is well above the pasta once you add it.
Can I cook spaghetti or long pasta in a rice cooker?
You can, but it can be a bit more challenging. For long pasta like spaghetti, you may need to break it in half to fit it comfortably. Gently press it down into the boiling water to ensure it all gets submerged and cooks evenly.
Do I need to add oil to the water when cooking pasta in a rice cooker?
Adding a small amount of oil to the water is often optional. We found that it’s not strictly necessary, especially if you stir the pasta well right after adding it and occasionally during cooking. It helps prevent sticking but proper stirring is more important.
What if my pasta isn’t fully cooked when the rice cooker switches to warm?
If your rice cooker switches to the ‘warm’ setting before the pasta is done, don’t worry. You can simply press the ‘cook’ button again to bring it back to a boil. Continue cooking for a few more minutes, checking periodically until it reaches your desired al dente texture.