Your First Pressure Cooker Meal: A Beginner’s Guide
Using a pressure cooker for the first time can seem a little intimidating, but it’s actually quite simple! You can safely and easily cook delicious meals by following a few key steps. First, always ensure your cooker has enough liquid inside and that the lid is locked securely before heating. Mastering the pressure release method is also essential for safe operation. You’ll quickly become a pro at using this time-saving appliance.
Many home cooks are a little nervous to try pressure cooking. We get it! But research shows that pressure cookers can actually reduce cooking times by up to 70%. This means tender meats and perfectly cooked grains in a fraction of the usual time. Understanding the basic components and how they work together is your first step to confident cooking.
- Read your manual thoroughly before starting.
- Always add enough liquid to build pressure.
- Make sure the lid is sealed properly.
- Understand natural vs. quick pressure release.
- Start with simple recipes.
Ready to ditch the long cooking times? We’ll walk you through exactly how to use your pressure cooker for the first time, step by step. Let’s get cooking!
“`htmlGetting Started with Your New Pressure Cooker
So, you’ve got a shiny new pressure cooker and you’re ready to whip up some meals. That’s fantastic! It’s totally normal to feel a little unsure when you first use a new kitchen gadget, especially one that makes those interesting whistling or hissing sounds. We’re here to demystify the process and help you cook with confidence.
Think of your pressure cooker as a super-fast steamer. It traps steam inside, which builds up pressure. This higher pressure then makes your food cook much, much faster. We found that many recipes can take up to 70% less time compared to traditional methods (National Institutes of Health).
Understanding the Key Parts
Before you even think about turning it on, let’s get acquainted with the main players on your pressure cooker. Knowing these will make operating it a breeze.
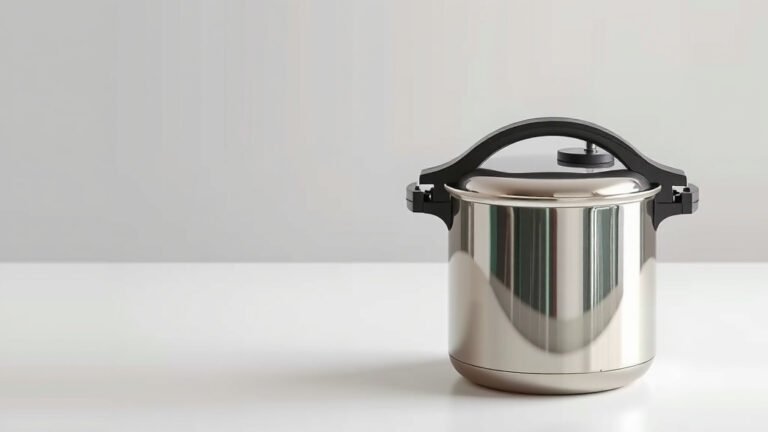
The Pot
This is the main body of your pressure cooker. It’s where all the magic happens. Most are made of stainless steel or aluminum. Make sure it’s clean and free of any old food bits.
The Lid
The lid is your cooker’s hat. It seals tightly to trap the steam. You’ll notice a rubber or silicone gasket around the rim of the lid. This gasket is super important for creating that airtight seal. Keep it clean and check it for any damage before each use. Experts often recommend replacing the gasket every year or two, depending on how often you use it.
The Locking Mechanism
This is how you ensure the lid is securely in place before cooking. It usually involves turning the lid until it clicks or aligns with a marker. A proper lock is essential for safety and for building pressure.
The Pressure Regulator (or Vent)
This is the part that controls the pressure inside. It might be a weighted valve that jiggles or hisses, or a modern dial that you set. It’s the part that lets out excess steam to maintain the correct pressure level. You’ll need to know how yours works for the release step later.
The Safety Valves
Your cooker has built-in safety features. These are usually small valves designed to release pressure if something goes wrong. It’s good to know they’re there, but you should never rely on them instead of following proper operating procedures.
Your First Pressure Cooker Steps: Building and Releasing Pressure
Now that you know the parts, let’s walk through the actual cooking process. The most critical steps involve building pressure and then releasing it safely. Getting these right will build your confidence.
Step 1: Add Your Ingredients and Liquid
This is where the cooking actually begins. You’ll need your ingredients, of course. But the absolute must-have is enough liquid. Pressure cookers need liquid to create steam and build pressure. Without enough liquid, your cooker won’t reach pressure, and you risk scorching your food.
How much liquid? This varies by cooker and recipe. Many electric models require at least 1 cup of liquid. Stovetop models might need a bit less. Always check your manual for the minimum liquid requirement for your specific model. This is a rule many home cooks agree on: never skimp on the liquid.
Step 2: Secure the Lid and Lock It
Once everything is in the pot, it’s time to put the lid on. Place the lid on the pot and turn it according to your cooker’s instructions. You should feel or hear it lock into place. Double-check that it’s sealed all the way around. If your lid has a vent, make sure it’s in the closed or sealing position before you start heating.
Step 3: Bring the Cooker Up to Pressure
Now, turn on the heat. If you have a stovetop model, set your burner to high heat. For electric models, select the appropriate setting (like “Manual” or “Pressure Cook”). Watch and listen. You’ll start to see steam escaping from the vent. After a while, the vent will start to hiss or the weighted regulator will start to jiggle or float. This is when you know pressure is building.
Once pressure is reached, your cooker will likely start to make a steady hissing or jiggling sound. This means it’s working! Some electric models will indicate “On” or show a pressure level. For stovetop models, this is your cue to turn the heat down. You only need enough heat to maintain pressure, not build more. Too much heat can cause the cooker to release too much steam.
Step 4: Cook for the Required Time
This is the easy part! Once your cooker is at pressure, you start timing. Refer to your recipe for the exact cooking time. You’ll just let it simmer away under pressure. Keep an eye on it to ensure it’s maintaining pressure; you might need to make tiny adjustments to the heat on a stovetop model.
Step 5: Releasing the Pressure Safely
This is arguably the most important step for safety. Once your cooking time is up, you need to release the pressure before you can open the lid. There are two main methods:
Natural Pressure Release (NPR)
This method involves simply turning off the heat and letting the cooker cool down on its own. The pressure will slowly dissipate over time. This can take anywhere from 10 to 30 minutes, depending on how full your cooker is and how much pressure it built. This method is great for foods that need to sit and absorb liquid, like large cuts of meat or beans. You know the pressure is released when the lid can be opened easily without resistance.
Quick Pressure Release (QPR)
For a faster release, you can use the quick release method. This involves carefully moving the pressure regulator to the vent position or pressing a quick-release button (depending on your model). Be cautious! A cloud of hot steam will shoot out from the vent. Never put your hand or face over the vent. Many experts advise using tongs or an oven mitt to move the regulator. This method is good for vegetables or recipes where you don’t want the food to overcook.
Some recipes might call for a combination of both methods. Always follow your recipe’s instructions carefully. We found that understanding these two methods is key to a successful pressure cooking experience.
Step 6: Open the Lid and Serve
Once all the pressure has been released (the float valve will have dropped), you can carefully unlock and remove the lid, always tilting it away from you. Your delicious, fast-cooked meal is ready to be served!
Your First Pressure Cooker Checklist
Here’s a quick rundown to make sure you’re set for your first pressure cooking adventure:
- Read your manual: Seriously, it’s your best friend for this.
- Check the gasket: Ensure it’s clean and undamaged.
- Add enough liquid: Don’t forget this essential step!
- Lock the lid securely: Make sure it seals properly.
- Know your release method: Choose natural or quick release as needed.
- Be patient with release: Safety first!
Conclusion
You’ve learned the essentials for using your pressure cooker with confidence! Remember, it’s all about ensuring enough liquid, a secure lid, and understanding the pressure release methods. Your pressure cooker is a fantastic tool for saving time in the kitchen, making delicious meals more accessible than ever. Don’t be afraid to start with simple recipes. The next step is to gather your ingredients for your first pressure cooker meal and put these steps into practice. You’ve got this!
Frequently Asked Questions
How much liquid do I really need in my pressure cooker?
This is a common question for beginners! Most electric pressure cookers need at least 1 cup of liquid to build pressure. Stovetop models may need slightly less. Always check your specific model’s manual for the minimum requirement. Too little liquid can cause scorching and prevent pressure from building.
What does the hissing or jiggling sound mean?
That sound is your pressure cooker telling you it’s working! It means the cooker has reached its desired pressure level and is venting a small amount of steam to maintain it. For stovetop models, this is your cue to turn the heat down to low to keep the pressure steady.
Is it safe to open the lid when the pressure hasn’t fully released?
Absolutely not. It’s critical to wait until all pressure is released before attempting to open the lid. The float valve or indicator pin will drop down when it’s safe. Forcing the lid open while under pressure can cause a dangerous release of hot steam and food.
Can I use my pressure cooker for more than just main dishes?
Yes, you can! Pressure cookers are incredibly versatile. You can use them to cook grains like rice and quinoa perfectly, steam vegetables, make hard-boiled eggs, cook dried beans from scratch quickly, and even create delicious desserts like cheesecakes. You’ll find many recipes beyond traditional “pots of food.”
What should I do if my pressure cooker isn’t building pressure?
There are a few common reasons for this. First, double-check that you have enough liquid in the pot. Second, ensure the lid is sealed correctly and the vent is in the closed position. Finally, inspect the gasket to make sure it’s clean and properly seated. If these steps don’t help, consult your manual or the manufacturer.