Instant Pot Yogurt Setting: A Step-by-Step Guide
Yes, you can absolutely use your Instant Pot’s yogurt setting to make delicious, creamy homemade yogurt. It’s designed to provide the consistent, gentle heat needed for incubation, making the process surprisingly simple and rewarding. You just need a few ingredients and a little patience to get started.
This special setting simplifies the often tricky yogurt-making process. It maintains the perfect temperature for the beneficial bacteria to do their work, resulting in a smooth, tangy yogurt you’ll love. Many people find it easier than stovetop methods and get fantastic results every time.
- Instant Pot yogurt setting is designed for incubation.
- It provides consistent, gentle heat for best results.
- You only need a few basic ingredients.
- It’s an easier method than traditional stovetop ways.
Ready to ditch the store-bought stuff? Let’s walk through exactly how to use your Instant Pot’s yogurt function, step by step.
Making Yogurt in Your Instant Pot: A Step-by-Step Guide
You’re ready to dive into the world of homemade yogurt using your Instant Pot! It’s a surprisingly easy and rewarding process. The yogurt setting does most of the heavy lifting for you. Let’s get started and make some delicious yogurt together.
Gathering Your Essential Ingredients and Equipment
Before you begin, let’s make sure you have everything you need. You don’t need much to get started. Having these items ready will make the process smooth and enjoyable.
The Bare Necessities
You’ll need just two main ingredients to make plain yogurt. These are:
- Milk: This is the base of your yogurt. Whole milk makes the richest, creamiest yogurt. You can also use 2% or skim milk for a lighter version.
- Yogurt Starter Culture: This contains the live active cultures that will transform your milk into yogurt. You can use a few tablespoons of plain, unsweetened store-bought yogurt with live cultures, or a specific yogurt starter powder.
Your Instant Pot and Other Tools
Your Instant Pot is the star of the show. You’ll also want a few other things handy:
- Your Instant Pot with its inner pot.
- A whisk for stirring.
- A thermometer can be helpful, though not always essential if you trust your Instant Pot’s temperature control.
- Something to strain your yogurt later, if you like it thick (like cheesecloth or a fine-mesh sieve).
Preparing Your Milk for Incubation
This first step is all about getting the milk ready. It needs to be heated and then cooled properly. This helps create the ideal environment for the yogurt cultures to grow.
Heating the Milk
You have two primary options for heating the milk. Both achieve the same goal: denaturing the milk proteins. This helps your yogurt thicken nicely. Research suggests this step is key for a better texture (NCBI).
Option 1: Using the Instant Pot’s Boil Function
This is often the easiest method. Place your milk in the inner pot. Select the “Yogurt” setting and then press “Adjust” until it says “Boil.” Let it run until the display shows “Boil,” which usually takes about 30-45 minutes depending on your model. Stir occasionally to prevent scorching.
Option 2: Stovetop Heating
If you prefer, you can heat the milk on your stovetop. Use a heavy-bottomed pot over medium heat. Stir frequently to avoid burning. Heat it until it reaches 180°F (82°C). This temperature ensures the proteins are properly altered.
Cooling the Milk
Once heated, the milk needs to cool down. This is a critical step. If the milk is too hot, it will kill the live yogurt cultures. If it’s too cool, they won’t activate properly.
Your target temperature is between 110°F and 115°F (43°C – 46°C). You can speed up cooling by placing the inner pot in an ice bath. Remember to stir the milk occasionally as it cools.
Introducing the Yogurt Cultures
Now comes the exciting part: adding the magic! This is where you introduce the live bacteria that will turn your milk into yogurt. It’s like giving your milk a friendly wake-up call.
Tempering the Starter
Once your milk has cooled to the correct temperature, it’s time to add your starter. Take about a cup of the warm milk and whisk it into your starter culture (either the store-bought yogurt or the powder). This is called tempering. It helps the starter culture mix in smoothly without clumping. Many sources recommend this step for even distribution (Cleveland Clinic).
Combining and Whisking
Pour the tempered starter mixture back into the main pot of milk. Whisk gently but thoroughly. Make sure everything is well combined. You want those little cultures to spread out and get to work!
Incubating Your Yogurt in the Instant Pot
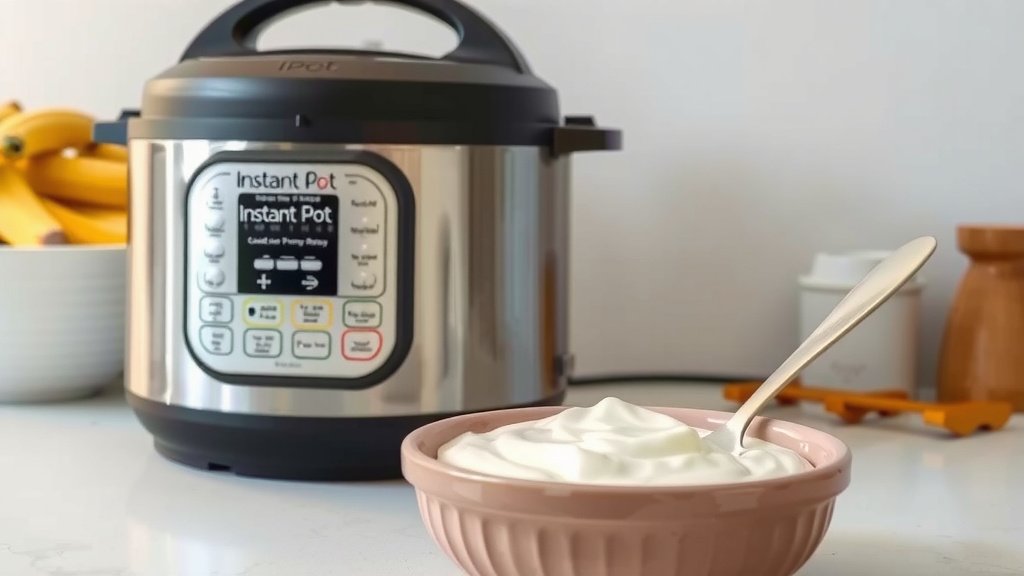
This is where your Instant Pot truly shines. The “Yogurt” setting is designed to maintain the perfect, consistent temperature for incubation. It’s like a cozy incubator for your yogurt.
Setting the Instant Pot
Place the inner pot back into your Instant Pot. Secure the lid and make sure the steam release valve is set to the “Sealing” position. Select the “Yogurt” setting. You might have an option to select “Normal” or “Brie” depending on your model; “Normal” is usually what you want. Press “Adjust” if you need to select the incubation time. The standard incubation time is 8 hours. For a tangier yogurt, you can go longer, up to 12 hours.
The Waiting Game
Now, resist the urge to open the lid! The Instant Pot will maintain the temperature, and peeking will release heat. Let it do its thing for the full incubation period. It’s a good time to make a cup of tea or catch up on a book. This patient waiting is key to a successful batch.
Chilling and Straining Your Homemade Yogurt
Once the incubation is complete, your yogurt isn’t quite ready yet. It needs a chill to firm up and develop its final texture.
Initial Cooling
After the incubation cycle finishes, your Instant Pot might beep. Carefully open the lid. The yogurt will likely be watery and somewhat jiggly. That’s perfectly normal! It needs to cool and thicken. Let it sit at room temperature for about an hour, or until it’s closer to room temperature.
Refrigeration is Key
Transfer the inner pot (or pour the yogurt into a clean container) and cover it. Place it in the refrigerator for at least 4-6 hours. Refrigeration is crucial for the yogurt to firm up properly. Many sources confirm that chilling is a vital step (Mayo Clinic).
Straining for Thickness (Optional)
If you prefer a thicker, Greek-style yogurt, this is the time to strain it. Line a sieve with cheesecloth or a clean coffee filter. Place the sieve over a bowl. Pour your chilled yogurt into the lined sieve. Let it drain in the refrigerator for a few hours, or even overnight. The longer it drains, the thicker your yogurt will become. The liquid that drains off is called whey, and it can be used in other recipes!
Your Yogurt-Making Checklist
Here’s a quick rundown to ensure you don’t miss a beat:
- Gather milk, starter culture, and Instant Pot.
- Heat milk to 180°F (82°C) or use “Boil” setting.
- Cool milk to 110-115°F (43-46°C).
- Temper and whisk in starter culture.
- Incubate on “Yogurt” setting for 8-12 hours.
- Chill thoroughly in the refrigerator.
Conclusion
You’ve now seen just how straightforward making your own yogurt can be with your Instant Pot. By carefully preparing your milk, introducing the starter cultures, and letting the “Yogurt” setting work its magic, you can achieve delicious, creamy results right in your kitchen. No more guessing or complicated processes! Your Instant Pot handles the critical temperature control, making homemade yogurt accessible and rewarding. So, are you ready to taste the difference? Gather your ingredients and give it a try this week – you might be surprised at how simple and satisfying it is!
Frequently Asked Questions
How long should I leave the yogurt in the Instant Pot on the Yogurt setting?
You’ll typically want to incubate your yogurt for at least 8 hours. For a tangier flavor, you can extend this time up to 12 hours. Experiment to find your perfect taste preference!
Can I use any type of milk for making yogurt in my Instant Pot?
Yes, you can use various types of milk, including whole, 2%, or skim. Whole milk will yield the richest and creamiest yogurt due to its fat content. Non-dairy milks can also be used, though results may vary and might require a thickener.
My yogurt is still watery after incubation. What did I do wrong?
Watery yogurt is often a sign that it needs more time to chill and strain. Ensure you’ve refrigerated it for at least 4-6 hours, and consider straining it with cheesecloth for a thicker, Greek-style consistency.
Do I need to use a special starter culture, or can I use store-bought yogurt?
You can use either! A store-bought plain, unsweetened yogurt with “live active cultures” listed on the label works perfectly as a starter. You can also purchase specialized yogurt starter powders from many stores or online.
Can I use the Instant Pot to make flavored or sweetened yogurt?
It’s best to add sweeteners or flavors after the incubation and chilling process. Adding sugar or flavorings before incubation can sometimes interfere with the culturing process and affect the final texture.