Master Your Slow Cooker: Easy Recipes and Tips
Using a slow cooker is simple and rewarding for busy cooks. You can prepare delicious meals with minimal effort by following a few key steps. Just add your ingredients, set the temperature and time, and let your slow cooker do the rest. It’s a fantastic way to make tender meats and flavorful stews with very little active cooking time, making weeknight dinners much easier to manage.
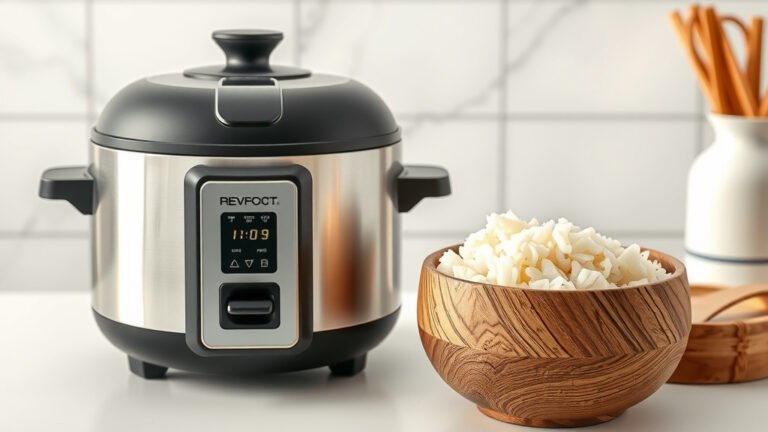
Slow cookers, also known as Crock-Pots, are electric pots designed for simmering food at low temperatures over a longer period. This method is perfect for tougher cuts of meat, turning them into something incredibly tender and delicious. Many recipes require just a few minutes of prep time, letting the appliance handle the rest, which is why they are so popular for meal prep and busy households needing convenient cooking.
- Add ingredients to the slow cooker pot.
- Secure the lid tightly.
- Set the desired temperature (Low or High) and cooking time.
- Let the slow cooker work its magic!
Ready to become a slow cooker pro? Let’s walk through exactly how to use yours to create amazing meals with confidence.
So, you’ve got a slow cooker and you’re ready to harness its magic. It’s less about complicated techniques and more about trusting the process. Think of it as your culinary sous chef that works while you’re busy with life. We’ll guide you through every step to ensure your meals come out perfectly tender and bursting with flavor. Let’s get started!
Getting Started with Your Slow Cooker
Your slow cooker is designed for simplicity. You really only have two main settings to worry about: Low and High. They sound straightforward, but understanding how they affect your cooking time is key. It’s like choosing between a gentle simmer and a slightly more assertive one. We want to make sure you get the best results every time.
Understanding the Settings: Low vs. High
The biggest question most people have is which setting to use. Both Low and High reach the same final temperature, but they get there at different speeds. The Low setting cooks food more gently over a longer period. This is fantastic for tenderizing tougher cuts of meat. Many experts recommend using Low for recipes that don’t need a lot of moisture loss, or when you have plenty of time, often 6-10 hours. We found that using Low also allows flavors to meld beautifully.
The High setting cooks food faster. It’s ideal when you’re short on time but still want that slow-cooked goodness. Typically, recipes will call for High for 3-4 hours. Think of it as a quicker simmer. It’s also a good option if your recipe has a lot of liquid, as it will help reduce that liquid more efficiently. We noticed that High is perfect for dishes like chili or pulled pork when you need dinner ready sooner.
Choosing the Right Slow Cooker Size
Slow cookers come in various sizes, and picking the right one makes a big difference. A common size is 5 to 7 quarts, which is great for families of 4-6 people. If you’re cooking for a smaller household or just want to make a single-serving meal, a 2 to 4-quart size might be better. Conversely, if you’re feeding a crowd or like to prep large batches, an 8-quart or larger model will serve you well.
Using a cooker that’s too large for your recipe can lead to dry food. This is because there isn’t enough food to fill the pot and create a consistent cooking environment. On the flip side, an overcrowded slow cooker can lead to uneven cooking. Food at the bottom might cook through while the top remains underdone. Many guidelines suggest filling your slow cooker about two-thirds full for optimal results (USDA).
The Art of Adding Ingredients
Now that you understand the settings, let’s talk about what goes into the pot. The beauty of slow cooking is its forgiving nature. However, a few smart choices can elevate your dish from good to absolutely amazing. You want to set yourself up for success from the start.
Layering Your Ingredients
How you layer matters. Dense ingredients, like root vegetables (carrots, potatoes) and tougher cuts of meat, should go on the bottom. This allows them to cook slowly and evenly in the liquid. Ingredients that cook faster, such as leafy greens or delicate fish, should be added towards the end of the cooking time. We found that placing vegetables around the meat helps keep it tender and moist.
Consider the size of your ingredients. Chop vegetables into uniform pieces. This ensures they cook at the same rate. Likewise, cut meats into similar-sized portions. This promotes even cooking and prevents some pieces from becoming dry while others are still tough. You’re aiming for a symphony of perfectly cooked components.
Adding Liquids Wisely
Slow cookers don’t evaporate liquid as quickly as a stovetop or oven. This means you generally need less liquid than in other cooking methods. Too much liquid can make your food watery and dilute the flavors. It’s often recommended to use about half the liquid called for in a conventional recipe. Broth, water, wine, or even canned tomatoes can serve as your liquid base. We found that starting with less liquid and adding more if needed is a safer bet.
Think about the recipe’s goal. Are you making a thick stew or a soup? A stew will require less liquid than a soup. If you’re cooking a roast, the meat itself will release juices as it cooks. You might only need a cup or two of liquid to get things started. Always check your specific recipe for liquid recommendations, as they can vary.
Frozen vs. Thawed Ingredients
A common question is whether you can cook frozen meat in a slow cooker. While some sources say it’s possible, we recommend thawing meat first. Cooking frozen meat can significantly increase the cooking time. It might take several extra hours for the meat to thaw and then cook through properly. This extended time can sometimes lead to the meat cooking at too low a temperature for too long, which can be a food safety concern.
The USDA advises against cooking frozen meats in a slow cooker because they may not reach a safe internal temperature quickly enough. Bacteria can multiply in the “danger zone” between 40°F and 140°F (CDC). Thawing meat in the refrigerator overnight is the safest method. If you’re in a pinch, you can thaw it under cold running water, but always cook it immediately after. This simple step ensures your meal is both delicious and safe to eat.
Cooking and Finishing Touches
Once everything is in the pot and the lid is on, your slow cooker takes over. But there are a few things to remember during and after the cooking process.
Resisting the Urge to Peek
It’s tempting to lift the lid and check on your food, right? We get it! But every time you lift the lid, you let out precious heat. This can add 15-30 minutes to your cooking time. For recipes that take 6-8 hours on Low, that extra time really adds up. Try to keep the lid on as much as possible. Your slow cooker is designed to work its magic sealed up tight.
Checking for Doneness
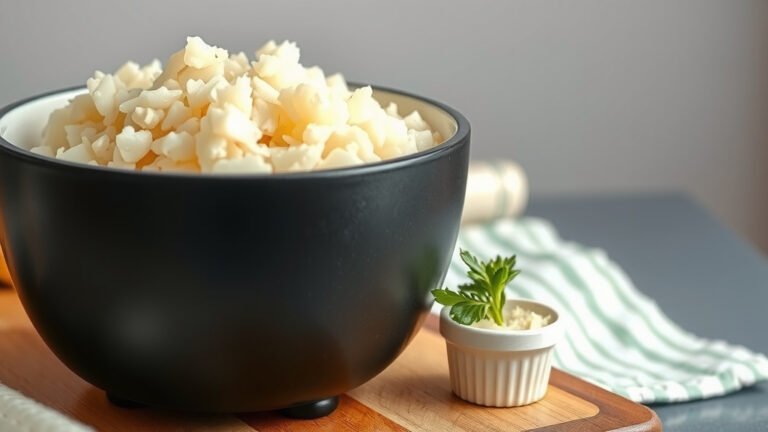
How do you know when your food is ready? For meats, you’re looking for them to be fork-tender. This means a fork should slide into the meat with very little resistance. For vegetables, they should be soft but not mushy. Many experts also recommend using a meat thermometer for accuracy, especially with larger cuts of meat or poultry. Aim for internal temperatures of 195°F to 205°F for most meats to ensure they are fully tender (USDA).
Thickening Sauces and Gravies
Sometimes, your slow cooker meal might be a little thinner than you’d like. Don’t worry, it’s easy to fix! You can remove the lid for the last 30-60 minutes of cooking to allow some liquid to evaporate. For a thicker consistency, you can make a slurry. Mix 1-2 tablespoons of cornstarch or flour with an equal amount of cold water or broth in a small bowl until smooth. Stir this mixture into the hot liquid in your slow cooker. Then, cook on High for another 15-30 minutes, stirring occasionally, until the sauce thickens.
A Quick Checklist for Success
Here’s a handy checklist to keep by your slow cooker:
- Prep ingredients: Chop veggies, trim meat.
- Thaw meat: Always thaw before cooking.
- Layer properly: Dense items at the bottom.
- Add just enough liquid: Less is often more.
- Secure the lid: Don’t peek too often!
- Check for doneness: Use a fork or thermometer.
Conclusion
You’re now ready to master your slow cooker! We’ve covered everything from understanding your Low and High settings to layering ingredients for perfect results. Remember to thaw your meats, use liquids wisely, and resist peeking too often. Your slow cooker is your secret weapon for effortless, delicious meals. So go ahead, choose a recipe, and let your slow cooker bring comforting flavors to your table with minimal fuss. Your next amazing meal is just a few simple steps away!
Frequently Asked Questions
Can I put frozen meat directly into my slow cooker?
It’s generally not recommended to cook frozen meat in a slow cooker. Thawing meat first ensures it cooks safely and evenly. Frozen meat can take much longer to cook and may not reach a safe internal temperature quickly enough, increasing food safety risks.
How do I know if my slow cooker recipe has too much liquid?
Slow cookers don’t evaporate liquid as much as other cooking methods. If your finished dish seems watery, you likely used too much liquid. You can try thickening it by removing the lid for the last hour or making a cornstarch slurry.
What’s the difference between cooking on Low and High?
Both settings reach the same final temperature, but High cooks food much faster. Low is ideal for tenderizing tougher cuts over 6-10 hours, while High is better for dishes needing 3-4 hours of cooking, like chili.
Can I use my slow cooker to cook delicate ingredients like fish or vegetables?
Yes, but add them towards the end of the cooking time. Delicate items cook quickly and can become mushy if left in for the entire duration. Many recipes call for adding them in the last 30-60 minutes.
My slow cooker recipe calls for a lot of liquid, but you said to use less. What should I do?
Always check your specific recipe’s instructions first. If a recipe developed for a conventional oven calls for a lot of liquid, you might want to start with about half the amount. You can always add more liquid later if your dish seems too dry.