Master Your Cooker with the Delay Timer Function
Using a delay timer on your cooker is a straightforward way to schedule your cooking. You simply set the timer, and your oven will start at the programmed time. This is perfect for busy mornings or when you want dinner ready right when you get home.
This handy feature takes the guesswork out of meal prep. It ensures your food is cooked to perfection without you needing to be there to turn the oven on. Many modern ovens come with this convenient delay start function built-in, making life a little easier.
- Set your desired cooking time.
- Program when you want the cooking to start.
- Your cooker will automatically begin at the set time.
- Enjoy perfectly timed meals with less stress.
Let’s walk through exactly how to use your cooker’s delay timer step by step.
Getting Started with Your Cooker’s Delay Start Feature
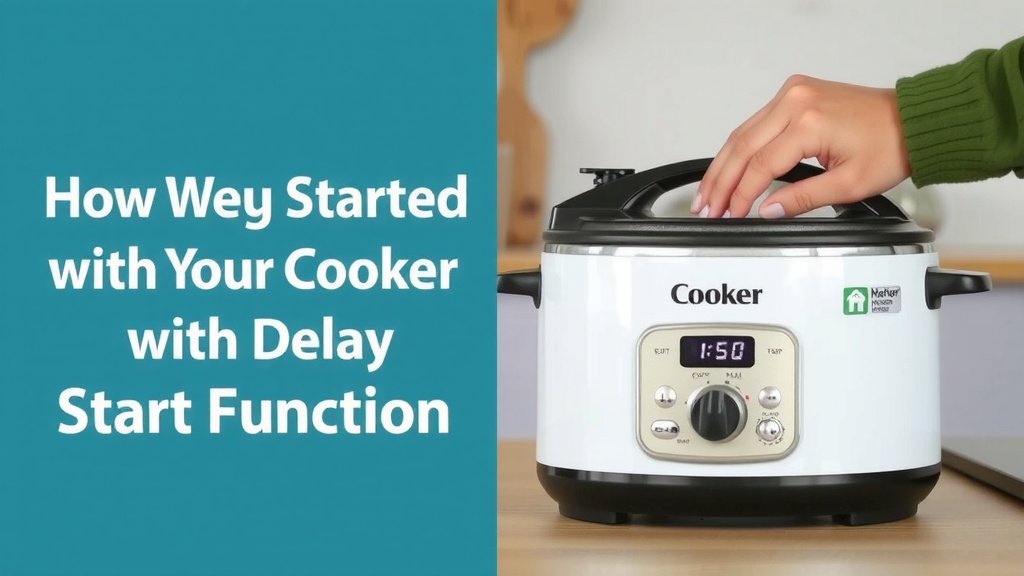
So, you’ve got a cooker with a delay start function, and you’re wondering how to make it work for you. It’s simpler than you might think! This feature lets you set it and forget it, so your meal is ready exactly when you want it. Think of it as your personal kitchen assistant, ready to start the cooking magic on your schedule.
The main idea is to tell your oven when to start and how long to cook. It’s perfect for those mornings when you want a warm breakfast ready, or for planning dinner so it finishes right as you walk in the door after work. Let’s break down the steps.
Understanding Your Oven’s Controls
Every oven is a little different, but most delay timers work on a similar principle. You’ll usually find buttons or a dial for setting the time and selecting cooking modes. Take a moment to familiarize yourself with these. Look for labels like “Delay Start,” “Timer,” “Program,” or a clock icon.
Often, you’ll interact with the oven’s display screen. This is where you’ll see the current time, cooking settings, and any programmed timer functions. Having your cooker’s manual handy is always a good idea, even if you’re comfortable with technology. It can clarify any specific symbols or sequences your model uses.
Common Button Types
You might encounter a few common types of controls:
- Numeric Keypad: For entering specific times (hours and minutes).
- Arrow Buttons: Used to adjust time up or down.
- Dedicated Timer Buttons: Sometimes there’s a specific button just for setting the delay start.
- Rotary Dial: You turn this to select modes and often press it to confirm settings.
Setting the Current Time (The Foundation)
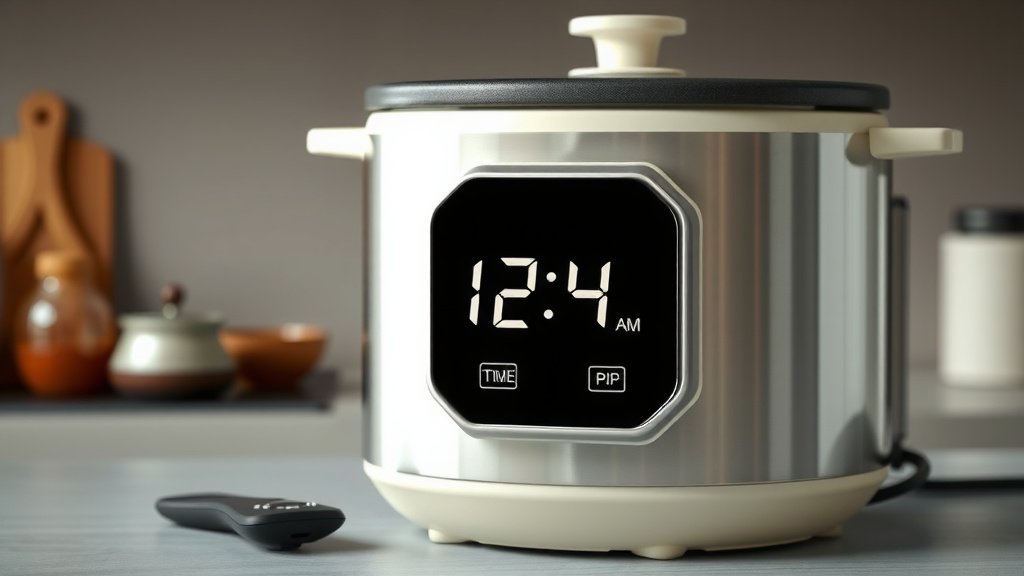
Before you can schedule anything, your oven needs to know the current time. This is like setting your watch. If the current time isn’t set correctly, your delay timer won’t know when to begin or end.
Look for a button or menu option that says “Set Clock” or something similar. You’ll typically use the number pad or arrow keys to input the correct hour and minute. Don’t forget to set AM/PM correctly, especially if you’re programming for early morning. We’ve all been there, accidentally setting a timer for PM instead of AM!
Programming Your Delay Start Cook Time
Now for the fun part! This is where you tell your oven to hold off on starting the cooking. You’re essentially setting up a future cooking event. It’s like sending a text message to your oven that says, “Start this recipe at this exact time, please.”
Step 1: Select Your Cooking Function and Temperature
Just like with regular cooking, you need to tell your oven what you want it to do. Choose the cooking mode (bake, broil, convection, etc.) and the desired temperature. You do this first because the oven needs to know the cooking parameters before it can schedule them.
For example, if you’re planning to bake cookies, you’ll select “Bake” and set the temperature to 350°F. If you’re roasting a chicken, you might choose “Roast” and set it to 400°F. Some ovens let you select these details before or after setting the delay. Check your display!
Step 2: Activate the Delay Start Function
Find the button or menu option for the delay timer. It might be labeled “Delay Start,” “Program,” “Auto Cook,” or have a clock icon with an arrow. Press this button to engage the delay feature. Your oven display should change to indicate that it’s now in programming mode for a delayed start.
Once activated, you’ll usually see a prompt on the screen asking you to set the desired cooking time or the time you want the cooking to finish. This can vary. Some ovens ask for “Cook Time” first, while others ask for “Finish Time” first. We’ll cover both scenarios.
Step 3: Set Your Desired Cooking Duration (Cook Time)
If your oven asks for “Cook Time” first, you’ll enter how long the food needs to be cooked. For instance, if your recipe calls for baking for 45 minutes, you’ll enter 0:45. Use the numeric keypad or arrow buttons to input the hours and minutes. This tells the oven the total duration of the cooking process.
This step is crucial for accuracy. If a recipe says bake for 40-50 minutes, it’s often best to err on the side of the longer time when using a delay. You can always check for doneness and remove the food early. It’s harder to add more cooking time if you started too late!
Step 4: Set Your Desired Finish Time
Next, you’ll tell the oven when you want the cooking to be complete. This is where you factor in your schedule. Let’s say you want your lasagna to be ready at 6:30 PM. You’ll input 6:30. Many experts suggest setting the finish time about 5-10 minutes before you actually want to eat.
This buffer allows for resting time, which is important for many dishes, and gives you a moment to check on the food. It also accounts for any slight variations in oven temperature or cooking time. The oven will then calculate backwards from this finish time, using the cook time you previously set, to determine exactly when to start heating up.
Example Scenario: The Early Morning Bake
Imagine you want your breakfast casserole to be ready at 7:00 AM. The recipe takes 1 hour to bake.
- Set the current time correctly.
- Select “Bake” mode and the right temperature.
- Press “Delay Start.”
- Enter “1:00” for the Cook Time.
- Enter “7:00” for the Finish Time.
Your oven will then automatically calculate when to turn on to ensure the casserole is perfectly cooked by 7:00 AM. It’s like having a personal chef who knows your morning routine!
Step 5: Confirm and Start
Once you’ve entered all the details—cooking function, temperature, cook time, and finish time—you usually need to press a “Start” or “Confirm” button. This finalizes the program. The display will likely show a confirmation that the delay start is active, often with the programmed finish time displayed.
From this point, your oven will remain off until the calculated start time. It’s important to place your food inside before the programmed start time. You wouldn’t want your oven to start heating up with an empty cavity!
Important Considerations and Tips
While the delay timer is incredibly useful, there are a few things to keep in mind to ensure your cooking goes off without a hitch. It’s not quite as simple as just setting and forgetting for *every* type of food.
What Foods Work Best?
The delay timer is fantastic for dishes that are forgiving and can benefit from a precise finish time. Think casseroles, roasts, baked pasta dishes, and breads.
These types of foods often don’t suffer if they need to rest for a few minutes after cooking. They also maintain their temperature well.
What Foods to Avoid or Be Cautious With
Some foods are best cooked fresh and immediately. Delicate items like fish, certain vegetables, or anything with a very crispy crust might not fare well if left sitting for too long after cooking.
You also want to be cautious with recipes that have ingredients that could spoil. According to the USDA, perishable foods should not be left at room temperature for more than two hours (or one hour if the temperature is above 90°F).
Consider how the food will be affected by sitting in a warm oven or cooling down before you plan to serve it. For these items, it’s often better to cook them closer to serving time.
Oven Variations and Your Manual
As mentioned earlier, oven interfaces differ. Some ovens have a “Cook Time” and “Finish Time” option, while others might only have a “Cook Time” and you manually calculate the start time. Others might have a “Delayed Cook” function that works slightly differently.
We found that consulting your oven’s specific user manual is the most reliable way to understand its exact programming sequence. Manuals often have clear diagrams and step-by-step instructions tailored to your model.
A Quick Checklist for Using Your Delay Timer
Here’s a handy checklist to run through before you set your timer:
- Is the current time set correctly on your oven?
- Have you selected the correct cooking mode and temperature?
- Do you know the exact cook time needed for your recipe?
- Have you decided on your ideal finish time?
- Have you factored in any necessary resting time after cooking?
- Is your food inside the oven before the programmed start time?
Conclusion
You’ve now learned how to master your cooker’s delay timer. This feature lets you schedule meals with ease, bringing convenience to your busy life. Remember to always set the current time accurately and select your cooking functions before programming the delay. With a little practice, you’ll be enjoying perfectly timed meals without the last-minute rush. Take the next step and try programming your delay timer for your next meal!
Frequently Asked Questions
Can I put frozen food in the oven using a delay timer?
It’s generally best to avoid using the delay timer with frozen foods. Most frozen items require a longer, more precise cooking time that starts immediately. Thawing food at room temperature for an extended period before cooking can also be a food safety concern. Always thaw food safely in the refrigerator.
What if my oven doesn’t have a delay start button?
If your oven lacks a dedicated delay start button, it might still have a programmable timer feature. Check your oven’s manual to see if it allows you to set a “cook time” and a “finish time.” If not, you may need to manually set a separate kitchen timer and turn the oven on yourself at the correct moment.
How do I know if my food is safe to leave in the oven for a while after cooking?
The USDA recommends not leaving perishable foods in the “danger zone” (between 40°F and 140°F) for more than two hours, or one hour if the temperature is above 90°F. Foods that are cooked thoroughly and can withstand resting for a short period, like roasts or casseroles, are usually safe. If your food consists of items that degrade quickly or need a crispy texture, it’s best to cook them closer to serving time.
Will the oven’s internal light stay on during the delay?
Typically, the oven’s internal light will not stay on during the delay period. The oven remains off until the programmed start time, so all its functions, including the light, will be inactive. The light only comes on when the oven is actively heating or when you manually press the light button.
What should I do if I accidentally set the wrong time for my delay start?
If you realize you’ve made a mistake, you can usually cancel the delay timer by pressing a “Cancel” or “Off” button. You might also be able to adjust the programmed times directly, depending on your oven model. It’s always best to check your user manual for specific instructions on how to modify or cancel a programmed setting.