Master Your Gas Cooker: A Step-by-Step Guide
Using a gas cooker is quite straightforward, and with a little practice, you’ll be cooking delicious meals in no time. The main steps involve connecting the gas, turning on the burner, and lighting it. Always ensure your cooker is properly installed and connected to a gas source before you begin.
Understanding how to safely operate your gas cooker is important for a great cooking experience. You’ll want to know about the different controls for heat and how to ensure a stable flame. Many home cooks find that gas offers superior **heat control** compared to electric. We’ll guide you through the simple process.
- Connect your gas bottle or main supply securely.
- Turn the correct control knob to the “light” or “low” setting.
- Use a long match or lighter to ignite the burner.
- Adjust the flame for your desired cooking temperature.
- Always turn off the gas when you’re done cooking.
Let’s walk through exactly how to use your gas cooker step by step, from setup to switching it off.
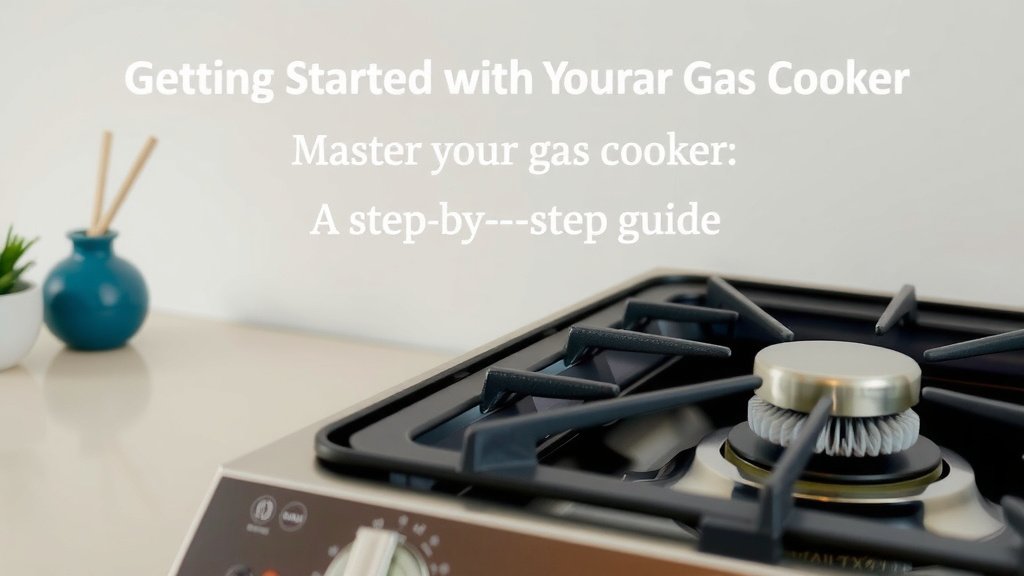
Getting Started with Your Gas Cooker
Using a gas cooker might seem intimidating at first. But once you get the hang of it, you’ll find it wonderfully responsive. The key is understanding the gas flow and how to ignite it safely. We’re here to guide you through each step.
Understanding Your Gas Cooker’s Anatomy
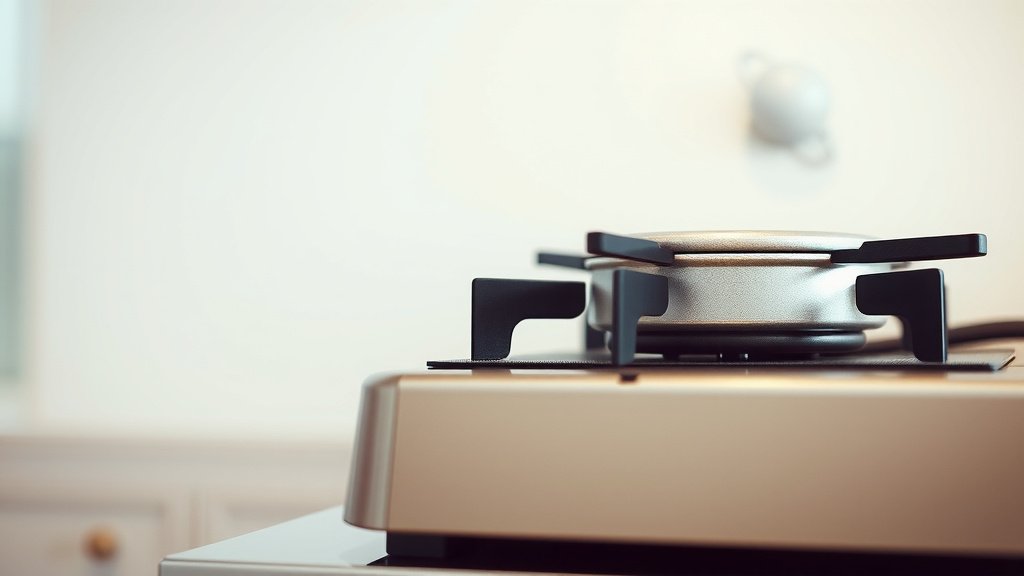
Before you light anything, it’s helpful to know the basic parts. Most gas cookers have a main gas valve, control knobs for each burner, and the burners themselves. You’ll also find ignition systems, which can be manual or electric. Knowing where these are will make operation much simpler.
Connecting Your Gas Supply
This is perhaps the most critical step for safety. Ensure your gas bottle or main supply line is **securely connected**. If you’re using a portable gas bottle, make sure the regulator is attached correctly and turned off before connecting the hose. If you’re on a natural gas line, the connection should have been made by a professional. Always check for leaks after a new connection.
Checking for Gas Leaks
A simple way to check for leaks is by using soapy water. Mix a bit of dish soap with water in a bowl. Brush the solution onto gas connections and hoses. If you see **bubbles forming**, that means gas is escaping, and you have a leak. Turn off the gas immediately and do not try to use the cooker. You’ll need to have the connection re-done by a professional (CDC).
Turning On and Lighting a Burner
Now for the exciting part – lighting the burner! Here’s how most systems work. You’ll typically turn a control knob for the specific burner you want to use. Turn it to the “light” or “low” setting. This usually opens the gas valve to the burner.
Manual Ignition Methods
For cookers without an automatic ignition, you’ll need a long match or a long-reach lighter. Hold the flame near the burner holes as you turn on the gas. The gas should ignite quickly. Be patient; sometimes it takes a second for the gas to reach the burner.
Automatic (Electric) Ignition
Many modern gas cookers have an electric ignition. You’ll usually hear a clicking sound. You might need to hold the control knob down for a few seconds after pressing the ignition button. The gas should ignite. If it doesn’t light after a few tries, turn off the gas and check your user manual. Sometimes, a small amount of spilled food can block the ignition port.
Controlling the Flame and Heat
One of the biggest advantages of gas cooking is precise heat control. You’ll notice that the control knobs usually have markings for low, medium, and high heat. Turning the knob changes the amount of gas flowing to the burner, which directly affects the flame height and heat output.
Finding the Right Flame Size
For most cooking, you want a **stable, blue flame**. A flickering yellow or orange flame can indicate incomplete combustion, meaning you’re not getting the most efficient heat and might be producing soot. If you see this, check for blockages on the burner or ensure the gas-air mixture is correct. Many experts recommend a low, steady flame for simmering and a higher flame for boiling or searing (National Fire Protection Association).
Here’s a quick guide to flame settings:
| Flame Setting | Typical Use | What to Look For |
|---|---|---|
| Low | Simmering sauces, keeping food warm | Small, steady blue flame, barely licking the pot base |
| Medium | Sautéing, general cooking | Moderate blue flame, even around the burner |
| High | Boiling water, searing meat | Larger, vibrant blue flame, reaching up the sides of the pot |
Safe Cooking Practices
Safety is always the top priority. When cooking with gas, always stay in the kitchen. Never leave a lit burner unattended. Keep flammable materials, like dish towels or oven mitts, away from the open flame. This is a **common sense measure** that prevents many accidents.
Ventilation is Key
Gas cookers produce byproducts, including carbon monoxide, when they burn fuel. Good ventilation helps clear these away. Always ensure your kitchen has adequate airflow. This means using your range hood or opening a window, especially when cooking for longer periods (U.S. Environmental Protection Agency).
Turning Off Your Gas Cooker
When you’re finished cooking, it’s just as important to turn off the gas properly. Turn the control knob for each burner to the “off” position. You should hear a distinct click as the gas supply to that burner is shut off. Ensure all burners are completely off before leaving the kitchen.
Final Safety Check
Give your cooker a quick glance to confirm all flames are out. If you ever smell gas after turning off the cooker, open windows, leave the area, and call your gas company or emergency services. Trust your senses; that gas smell is a **warning sign you shouldn’t ignore**.
Quick Checklist for Gas Cooker Use
- Check for gas leaks before first use or after reconnecting.
- Turn burner knob to “light” or “low” before igniting.
- Use a long match or lighter for manual ignition.
- Adjust flame for desired cooking heat; aim for a blue flame.
- Never leave a lit burner unattended.
- Turn all burner knobs completely to “off” when done.
Conclusion
You’ve now learned the essential steps to safely and effectively use your gas cooker. From securely connecting the gas supply to mastering flame control for perfect cooking results, you’re well-equipped. Remember to always prioritize safety by checking for leaks, ensuring good ventilation, and never leaving a lit burner unattended. With practice, you’ll find gas cooking offers amazing responsiveness. Now, go ahead and confidently cook your next delicious meal!
Frequently Asked Questions
What should I do if I smell gas after turning off the cooker?
If you detect a gas odor after turning off your cooker, this is a serious warning. Immediately open all windows and doors to ventilate the area. Then, leave your home and call your gas company or emergency services from a safe distance. Never try to find the source of the leak yourself.
How can I tell if my gas burner flame is burning correctly?
A healthy gas burner flame should be predominantly blue and steady. If you see flickering yellow or orange flames, it can indicate incomplete combustion. This might mean your burner needs cleaning or a gas-air mixture adjustment.
Is it safe to use my gas cooker if it has an automatic ignition but it’s not working?
Yes, you can usually still use your gas cooker manually. You’ll need to use a long match or a long-reach lighter to ignite the burner. Make sure to turn the gas on at the control knob and then carefully bring the flame to the burner. Always refer to your user manual for specific instructions.
How often should I check for gas leaks?
You should check for gas leaks before first use and anytime you reconnect a gas bottle or suspect an issue. A simple soapy water test is recommended. Regular checks ensure your cooker operates safely and efficiently.
Can I use any type of pot or pan on a gas cooker?
Generally, you can use most types of cookware on a gas cooker, including stainless steel, cast iron, copper, and aluminum. Ensure the base of your pot or pan is flat and fits securely on the burner grates for optimal heat transfer and stability.