How to Install an Electric Cooker Safely and Correctly
Installing an electric cooker yourself is absolutely doable if you’re comfortable with basic electrical work and follow safety precautions. You’ll need to ensure your home’s wiring can handle the cooker’s power needs and that you have the correct outlet. Proper installation means your cooker will function efficiently and safely for years to come.
When you’re ready to swap out your old stove or install a new one, a DIY approach can save you money. We found that understanding your cooker’s amperage requirements and checking your breaker box are key first steps. Many people wonder if they can simply plug in a new cooker, but it often requires a specific outlet and sometimes a dedicated circuit for optimal performance.
- Turn off power at the breaker.
- Check your cooker’s wattage and your home’s wiring.
- Install the correct outlet if needed.
- Connect the cooker wiring carefully.
- Restore power and test the appliance.
Ready to get your new cooker hooked up? Let’s walk through exactly how to install your electric cooker step by step, making sure you feel confident throughout the process.
Getting Your Electric Cooker Installed Safely
Installing an electric cooker yourself can save you a good chunk of money. Many homeowners feel confident tackling this project. You’ll want to make sure your home’s electrical system is ready for the job. This guide will walk you through the steps.
Understanding Your Cooker’s Electrical Needs
Before you even unbox your new cooker, it’s vital to check its power requirements. This information is usually on a sticker inside the door or on the back of the appliance. You’ll see wattage and amperage listed. Cookers can draw a lot of power, often between 240 volts. They might need a 30-amp circuit, but some smaller models could work with 20 amps. This is where we start.
Checking Your Home’s Electrical Capacity
Your home’s electrical panel, or breaker box, is like the heart of your electrical system. You need to ensure it can handle the extra load of a new cooker. Older homes might have outdated wiring or panels that aren’t up to modern demands. We found that a qualified electrician can assess your panel. They can tell you if you need an upgrade. This check is super important for preventing overloaded circuits and potential fire hazards. Think of it like trying to run too many appliances at once – something’s got to give!
Identifying the Right Outlet Type
Electric cookers don’t just plug into any old outlet. They require a specific type of receptacle. Most modern cookers use a 4-prong outlet (NEMA 14-30R). Older homes might only have a 3-prong outlet (NEMA 10-30R). A 4-prong outlet is safer because it separates the neutral and ground wires. If you have a 3-prong outlet, you’ll likely need to have an electrician install a new 4-prong outlet and potentially a new circuit. We found that this is a common upgrade for safety and compliance with current electrical codes.
What if You Have a 3-Prong Outlet?
If your home has an older 3-prong outlet, you have a couple of options. The safest and most recommended is to have an electrician run a new cable and install a 4-prong outlet. This is essential if your cooker’s manual specifies a 4-prong connection. Some cookers can be converted to work with a 3-prong outlet, but this often involves reconfiguring the internal wiring. This conversion can sometimes reduce safety features and might void warranties. We advise checking your cooker’s manual carefully before considering this route.
Safety First: Turning Off the Power
This step cannot be stressed enough: always turn off the power before you start any wiring. Go to your home’s electrical panel and find the breaker that controls the circuit for your cooker outlet. If the breaker isn’t clearly labeled, it’s best to play it safe. You can flip off the main breaker that controls all power to your house. Once you’ve flipped the breaker, use a non-contact voltage tester to confirm there’s no power at the outlet. Don’t guess – test it!
Removing the Old Cooker (If Applicable)
If you’re replacing an old electric cooker, you’ll need to disconnect it first. Make sure the power is off at the breaker. Gently pull the cooker away from the wall. You’ll see a junction box or a power cord connected to the wall outlet. Carefully disconnect the wires or unplug the cord. If it’s wired directly, you’ll need to unscrew the wire nuts connecting the cooker wires to the house wires. Always take a picture before you disconnect anything; it can be a helpful reference.
Wiring the New Cooker
Now for the main event: connecting your new cooker. Your new appliance will have a wiring harness or a power cord. If it has a cord, you’ll simply plug it into the correct outlet you’ve confirmed is installed and powered. If your cooker needs to be hardwired or connects via a junction box, follow the manufacturer’s instructions precisely. You’ll typically find color-coded wires: black (hot), white (neutral), and green or bare copper (ground). Match these to the corresponding wires in your home’s junction box or to the terminals on the cooker itself. Make sure all connections are secure and use new wire nuts if necessary.
Making Secure Connections
When connecting wires, twist them together tightly. Then, screw on a wire nut until it’s snug. Give the wires a gentle tug to ensure they won’t pull out. For 240-volt connections, you’ll often have two “hot” wires (usually black), one neutral (white), and one ground (green or bare). Double-check that you’re connecting hot to hot, neutral to neutral, and ground to ground. Research and found that loose connections are a common cause of electrical issues. Don’t rush this part!
Testing Your New Cooker
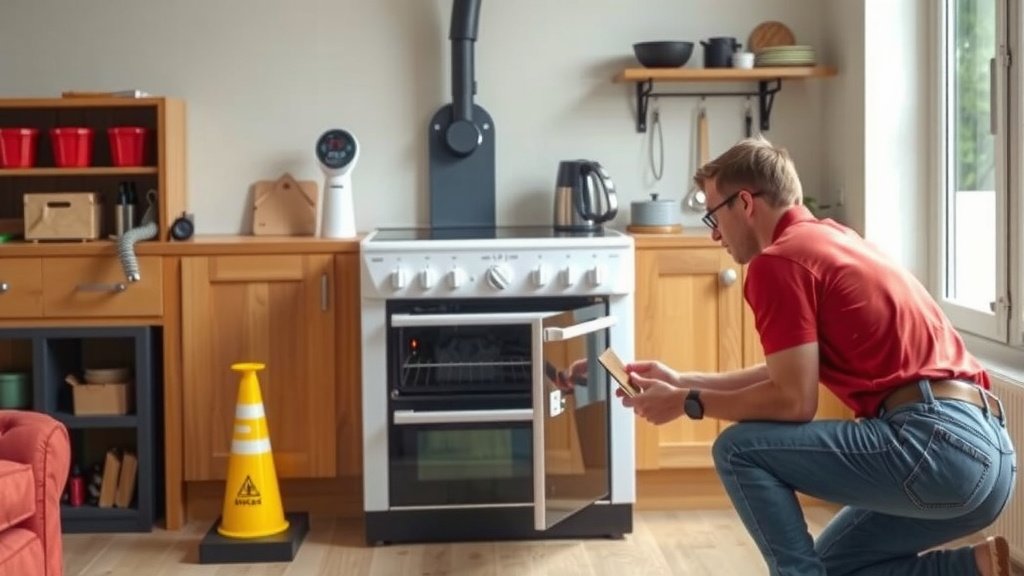
With all the connections made and the cooker in place, it’s time to power it back up. Go back to your electrical panel and flip the breaker back on. Listen for any unusual sounds or smells. Then, test the cooker’s functions. Turn on a burner or the oven to the lowest setting. Let it run for a few minutes. Check that it’s heating up properly. If anything seems off – like sparking, strange noises, or no heat – turn the power off immediately at the breaker. You may need to recheck your connections or call a professional.
Quick Checklist for Installation Success
- Verify cooker’s amperage and voltage needs.
- Confirm your home’s electrical panel can handle the load.
- Ensure you have the correct outlet type (3-prong vs. 4-prong).
- ALWAYS turn off power at the breaker before working.
- Use a voltage tester to confirm power is off.
- Follow cooker manufacturer’s wiring instructions exactly.
- Make all wire connections secure.
Conclusion
You’ve now walked through the essential steps to install your electric cooker safely and effectively. Remember, understanding your cooker’s power needs and ensuring your home’s wiring is up to par are the most critical first steps. Taking the time to confirm the correct outlet and meticulously making secure connections will pay off in reliable performance. If you ever feel unsure about any part of the process, especially when dealing with your home’s electrical panel, don’t hesitate to call a qualified electrician. Your confidence and safety are the top priorities, so take that final step to enjoy your new, properly installed cooker!
Frequently Asked Questions
Can I use a regular outlet for my electric cooker?
Typically, no. Electric cookers require a specific outlet designed for their higher amperage and voltage needs. Most modern cookers use a 4-prong outlet, while older homes might have a 3-prong outlet. Using the wrong outlet can be a safety hazard and may not provide enough power for your appliance.
What is the difference between a 3-prong and a 4-prong outlet for cookers?
A 4-prong outlet (NEMA 14-30R) has separate wires for hot, neutral, and ground, making it safer and more efficient for modern appliances. An older 3-prong outlet (NEMA 10-30R) combines the neutral and ground wires, which is no longer considered as safe and may not be compatible with newer cookers.
How do I know if my home’s electrical system can handle a new electric cooker?
You need to check the amperage requirements of your cooker against the capacity of your home’s electrical panel and the specific circuit. We recommend having a qualified electrician assess your panel to ensure it can handle the load without overheating or tripping breakers. Older homes may require an electrical panel upgrade.
What should I do if I smell burning or see sparks after installation?
Turn off the power immediately at the breaker box. Do not use the cooker. This indicates a problem with the wiring connections. You should recheck all your connections carefully or call a qualified electrician to diagnose and fix the issue before attempting to use the appliance again.
Is it safe to convert a 4-prong cooker to a 3-prong outlet?
While some cookers can be converted, it’s not always recommended and might void your warranty. This process involves reconfiguring the cooker’s internal wiring. The safest approach is to upgrade your outlet to the 4-prong type required by the cooker, especially if your manual specifies it.