Pressure Cooker Setup Guide: Get Started Today
Setting up your pressure cooker is surprisingly straightforward. You’ll want to start by reading your specific model’s manual, but generally, you will secure the lid, ensure the steam valve is in the correct position, and then set your cooking time. Don’t worry, it’s less complicated than it sounds!
Pressure cookers can drastically cut down your cooking time. They work by trapping steam, which builds up pressure and cooks food faster. We found that understanding the basic safety features, like the pressure release mechanisms, is just as important as the cooking process itself. Proper setup ensures safe and delicious results.
- Always read your manual first.
- Ensure the lid is properly sealed.
- Check the steam valve is set correctly.
- Understand safety release features.
- Start with simple recipes.
Ready to get cooking? Below, we’ll walk you through the simple steps to get your pressure cooker ready to go, ensuring a safe and tasty meal every time.
Getting Your Pressure Cooker Ready to Cook
Now that you’re ready to harness the magic of pressure cooking, let’s get your appliance set up. It’s really quite simple once you break it down into a few easy steps. We’ll guide you through everything, making sure you feel confident and safe.
Understanding the Parts of Your Pressure Cooker
Before you can cook, it helps to know what you’re working with. Think of your pressure cooker like a team of parts, all working together. Let’s meet the main players.
The Pot and Lid: Your Cooking Vessel
You’ve got the main pot, where all the deliciousness happens. And then there’s the lid, which is the star of the show for pressure building. Make sure your lid is clean and free from any old food bits. A clean pot means a cleaner taste.
The Sealing Ring: The Gasket’s Promise
This is usually a silicone or rubber ring that sits inside the lid. Its job is to create an airtight seal. Without a good seal, your cooker won’t build pressure. We found that a worn-out or damaged sealing ring is a common culprit for pressure issues. So, give yours a quick check.
The Pressure Regulator or Valve: The Pressure Boss
This is the part that controls how much pressure builds up and when it releases. It might look like a little weight, a spring-loaded valve, or a dial. Your manual is your best friend here, as these can vary a lot between models. It’s crucial to ensure this is **correctly positioned** for your cooking method.
Safety Valves: Your Peace of Mind
Pressure cookers have several built-in safety features. You’ll likely have a safety plug or a float valve. These are designed to release excess pressure if something goes wrong. We found that understanding where these are and how they work can **reduce anxiety** about using a pressure cooker for the first time.
Your Step-by-Step Pressure Cooker Setup Guide
Let’s get this cooker ready for action! Follow these steps, and you’ll be cooking in no time.
Step 1: Read Your Manual (Yes, Really!)
We know, we know. Who reads manuals? But seriously, for pressure cookers, this is non-negotiable. Every model is a little different. Your manual will show you the **specific placement** of your pressure regulator and highlight your safety features. It’s the quickest way to get acquainted with *your* specific cooker.
Step 2: Add Your Ingredients and Liquid
This is the fun part! Add your food to the inner pot. Then, add your liquid. Most recipes call for a minimum amount of liquid, usually 1 to 1.5 cups. This liquid turns to steam, which is what builds the pressure. You can’t pressure cook without enough liquid; it’s like trying to drive a car without gas!
Experts at the Cleveland Clinic mention that using enough liquid is essential for proper steam generation (Cleveland Clinic).
Step 3: Secure the Lid Properly
This is a big one. Most electric pressure cookers have a lid that twists and locks into place. You should hear or feel a click when it’s properly secured. For stovetop models, the lid often has a clamping mechanism. Make sure there are **no gaps** around the edge. A tight seal is critical for building pressure.
Step 4: Set the Steam Release Valve
This is where your manual is vital. For cooking under pressure, you’ll typically want to close the steam release valve. This is often done by turning the valve to the “Sealing” position. If you leave it open, all the steam will escape, and you won’t build any pressure. Some models have a visual indicator for this. We found that this step is often confused, so double-check your manual!
Step 5: Select Your Cooking Settings
For electric pressure cookers, this is where you choose your cooking program. You’ll select the cooking mode (e.g., “Pressure Cook,” “Manual,” “Soup,” “Meat”) and then set your desired cooking time. The cooker will then heat up, build pressure, and start the timer. For stovetop models, you’ll set them on the burner and wait for them to reach pressure, then adjust the heat.
What to Expect During the Pressure Building Phase
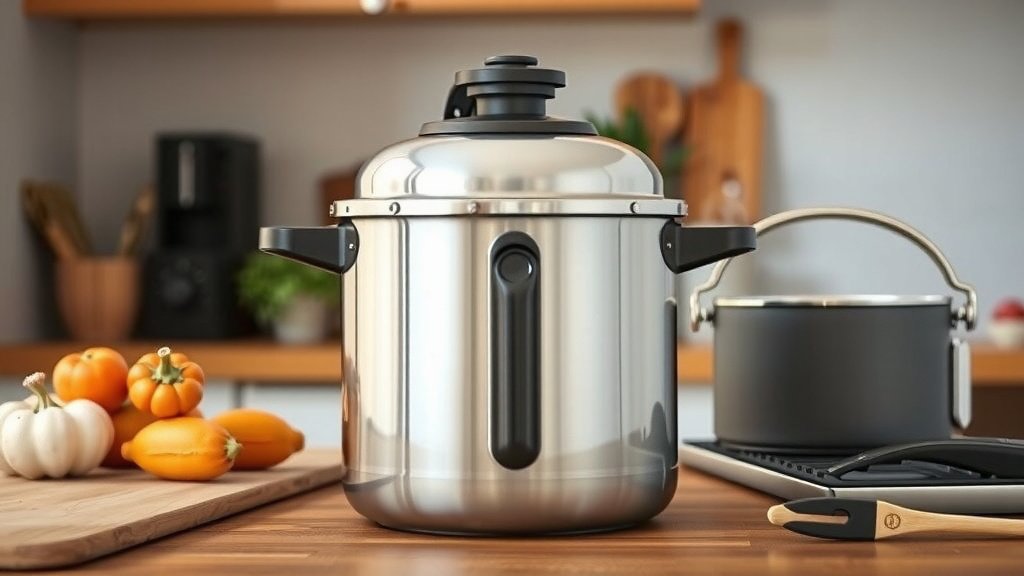
Once you’ve set everything up, your cooker will start heating. You’ll hear sounds as the liquid heats up and starts to produce steam. It might hiss a little, and that’s normal. The pressure regulator or safety valve might start to wiggle or vent a bit of steam, indicating pressure is building. This phase can take anywhere from 10 to 30 minutes, depending on the amount of food and liquid inside.
Don’t be alarmed by these sounds. They are signs that your cooker is working as intended. Many guidelines suggest that a bit of initial steam release is **perfectly normal** as pressure builds. We found that understanding these normal sounds helps alleviate any first-time user nerves.
A Quick Checklist for Setup Success
Before you hit “start,” give this a quick glance:
- Did you read your specific model’s manual?
- Is the inner pot clean and free of debris?
- Is the sealing ring properly in place and in good condition?
- Is the lid locked securely?
- Is the steam release valve in the correct “Sealing” position?
- Did you add the correct amount of liquid?
Conclusion
You’ve now learned the essential steps to set up your pressure cooker safely and effectively. Understanding your cooker’s parts, securing the lid properly, and ensuring the steam valve is in the right position are key. Remember to always consult your manual for model-specific guidance. With these fundamentals in place, you’re ready to enjoy faster, more flavorful meals. Your next step? Gather your ingredients and choose a simple recipe to try out your newly set-up pressure cooker!
Frequently Asked Questions
What’s the minimum amount of liquid I need to use?
Most pressure cooker recipes require at least 1 to 1.5 cups of liquid. This liquid is necessary to create the steam needed for cooking. Not enough liquid can prevent pressure buildup.
Can I leave my pressure cooker unattended while it’s building pressure?
It’s generally recommended to stay nearby during the pressure-building phase. While modern electric models are safe, it’s wise to be present to ensure everything functions correctly and to address any unexpected noises.
My pressure cooker isn’t building pressure. What could be wrong?
Common issues include not having enough liquid, the sealing ring not being seated correctly, or the steam release valve being left open. Double-check these elements first.
Is it normal for steam to escape when the pressure is building?
Yes, it’s perfectly normal for a small amount of steam to escape from the valve or safety plug as the pressure builds. This indicates the cooker is working as intended.
How do I know when my electric pressure cooker has finished cooking?
Electric pressure cookers will usually beep to signal that the cooking time is complete. Some models will then automatically switch to a “keep warm” mode.