Master Your Instant Pot Slow Cook Function Today
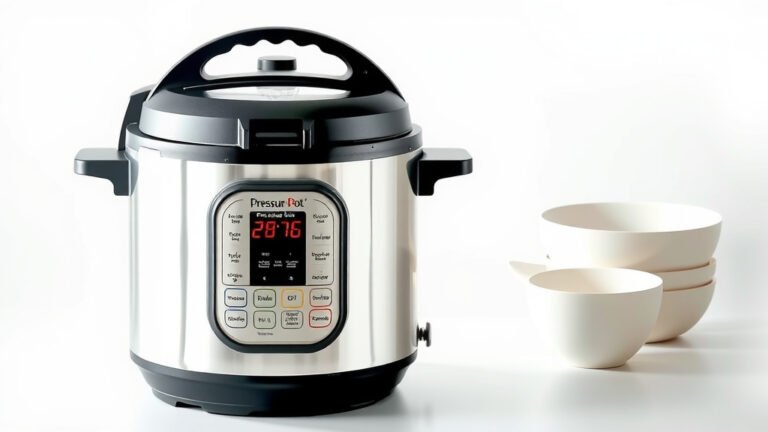
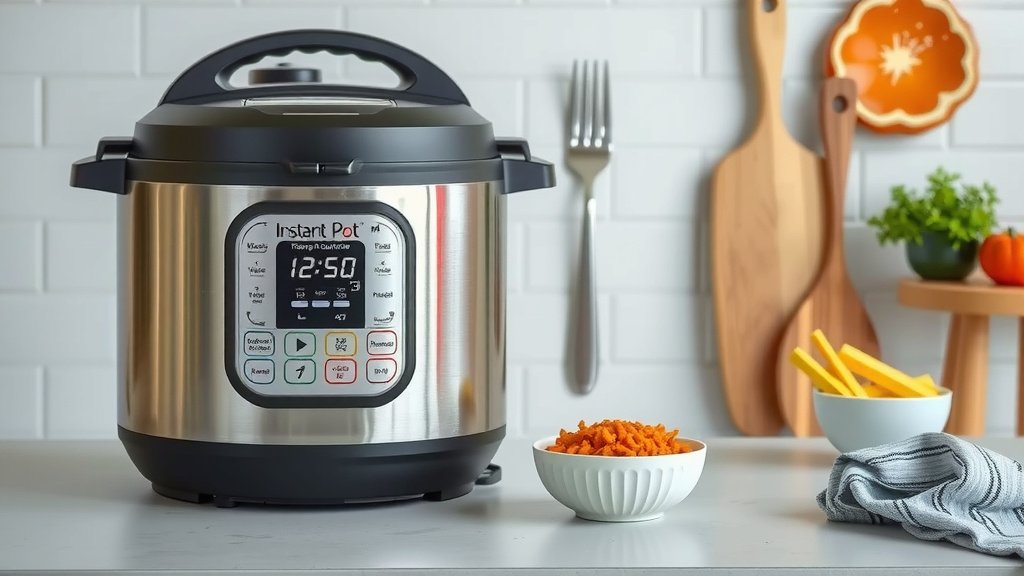
Using the slow cook function on your Instant Pot is simpler than you might think. It allows you to achieve tender, flavorful meals with minimal effort, just like a traditional slow cooker. You simply select the “Slow Cook” setting and adjust the temperature and time as needed for your recipe.
This versatile feature means your Instant Pot can do more than just pressure cook. It’s perfect for dishes that require hours of gentle cooking, like stews, roasts, and even certain desserts. Many users find it a convenient way to prepare meals ahead of time, saving them precious minutes during busy weeknights.
- Select the “Slow Cook” button on your Instant Pot.
- Choose your desired temperature: “Less” (low), “Normal” (medium), or “More” (high).
- Set the cooking time using the plus (+) and minus (-) buttons.
- Put your ingredients in the inner pot and secure the lid, ensuring the steam release valve is set to “Venting.”
- Press “Start.”
Ready to ditch the guesswork? Below, we’ll walk you through exactly how to use your Instant Pot’s slow cook function step by step.
Mastering Your Instant Pot’s Slow Cooker Setting
You might think your Instant Pot is just for lightning-fast pressure cooking. But did you know it has a hidden talent? It can slow cook like a champ! This means you can enjoy those comforting, low-and-slow dishes without needing a separate appliance. It’s a fantastic way to get dinner ready while you’re out living your life.
Getting Started: The Basics of Slow Cooking with Your Instant Pot
Using the slow cook function is really straightforward. Think of it as your Instant Pot taking a more leisurely approach to cooking. You’ll want to ensure your Instant Pot is on a stable, flat surface. Make sure the power cord is securely plugged in. The inner pot should be clean and dry before you begin adding ingredients.
Choosing the Right Temperature Setting
Your Instant Pot offers three temperature settings for slow cooking. This gives you a lot of control over how your food cooks. You can pick the one that best suits your recipe and desired outcome.
- Less: This setting is equivalent to the “Low” setting on a traditional slow cooker. It’s perfect for recipes that require 6-8 hours of cooking. Think pulled pork or tender roasts that need to break down slowly.
- Normal: This middle-ground setting is like a “Medium” on a standard slow cooker. It’s a good choice for recipes that take around 4-6 hours. It can also work for dishes you might typically cook on high for a shorter time.
- More: This is your “High” setting. It’s ideal for recipes that call for a quicker slow cook, usually 2-4 hours. Stews or certain bean dishes often benefit from this faster, yet still gentle, heat.
Setting the Cooking Time
Once you’ve chosen your temperature, it’s time to set the clock. The Instant Pot’s control panel makes this easy. You’ll use the plus (+) and minus (-) buttons to adjust the cooking duration. Most recipes will specify a cooking time, so follow those guidelines.
If you’re experimenting, start with a shorter time and check for doneness. It’s always easier to add more time than to fix overcooked food. For example, if a recipe suggests 4 hours on high, you might start with 3.5 hours on the “More” setting.
Preparing Your Ingredients for Slow Cooking
Before you even touch the Instant Pot, prep your ingredients. This makes the whole process smoother. Some recipes might require pre-browning meats or sautéing vegetables. You can do these steps directly in the Instant Pot using the “Sauté” function before switching to “Slow Cook.” This builds deeper flavor.
Adding Ingredients to the Inner Pot
Place all your prepared ingredients directly into the inner pot. Distribute them evenly. Avoid overfilling the pot; most recipes recommend filling it no more than two-thirds full. This allows for even cooking and prevents spills.
Securing the Lid and Steam Release Valve
This is a crucial step for slow cooking. You’ll place the lid on the Instant Pot and turn it until it locks into place. Critically, you need to ensure the steam release valve is turned to the “Venting” position. This is different from pressure cooking, where you’d set it to “Sealing.” For slow cooking, you want steam to escape gently.
Why “Venting”? Unlike pressure cooking, which traps steam to build heat, slow cooking relies on gentle, consistent heat circulation. Allowing some steam to escape helps maintain the desired temperature without building dangerous pressure. If you accidentally set it to “Sealing,” your Instant Pot might display an error message or simply not cook properly.
Starting the Slow Cook Cycle
With your ingredients inside, the lid on, and the valve set to “Venting,” you’re ready to go. Press the “Start” button. Your Instant Pot will now begin the slow cooking process. The display will show the time counting down.
You don’t need to do anything else until the timer is up. Resist the urge to peek! Every time you lift the lid, you lose heat, which can significantly extend your cooking time. Trust the process and let your Instant Pot work its magic.
What to Expect During and After Slow Cooking
As your meal cooks, you’ll notice a gentle warmth emanating from the pot. Unlike pressure cooking, there won’t be a loud hissing or steam release. It’s a quiet, patient operation. The internal temperature will gradually rise and maintain the setting you selected.
Checking for Doneness
When the timer reaches zero, your Instant Pot will typically switch to “Keep Warm.” You can then carefully open the lid (away from your face, as there might be residual steam). Check if your food is cooked to your liking. Use a fork or thermometer to test tenderness and temperature. If it needs a little more time, you can reset the Slow Cook function for an additional period.
Tips for Delicious Slow Cooked Meals
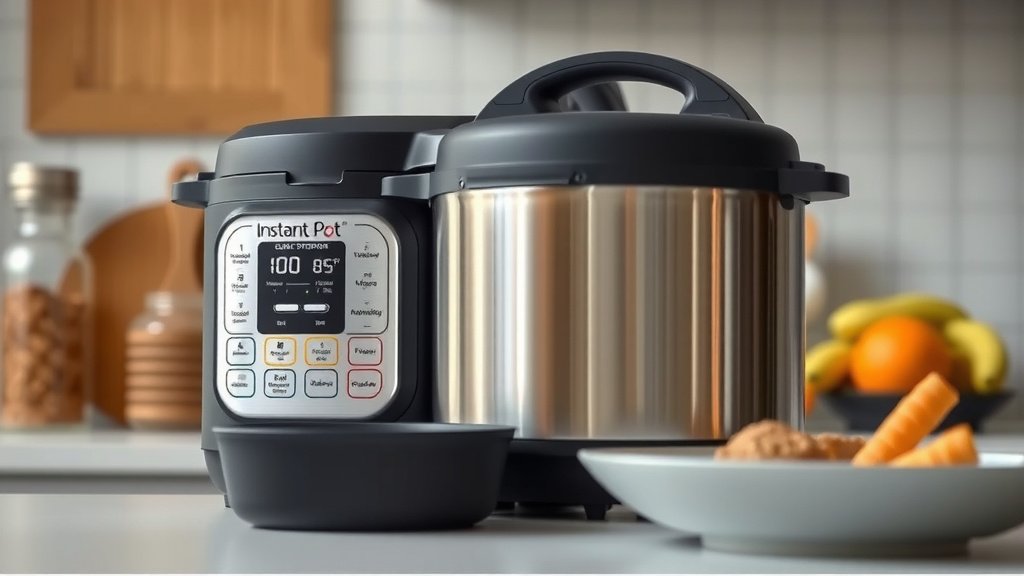
To get the most out of your Instant Pot’s slow cook feature, a few tips can make a big difference. Think of these as your secret weapons for slow-cook success.
- Don’t Overfill: As mentioned, keeping ingredients below the two-thirds mark is key. It ensures even cooking and prevents messy overflows.
- Brown Your Meats: For richer flavor, use the “Sauté” function first to brown your meats. This adds a depth that slow cooking alone can’t always achieve.
- Thicken Sauces: Slow cooking can sometimes result in thinner sauces than you might expect. Thicken them at the end by mixing a bit of cornstarch or flour with water and stirring it into the hot liquid, then letting it simmer for a few minutes.
- Adjust Liquid: Because steam escapes, you might need slightly less liquid than in a traditional slow cooker recipe. Observe your results and adjust for future cooks.
- Use the Right Lid: Always ensure you are using the Instant Pot’s glass lid or the standard metal lid, not the pressure cooking lid. The pressure lid is not designed for the venting needed in slow cook mode.
Slow Cook vs. Pressure Cook: When to Choose Which
It’s helpful to know when to deploy the “Slow Cook” function versus the “Pressure Cook” setting. They serve different purposes and yield different results.
| Feature | Slow Cook | Pressure Cook |
|---|---|---|
| Cooking Time | Longer (hours) | Shorter (minutes) |
| Temperature | Gentle, consistent low heat | High heat and steam build-up |
| Texture | Tender, fall-apart meats; soft vegetables | Quickly cooked, moist food; can be tender but often less “fall-apart” |
| Best For | Roasts, stews, chili, pulled meats, beans, desserts needing long, slow cooking | Soups, grains, tough meats needing quick tenderizing, quick weeknight meals |
| Lid/Valve Setting | Standard lid, Venting | Pressure lid, Sealing |
Many experts suggest that for recipes designed specifically for a traditional slow cooker, you can often get great results by simply adapting them to your Instant Pot’s slow cook setting. The temperatures are generally comparable.
Quick Checklist for Your First Slow Cook Adventure
Ready to give it a try? Here’s a quick reminder of the key steps:
- Select the “Slow Cook” button.
- Choose your temperature: “Less,” “Normal,” or “More.”
- Set your desired cooking time.
- Add ingredients to the inner pot.
- Use the standard lid and set the valve to “Venting.”
- Press “Start” and let it cook!
Conclusion
You’ve learned that your Instant Pot is more than just a pressure cooker! Its slow cook function offers a fantastic way to prepare delicious, tender meals with minimal effort, just like a traditional slow cooker. Remember to set your temperature (“Less,” “Normal,” or “More”), adjust the time, and most importantly, ensure the steam release valve is set to “Venting” with the standard lid. This simple switch opens up a world of slow-cooked possibilities for your weeknights and weekends. Your next comforting, flavorful dish is just a few easy steps away – give it a try!
Frequently Asked Questions
Can I use the Instant Pot glass lid for slow cooking?
Yes, you can absolutely use the Instant Pot’s glass lid for slow cooking. This allows you to easily monitor your food’s progress without lifting the lid and losing heat. Just make sure the steam release valve is still set to “Venting.”
Do I need to change the sealing ring when using the slow cook function?
No, you don’t need to change the sealing ring. The sealing ring is essential for pressure cooking, but for slow cooking, the valve needs to be set to “Venting” to allow steam to escape. The ring’s primary function isn’t active in slow cook mode.
Why is my slow-cooked food taking longer than expected?
Several factors can cause slower cooking times. Ensure your lid is properly sealed, the valve is set to “Venting,” and you aren’t overfilling the inner pot. Also, remember that opening the lid to check on food will release heat and extend the cooking duration.
Can I put frozen ingredients directly into the Instant Pot on slow cook?
While some recipes might allow it, it’s generally best to thaw frozen ingredients before slow cooking. Frozen foods will significantly increase cooking time and can lead to uneven cooking, especially for meats.
How do I clean the inner pot after slow cooking?
After ensuring the Instant Pot is unplugged and cooled down, you can remove the inner pot. Most inner pots are dishwasher safe, or you can hand wash them with warm, soapy water. For tough residue, you can soak the pot for a while before cleaning.