Perfect Rice Every Time: Your Rice Cooker Guide
Cooking rice in a rice cooker is surprisingly simple. You just need to add the right amount of rice and water, press a button, and let the cooker do its magic for perfectly cooked grains every time. It’s a truly hands-off method that beats stovetop cooking for ease.
Rice cookers are designed to manage the cooking process automatically. They heat the water to boiling, then lower the temperature to simmer, and finally switch to a ‘keep warm’ setting. This consistent, controlled environment helps prevent burning or undercooking your rice, making it a reliable kitchen appliance.
- Add rice and water according to cooker instructions.
- Rinse rice for fluffier results.
- Use the correct water-to-rice ratio.
- Press the start button and let it cook.
- Wait a few minutes after it finishes before opening.
Let’s walk through exactly how to get fluffy, delicious rice with minimal effort. We found this to be the easiest way to achieve great results.
Your Simple Guide to Perfect Rice Cooker Rice
Using a rice cooker is really one of the most foolproof ways to cook rice. You simply add your rice and water, push a button, and walk away. Your cooker handles the rest, delivering fluffy, perfectly cooked grains. It’s a kitchen appliance that truly simplifies meal prep for busy households.
Getting Started: What You’ll Need
Before you even think about pressing buttons, let’s gather your supplies. You’ll need your trusty rice cooker, of course. Make sure it’s clean and ready to go. Then, you’ll need your chosen type of rice. Whether it’s long-grain white, jasmine, basmati, or even brown rice, each has its own needs.
Choosing Your Rice
Most standard rice cookers work beautifully with common white rice varieties. These cook relatively quickly and don’t require much fuss. If you’re using specialty rice like basmati or jasmine, you might find they benefit from a little extra attention. Brown rice is a bit different. It typically needs more water and a longer cooking time. Always check your rice cooker’s manual if you’re unsure about specific rice types.
Measuring Rice and Water
Precision is key here. Your rice cooker usually comes with a measuring cup. Use that! Don’t grab your standard kitchen cup. For most white rice, the common ratio is one part rice to two parts water. However, this can vary. Many rice cooker manuals suggest a 1:1 ratio for white rice, especially if you rinse the rice first. For brown rice, you’ll likely need more water, perhaps a 1:2.5 or 1:3 ratio. The cookbook that came with your cooker is your best friend here.
The Rice Preparation Process
Now for the actual steps to get that rice ready for the cooker. It’s simpler than you might think, and a little prep goes a long way toward fantastic results.
Rinsing Your Rice: A Must-Do Step?
This is a point of much discussion among rice enthusiasts. We found that rinsing your rice is a step many experts recommend. It removes excess surface starch. This starch can make your rice gummy or clumpy. You’ll want to place your rice in a fine-mesh sieve or bowl. Then, run cool water over it. Swirl the rice gently with your fingers. The water will turn cloudy. Keep rinsing until the water runs mostly clear. This usually takes about three to five rinses. This step is especially important for white rice.
Optional Add-ins for Flavor
Want to jazz up your plain rice? You can add a pinch of salt for flavor enhancement. Some people add a tablespoon of butter or oil for richness. Others might toss in a bay leaf or a sprig of fresh herbs. Just remember that adding extra ingredients might slightly alter the water ratio needed. So, if you’re experimenting, start small.
Cooking Your Rice in the Rice Cooker
With your rice prepped and measured, it’s time to let the magic happen. This is where the rice cooker truly shines.
Adding Rice and Water to the Pot
Pour your rinsed and measured rice into the inner pot of your rice cooker. Make sure the inner pot is dry before adding the rice. Then, carefully add the measured water. If you’re adding any salt or butter, do it now. It’s important to put the inner pot back into the rice cooker base. Ensure it’s seated correctly.
Selecting the Right Setting
Close the lid firmly. Most rice cookers have a simple on/off or start button. Some have different settings for white rice, brown rice, or quick cook. If your cooker has specific settings, choose the one that matches the type of rice you’re cooking. If you only have a basic model, the standard “cook” or “white rice” setting is usually perfect. Then, simply press the start button. The indicator light will usually turn on to show it’s cooking.
What Happens During Cooking
Your rice cooker works by heating the water to boiling. Once the water is absorbed by the rice, the temperature inside the pot rises. The cooker senses this temperature change. It then automatically switches from the cooking cycle to a ‘keep warm’ cycle. This process prevents the rice from burning. It also ensures it’s cooked evenly. It’s a smart system designed for consistent results (America’s Test Kitchen).
After Cooking: The Crucial Waiting Period
The cooking cycle is finished, and the cooker has switched to ‘warm.’ What now? Don’t rush to open the lid just yet! There’s one more important step to ensure your rice is perfect.
The Steaming and Resting Phase
Allow the rice to steam and rest for at least 10-15 minutes after the cooker switches to the ‘keep warm’ setting. This resting period is vital. It allows the moisture to distribute evenly throughout the grains. It also helps the starches finish their transformation. If you open the lid too soon, the rice can be a bit mushy or undercooked in spots. Patience here pays off big time!
Fluffing Your Rice
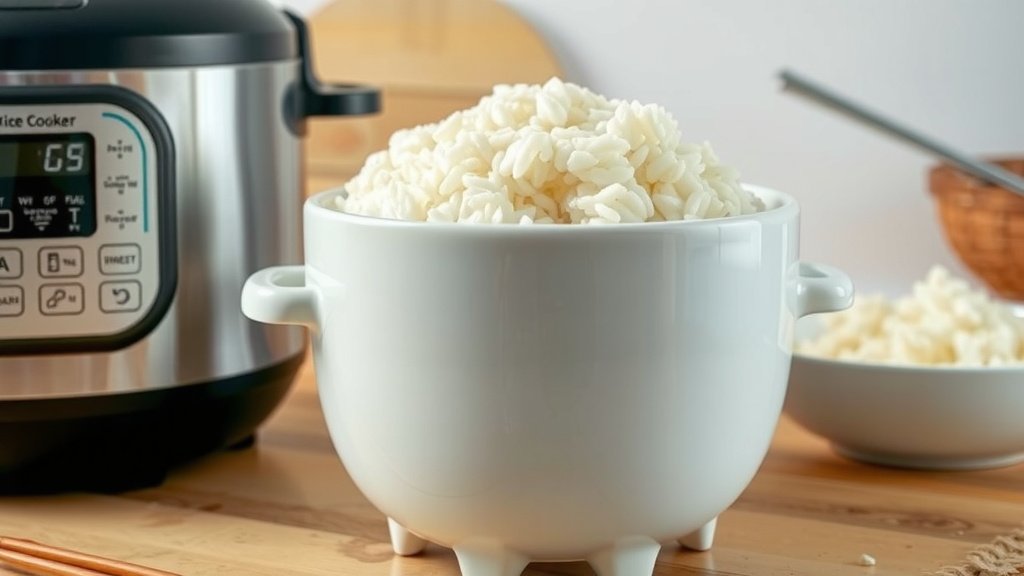
Once the resting period is over, open the lid. Use a rice paddle or a fork to gently fluff the rice. Start from the bottom and lift the rice upwards. This separates the grains and releases any remaining steam. Your rice should now be light, fluffy, and ready to serve. You’ve done it!
A Quick Reference: Rice to Water Ratios
To make things even easier, here’s a quick table. Remember, these are general guidelines, and your specific rice cooker manual might suggest slightly different amounts.
| Type of Rice | Rice (1 cup) | Water |
|---|---|---|
| White Rice (e.g., long-grain, jasmine, basmati) | 1 cup | 1 to 1.5 cups (adjust based on rinsing and preference) |
| Brown Rice | 1 cup | 2.5 to 3 cups |
| Sushi Rice | 1 cup | 1.1 cups |
| Quinoa (often cooked like rice) | 1 cup | 2 cups |
Troubleshooting Common Rice Cooker Issues
Even with a rice cooker, you might run into occasional snags. Don’t worry, most are easily fixed.
Rice is Too Wet or Gummy
If your rice came out too wet, you might have used too much water. Or, you didn’t rinse the rice enough to remove excess starch. Next time, try reducing the water by a tablespoon or two. Make sure you’re rinsing thoroughly until the water is clear.
Rice is Too Dry or Crunchy
This usually means not enough water was used. Or, the cooker’s thermostat might be a bit off. For your next batch, add a tablespoon or two more water. Ensure your rice cooker is on a level surface so the heat distributes evenly.
Rice is Burnt on the Bottom
A little bit of sticking is normal for some cookers, especially with smaller amounts of rice. If it’s consistently burning, check if you’re using the correct amount of water. Some older or simpler models may also require a bit more water to prevent burning. Ensure the inner pot is clean before each use.
Your Rice Cooker Checklist for Success
Keep these simple steps in mind for consistently great rice:
- Measure your rice accurately using the provided cup.
- Rinse your rice until the water runs clear.
- Use the correct water-to-rice ratio for your rice type.
- Place the inner pot securely in the cooker.
- Let the rice rest for 10-15 minutes after cooking.
- Fluff gently with a paddle before serving.
Conclusion
You’ve learned how simple it is to achieve perfect rice every time using your rice cooker. By following the key steps—accurate measuring, rinsing, using the right water ratio, and allowing for that essential resting period—you’re set for success. Your rice cooker is a fantastic tool that takes the guesswork out of cooking this staple grain.
Now that you have this knowledge, why not put it to practice? Try making a batch of perfectly fluffy rice for your next meal and enjoy the ease and delicious results!
Frequently Asked Questions
Can I cook multiple types of rice in my rice cooker at once?
It’s generally best to cook only one type of rice at a time. Different rice varieties have different cooking times and water needs. Mixing them can lead to unevenly cooked results, with some grains being too hard and others too mushy.
How do I prevent rice from sticking to the bottom of the rice cooker pot?
A little sticking can be normal, especially with some models. Ensure you’re using the correct water-to-rice ratio, as too little water can cause burning. Rinsing the rice thoroughly also helps remove starches that can contribute to sticking.
My rice cooker has a “quick cook” setting, is it good for all rice?
The “quick cook” setting is designed for speed, but it might not always yield the best results for all rice types. It can sometimes result in firmer or slightly undercooked grains. For optimal texture, it’s often better to use the standard setting for white or brown rice.
How long does the “keep warm” function keep rice fresh?
Most rice cookers can keep rice warm for several hours, typically up to 12-24 hours, without drying it out too much. However, the texture and taste are best when consumed within a few hours of cooking.
Is it okay to add other ingredients like vegetables or broth to my rice cooker?
Yes, you can add vegetables and use broth instead of water for added flavor. Just be aware that vegetables release moisture, which might require a slight adjustment to the liquid ratio. Adding broth can also change the salinity, so season accordingly.