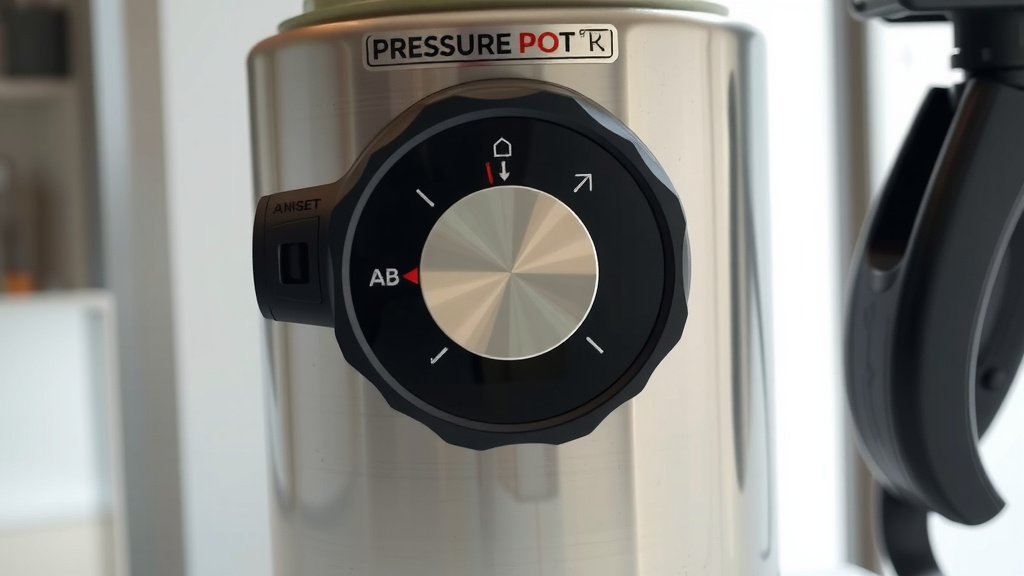
Clean Your Pressure Cooker Gasket Easily: A Quick Guide
The easiest way to clean your pressure cooker gasket is with a gentle soap and warm water solution. You can usually remove it by simply pulling it away from the lid. A clean gasket is essential for your pressure cooker to seal properly and cook safely. Don’t forget to dry it thoroughly before putting it back.
Did you know a dirty or damaged gasket can lead to uneven cooking or even prevent your cooker from coming up to pressure? Taking a few minutes to properly clean and inspect the gasket can save you time and frustration later. Many people overlook this simple step, but it’s a key part of maintaining your appliance.
- Remove gasket by gently pulling it from the lid.
- Wash with warm water and mild dish soap.
- Rinse thoroughly and dry completely.
- Inspect for any signs of wear or damage.
Let’s walk through exactly how to get that gasket sparkling clean, step by step, so your pressure cooker is ready for your next delicious meal.
Keeping Your Pressure Cooker Gasket Clean and Working Well
A clean pressure cooker gasket is your ticket to perfectly cooked meals. It’s the unsung hero that ensures a tight seal. This seal is what allows your cooker to build up that essential steam pressure. Without it, your food simply won’t cook as it should.
You might be surprised how much a little bit of grime can affect your cooking. Residue from past meals can cling to the gasket. This can lead to odors transferring to your next dish. Worse still, it can compromise the seal itself. We’ll walk you through the simple steps to get it clean.
Step-by-Step Guide to Gasket Cleaning
Let’s get that gasket looking and smelling fresh. It’s not a complicated process at all. You probably have everything you need in your kitchen right now. Think of it like giving your favorite kitchen gadget a spa treatment.
Removing the Gasket: A Gentle Approach
The first step is to remove the gasket from the lid. Most gaskets are designed to be easily removable. They often sit in a groove around the lid’s rim. Gently pull the gasket away from the lid. Start at one point and work your way around.
Don’t yank or force it. This can damage the gasket or the lid. If it feels stuck, check if there are any clips or a specific way it’s seated. Most modern gaskets just pop out. Research your specific pressure cooker model if you’re unsure. Some older models might have different mechanisms.
Washing Your Gasket: Soap and Water Are Your Friends
Once the gasket is free, it’s time for a good wash. Grab your sink and some warm water. Add a drop or two of mild dish soap. You don’t need anything harsh or abrasive here.
Why mild soap? Harsh chemicals can degrade the rubber or silicone material of the gasket over time. This can lead to cracking or brittleness. We want this gasket to last, right? A gentle approach is key. Scrub it lightly with your fingers or a soft cloth. Get into all the nooks and crannies where food bits might be hiding.
For tougher spots, a very soft brush, like an old toothbrush you’ve dedicated to kitchen duty, can work wonders. Just be sure it’s *very* soft. You’re not trying to scour a pot; you’re cleaning a delicate seal.
Rinsing and Drying: The Crucial Final Touches
After washing, rinse the gasket thoroughly under running water. Make sure all soap residue is gone. Any lingering soap can affect the taste of your food. Plus, it can create excess suds next time you use the cooker.
Drying is just as important as washing. Use a clean, lint-free towel to dry the gasket completely. You can also let it air dry on a clean surface. However, ensure it’s fully dry before putting it back. Moisture trapped in the groove could encourage mold or mildew growth. That’s something we definitely want to avoid!
Reinstalling the Gasket: Back in its Place
Putting the gasket back is usually the reverse of removing it. Carefully press the gasket back into its groove around the lid. Work your way around the lid, ensuring it’s seated evenly.
Make sure the entire gasket is properly in place before you try to use the pressure cooker. A gasket that isn’t fully seated won’t create a proper seal. This can lead to steam escaping, preventing your cooker from coming up to pressure. It’s that simple! A secure fit is essential for safety and performance.
When to Consider Replacing Your Gasket
Sometimes, cleaning just won’t cut it. You need to know when it’s time to say goodbye to an old gasket and hello to a new one. Regular inspection is part of proper maintenance. Think of it as checking your tires for wear and tear.
Signs of Wear and Tear to Watch For
How often should you check? Many experts suggest inspecting your gasket every few uses. Look for any obvious signs of damage.
- Cracks or tears: Even small cracks can prevent a proper seal.
- Stretching or deformation: If the gasket doesn’t sit flat anymore, it’s probably worn out.
- Hardening or brittleness: A gasket that feels stiff and no longer pliable is past its prime.
- Persistent odors: If you’ve cleaned it thoroughly and it still smells bad, it might be time for a new one.
- Discoloration: While some staining is normal, significant darkening or odd colors can indicate issues.
If you notice any of these, it’s best to replace the gasket. A worn-out gasket is a safety hazard. It can lead to pressure loss, which affects cooking time. In extreme cases, it could even lead to a dangerous malfunction.
Finding the Right Replacement Gasket
Don’t worry if you need a new one! Replacement gaskets are usually readily available. Check the manufacturer’s website for your specific pressure cooker model. You can often find them online from various retailers too.
Make sure you get the exact size and type for your cooker. Using the wrong gasket could be dangerous. Refer to your pressure cooker’s manual if you’re unsure about the part number.
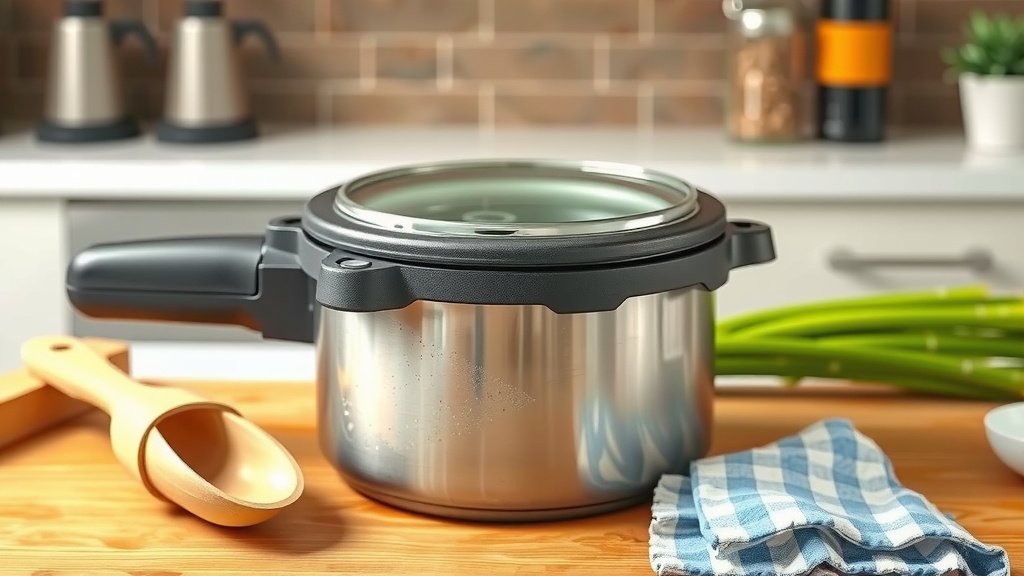
Quick Gasket Cleaning Checklist
Here’s a quick rundown to keep in your mind for your next cleaning session:
- Remove the gasket from the lid.
- Wash with warm water and mild soap.
- Rinse thoroughly until all soap is gone.
- Dry the gasket completely with a clean towel.
- Inspect for any signs of damage or wear.
- Reinstall securely if it’s in good condition.
Conclusion
Keeping your pressure cooker gasket clean is a simple yet vital task. You’ve learned how to remove, wash, rinse, and dry it effectively using just mild soap and warm water. Remember, a well-maintained gasket ensures a perfect seal for safe and efficient cooking. If you notice cracks, hardening, or persistent odors, it’s time to replace it. Always ensure you get the correct replacement for your specific model. Give your gasket that quick clean regularly, and you’ll enjoy perfectly cooked meals with peace of mind every time.
Frequently Asked Questions
How often should I clean my pressure cooker gasket?
It’s a good practice to clean your pressure cooker gasket after each use. This prevents food particles and odors from building up. A quick rinse and dry are usually sufficient for daily maintenance.
Can I use my dishwasher to clean the gasket?
While some manufacturers might say yes, it’s generally safer to hand wash. The high heat and harsh detergents in a dishwasher can degrade the gasket material over time. This can lead to premature cracking or brittleness.
What’s the best way to remove stubborn odors from the gasket?
If mild soap and water don’t work, try soaking the gasket in a solution of equal parts white vinegar and water for about 30 minutes. Rinse thoroughly afterward. Ensure it’s completely dry before reinstallation.
My gasket looks stained. Does that mean it’s bad?
Some staining or discoloration is normal over time, especially with certain foods like tomato-based sauces. As long as the gasket is pliable, not cracked, and still seals properly, light staining isn’t usually a cause for concern.
Can I use baking soda to clean my pressure cooker gasket?
You can use a paste of baking soda and water for tougher spots, but be very gentle. Baking soda is mildly abrasive. Scrub lightly with your fingers or a very soft cloth, and rinse completely to avoid any residue.