
Master Your Instant Pot: A Beginner’s Guide
Using an Instant Pot is surprisingly simple once you get the hang of it. You can make delicious meals in a fraction of the time compared to traditional cooking methods. The key is understanding the basic functions and knowing how to safely operate it for pressure cooking.
Many people find the Instant Pot a bit intimidating at first. But with a few simple steps, you’ll be whipping up everything from yogurt to pot roast. It’s a versatile appliance that can save you time and simplify your weeknight dinners.
- Instant Pots cook food under pressure for faster results.
- They have multiple functions like sauté, slow cook, and steam.
- Always ensure the lid is sealed and the pressure valve is set correctly.
- Natural release allows pressure to dissipate slowly; quick release does it fast.
Let’s walk through exactly how to use your Instant Pot, step by step, so you can start enjoying its many benefits.
Getting Started with Your Instant Pot
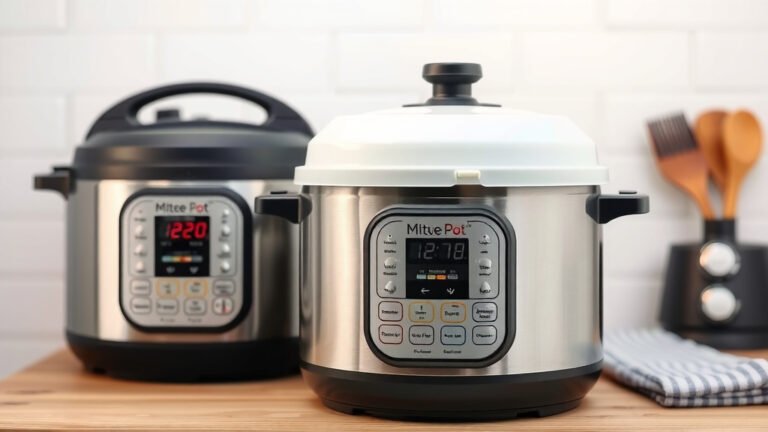
So you’ve got a shiny new Instant Pot, and it’s sitting there, looking a bit like a spaceship. Don’t worry, it’s more user-friendly than it appears! Think of it as your kitchen’s new best friend for quick, delicious meals. We’ll walk you through its main parts and how to make that first meal a breeze.
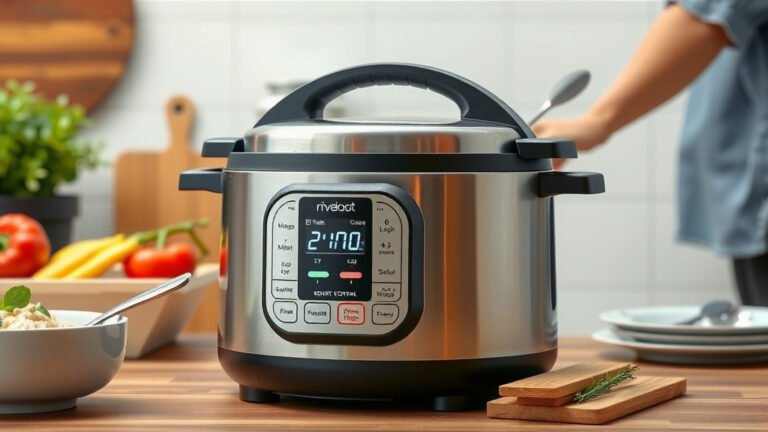
Understanding the Anatomy of Your Instant Pot
Before you cook anything, let’s get acquainted with the device. You’ll see a few key components. There’s the main pot, which is the stainless steel inner pot where all the magic happens. The lid is crucial; it has a steam release valve and a float valve.
The Lid and Its Parts
The lid locks in place to build pressure. On top, you’ll find the steam release valve. This is where steam escapes when pressure is released. It usually has two positions: “Sealing” and “Venting.” Make sure it’s set correctly for your cooking method. You’ll also see a small metal float valve that pops up when the pot is pressurized. This is a key safety feature.
The Control Panel
The control panel is your command center. You’ll see buttons for different cooking functions like “Sauté,” “Slow Cook,” “Yogurt,” and the star of the show, “Pressure Cook.” Many models have presets for common foods like rice, beans, or poultry. You can also manually adjust the time and pressure level.
Your First Instant Pot Cooking Adventure
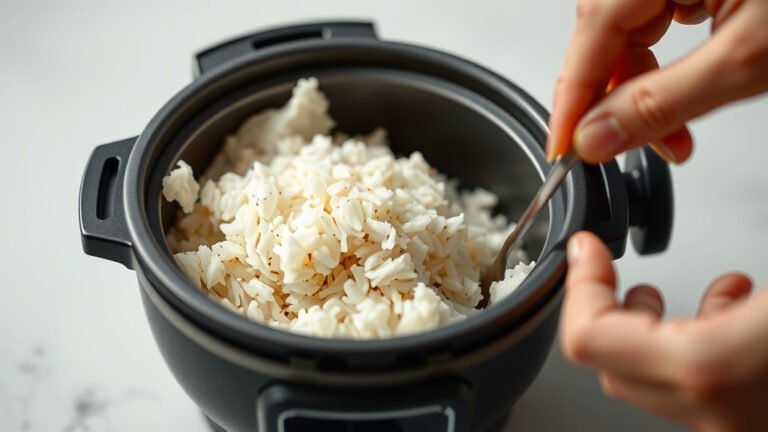
Ready to make something? Let’s start with a simple recipe. Many users find success with basic rice or hard-boiled eggs for their first try. We’ll focus on pressure cooking, as that’s where the Instant Pot truly shines for speed.
Essential Steps for Pressure Cooking
Pressure cooking is the method that makes your Instant Pot so fast. It works by trapping steam inside the pot, which increases the internal pressure. This higher pressure allows food to cook at a higher temperature, significantly reducing cooking times. Many experts confirm this as the primary advantage for busy kitchens (NCBI).
Here’s the basic sequence you’ll follow for most pressure-cooked recipes:
- Add your ingredients and liquid to the inner pot.
- Secure the lid, ensuring it’s locked correctly.
- Set the steam release valve to the “Sealing” position.
- Select your cooking function and time.
- Wait for the cooking cycle to finish.
- Carefully release the pressure.
The Sauté Function: Your Starting Point
Before pressure cooking, many recipes call for sautéing aromatics like onions or garlic. The “Sauté” button on your Instant Pot works just like a stovetop burner. It heats the inner pot, allowing you to brown meats or soften vegetables. This step builds flavor before you even start pressure cooking.
To use “Sauté”:
- Press the “Sauté” button.
- Adjust the heat setting (e.g., “Normal,” “Less,” “More”).
- Add a little oil or butter to the pot.
- Once hot, add your ingredients.
- Stir as needed.
- When done, press “Cancel” to turn off the sauté function.
Adding Liquid is Key for Pressure
This is super important: you always need liquid when pressure cooking. The Instant Pot needs steam to build pressure. Without enough liquid, you risk a “Burn” error message. Common liquids include water, broth, stock, or sauce. Always check your recipe for the specific amount needed. Many guidelines suggest at least 1 cup of liquid for standard recipes (Cleveland Clinic).
Mastering Pressure Release: Natural vs. Quick
Once your Instant Pot finishes cooking, it’s time to release the pressure. There are two main methods: Natural Pressure Release (NPR) and Quick Release (QR). Understanding which to use for which recipe makes a big difference.
Natural Pressure Release (NPR)
With NPR, you do nothing after the cooking cycle ends. You simply let the pot sit undisturbed. The pressure will slowly dissipate on its own, and the float valve will eventually drop. This method is great for meats like roasts or whole chickens. It helps the food retain moisture and become more tender. We found NPR can add about 10-20 minutes to the total cooking time.
Quick Release (QR)
For QR, you carefully move the steam release valve from “Sealing” to “Venting” using a long utensil or oven mitt. Be very careful, as hot steam will shoot out rapidly. This is best for vegetables or recipes where you want to stop the cooking process quickly to prevent overcooking. It’s a much faster way to get your food ready.
Safety First with Steam Release
Always keep your face and hands away from the steam. It is extremely hot. Ensure the steam isn’t blowing directly onto a cabinet or electrical appliance. Many users find a simple kitchen towel draped over the valve (but not blocking it) can help direct the steam upwards.

A Simple Checklist for Your Next Meal
To recap and ensure you’re ready for your next culinary creation, keep this checklist handy:
- Check Ingredients: Ensure you have all ingredients, including the correct amount of liquid.
- Inner Pot Clean: Make sure the inner pot is clean and dry before adding food.
- Secure the Lid: Lock the lid properly and confirm the sealing ring is in place.
- Set Valve to Seal: Turn the steam release valve to the “Sealing” position.
- Select Program: Choose your cooking function and set the time.
- Pressure Release Plan: Decide whether to use Natural or Quick Release based on your recipe.
Conclusion
You’ve learned the essentials of using your Instant Pot, from understanding its parts to mastering pressure cooking. Remember, the key is adding enough liquid for steam and always setting the valve correctly. Whether you use Natural or Quick Release, you’re now equipped to make delicious meals faster. Don’t be afraid to experiment! Your first few meals might feel like a learning curve, but soon you’ll be a pro. Your next step? Pick a simple recipe and give it a try!
Frequently Asked Questions
What does the “Burn” error message mean on my Instant Pot?
The “Burn” message usually means something has scorched on the bottom of the inner pot. This often happens if there isn’t enough liquid, or if food particles are stuck to the bottom. Make sure you always have enough liquid for steam and clean the inner pot thoroughly.
Can I use my Instant Pot without pressure cooking?
Yes, absolutely! Your Instant Pot has other functions like “Sauté,” “Slow Cook,” and “Steam.” You can use these for many recipes without ever engaging the pressure cooking feature. The “Sauté” function is great for browning ingredients before slow cooking or pressure cooking.
How do I clean my Instant Pot after use?
The stainless steel inner pot and the lid can usually be washed in the dishwasher or by hand with soap and water. It’s important to remove the silicone sealing ring from the lid and wash it separately, as it can trap odors. Wipe down the exterior with a damp cloth.
Is it safe to leave the Instant Pot unattended while cooking?
Once the Instant Pot is sealed and cooking, it is designed to be safe and does not require constant supervision. However, always be aware of where the steam release valve is pointing to ensure it’s not directed at cabinets or appliances. Never leave it unattended for extended periods when it’s plugged in.
My recipes call for a specific pressure level. How do I set that on my Instant Pot?
Many Instant Pot models have a “Pressure Cook” button or presets that automatically use high pressure. If your model allows you to adjust the pressure level, you’ll typically find an option to select “High” or “Low” pressure. Always refer to your specific model’s manual for exact instructions on setting pressure levels.