How to Replace Your Cooker Hob: A Step-by-Step Guide
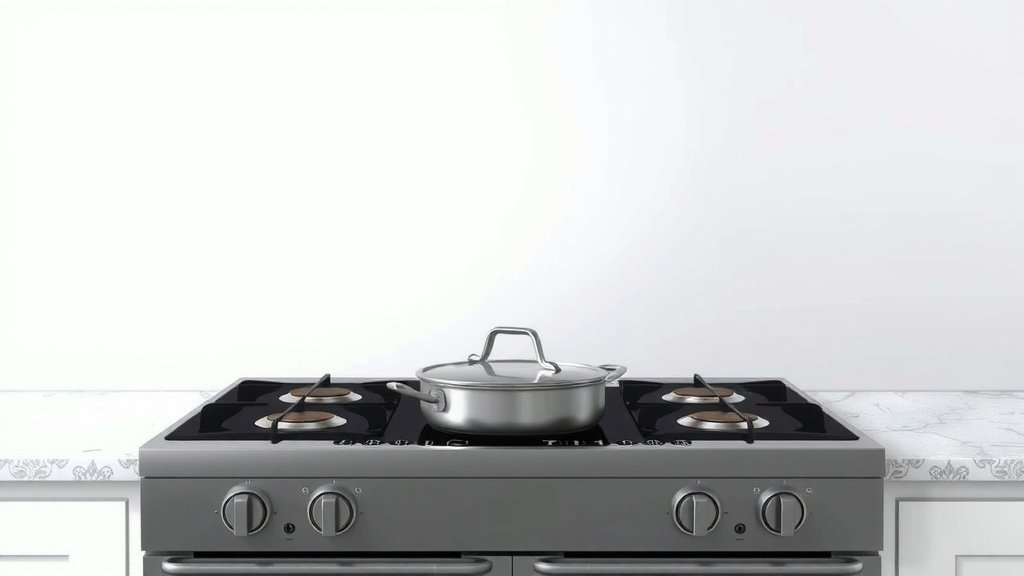
Replacing your cooker hob might seem daunting, but you can absolutely do it yourself with the right steps. The main thing is to safely disconnect the power before starting any work. Most electric hobs are connected with wires, and some gas models have a plug. Knowing your hob type is key to a successful DIY replacement.
Whether you’re upgrading to a modern induction hob or just swapping out an old electric one, a bit of preparation goes a long way. We found that many people worry about the electrical or gas connections. However, by following safety guidelines carefully, you can manage this task and get your kitchen cooking again with a brand new hob. It’s a rewarding project for many homeowners.
- Always disconnect power first.
- Identify your hob type (electric or gas).
- Gather necessary tools and the new hob.
- Follow step-by-step instructions carefully.
- Test connections before full use.
Ready to get your hands dirty? Below, we’ll guide you through the process of replacing your cooker hob, step by step, so you can enjoy cooking on a fresh surface in no time.
Here’s the main body content for your blog post:Swapping Out Your Cooker Hob: A Step-by-Step Guide
Replacing your cooker hob might sound like a big job. But with a little guidance, you can tackle it yourself. We’ll walk you through the process. Safety is always our top priority. Make sure you disconnect the power before you start. This is a critical first step for any DIY appliance work.
Before You Begin: Safety and Preparation
Before diving in, let’s ensure you’re prepared. A safe workspace and the right tools make all the difference. You don’t want to be halfway through and realize you’re missing something vital.
Gathering Your Tools and Supplies
Having everything ready beforehand speeds up the job. It also prevents frustration. You’ll need a few basic tools.
- Screwdriver set (Phillips and flathead)
- Pliers
- Wire strippers
- Utility knife or box cutter
- Measuring tape
- Safety gloves
- Safety glasses
- A helper (for heavier models)
- Your new hob and its manual
Understanding Your Hob Type
Knowing what kind of hob you have is essential. Electric and gas hobs connect differently. This affects the disconnection and connection process. Most electric hobs use a hardwired connection. Gas hobs typically have a flexible gas pipe and may also have an electrical plug for ignition.
Disconnecting Power: The Most Important Step!
This is where safety truly comes into play. For electric hobs, you must turn off the power at the breaker box. Locate the circuit breaker that controls your cooker. Flip it to the ‘off’ position. Some homes have a dedicated switch for the hob. If you’re unsure, it’s better to turn off the main breaker for the entire house. For gas hobs with an electrical ignition, do the same for the electrical connection. Always double-check that the power is off. You can use a voltage tester if you have one. We found that a simple voltage tester is a great peace of mind tool.
Handling Gas Connections (Gas Hobs Only)
If you have a gas hob, you need to turn off the gas supply. Find the gas shut-off valve. It’s usually located behind the cooker or on the gas pipe leading to it. Turn the valve so it is perpendicular to the pipe. This shuts off the gas flow. Never attempt gas work if you’re uncomfortable. Gas leaks can be dangerous. If you smell gas, stop immediately and call a professional. Many local regulations require certified professionals for gas appliance work (local building codes).
Removing Your Old Cooker Hob
Once the power and gas are safely off, you can start removing the old unit. This part is usually straightforward.
Accessing the Hob
Your hob is likely secured from underneath the countertop. You may need to open an oven door or access panel to see the mounting clips or screws. Some hobs are sealed around the edges. You might need to carefully run a utility knife around the edge. This will break any sealant holding it in place. Be gentle here. You don’t want to damage your countertop.
Undoing the Connections
With the hob accessible, it’s time to disconnect it. For electric hobs, you’ll usually find a junction box or a terminal block at the back. Open the cover. You’ll see wires connected. Carefully unscrew the terminals or use wire connectors to disconnect the wires. Note or photograph which wire goes where. This is helpful for connecting the new hob. For gas hobs, disconnect the flexible gas pipe. It usually has a threaded fitting. Use pliers to loosen it. Have a towel ready, as there might be a small amount of residual gas. Remember, if you turned off the electricity for ignition, disconnect those wires too.
Lifting Out the Old Hob
With connections undone, the hob should be loose. You can now lift it out of the countertop opening. If it’s heavy, ask your helper to assist. Be careful not to scratch your countertop or the hob itself. Place the old hob aside, ready for disposal.
Installing Your New Cooker Hob
Now for the exciting part: putting in the new hob! Follow the manufacturer’s instructions closely.
Preparing the Opening
Clean the countertop opening. Remove any old sealant or debris. Make sure the area is dry. A clean surface helps ensure a good seal for the new hob.
Making the Connections
This mirrors the disconnection process, but in reverse. For electric hobs, connect the wires from your home supply to the new hob’s terminal block. Use the same wire colours and positions as the old one. If they don’t match, consult your new hob’s manual. Secure the connections with screws or wire nuts. For gas hobs, reattach the flexible gas pipe. Ensure the connection is tight and secure. Use pipe sealant if recommended by the manufacturer. Reconnect any electrical wires for the ignition system.
Securing the New Hob
Carefully lower the new hob into the opening. It should fit snugly. Most hobs are secured from underneath. You’ll use clips or screws provided with the new unit. Tighten them until the hob is firmly in place but don’t overtighten. This can damage the hob or countertop.
Sealing the Edges
Many hobs come with a rubber gasket or require sealant. Apply this around the edge of the hob before fully seating it. This prevents spills and crumbs from getting underneath. Check your manual for the recommended method. A good seal makes cleaning much easier.
Testing and Finishing Touches
Almost there! A quick test ensures everything is working correctly.
Restoring Power and Gas
For gas hobs, turn the gas supply valve back on. You should hear a soft ‘click’ or hiss. For electric hobs, go back to the breaker box. Turn the circuit breaker back to the ‘on’ position. You might want to double-check your work. We found that a quick check of all connections before restoring power is wise.
Testing the Hob
Turn on each burner or heating zone. For electric, check if they heat up. For gas, ensure the flame ignites properly and stays lit. If anything seems off, turn off the power/gas immediately. Recheck your connections. If you’re still having trouble, it might be time to call in a professional. Don’t risk it if you’re unsure.
Final Cleanup
Clean up your tools and any mess. Wipe down the new hob. You’ve done it! Take a moment to appreciate your work. You’ve successfully replaced your cooker hob.
Quick Checklist for Your Hob Replacement
- Power is OFF at the breaker.
- Gas is OFF at the valve (for gas hobs).
- Old connections are photographed/noted.
- New connections match the manual’s diagram.
- Hob is securely fastened.
- Tested all burners/zones.
Conclusion
You’ve successfully navigated the process of replacing your cooker hob! We’ve covered everything from safety preparations and tool gathering to the actual removal and installation. Remember, the key steps involve disconnecting power safely, understanding your hob type, and making secure connections. It’s a project that gives you a fresh cooking surface and a sense of accomplishment. Take a moment to admire your work. Now that your new hob is installed, the next step is to start planning your next delicious meal!
Frequently Asked Questions
How long does it typically take to replace a cooker hob?
For most DIYers, replacing a cooker hob can take anywhere from 1 to 3 hours. This includes time for preparation, removal of the old unit, and installation of the new one. Factors like your experience level and the specific hob model can affect the overall time.
Do I need to hire a professional for a gas hob replacement?
While many people do replace gas hobs themselves, it’s crucial to be comfortable with gas connections. If you smell gas or are unsure about the process, it’s best to call a qualified professional. Local building codes may also require certified technicians for gas appliance work.
What should I do if my new hob doesn’t fit the existing countertop cutout?
If your new hob’s dimensions don’t match the cutout, you may need to slightly enlarge or adjust the opening. Measure carefully before purchasing your new hob to avoid this. For significant modifications, you might need to consult a countertop professional.
Can I reuse the old power cable for my new electric hob?
It’s generally recommended to use the power cable that comes with your new hob, or one specified by the manufacturer. Ensure the cable is rated for the hob’s power requirements. Always check the appliance manual for specific wiring instructions.
What’s the best way to clean my new hob after installation?
Wipe down your new hob with a damp cloth and mild detergent immediately after installation. Avoid abrasive cleaners or scrub pads that could scratch the surface. Refer to your hob’s user manual for specific cleaning recommendations for its material.