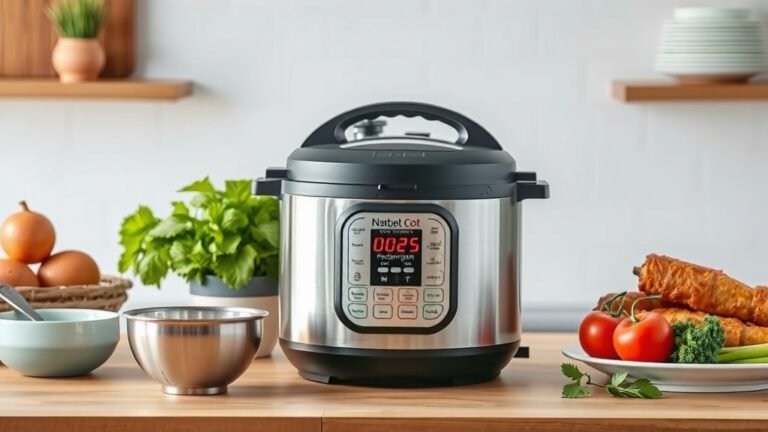
Master Your Rice Cooker: Perfect Rice Every Time
Using a rice cooker is surprisingly easy and straightforward. You simply rinse your rice, add the correct amount of water, and press a button. Your cooker handles the rest, delivering perfectly cooked rice every time without fuss. It’s a fantastic kitchen gadget for busy households.
Rice cookers are designed to take the guesswork out of cooking rice. They use precise temperature controls to ensure your rice is never undercooked or mushy. This consistent result makes them a favorite for preparing plain rice, sushi rice, and even some grains. Many models offer additional settings for different rice types, adding to their versatility and making meal prep a breeze.
- Rinse your rice well.
- Measure rice and water accurately.
- Press the cook button.
- Let it rest before serving.
Let’s walk through exactly how to get the most out of your rice cooker, step by step.
Getting Started with Your Rice Cooker: A Simple Guide
So, you’ve got a rice cooker, and you’re wondering what’s next? Don’t worry, using one is much easier than you might think. It’s designed to make perfect rice with minimal effort. Let’s break down the process so you can enjoy fluffy, delicious rice every time.
Think of your rice cooker as a chef’s assistant. It does the heavy lifting, so you don’t have to stand over a pot, stirring and hoping for the best. You just need to follow a few simple steps, and your trusty appliance will do the rest. It’s a real time-saver for anyone who eats rice regularly.
Step 1: Rinse Your Rice Like a Pro
Before your rice even meets the water, give it a good rinse. Why? Rice grains often have a fine dust or excess starch on them. Rinsing removes this, which helps prevent your rice from becoming gummy or mushy. It also gets rid of any tiny impurities that might be lingering.
Here’s how to do it: Place your desired amount of rice in a bowl. Add cool water and swirl the rice with your hand. You’ll see the water turn cloudy – that’s the starch escaping. Carefully pour off the milky water. Repeat this process about 3-5 times, or until the water runs mostly clear. This step might seem small, but it makes a big difference in texture.
Step 2: Measure Rice and Water Accurately
This is where many people get a little nervous, but it’s quite straightforward. Most rice cookers come with a measuring cup and sometimes even markings inside the pot. Use the cup that came with your cooker for the rice. For the water, the general rule of thumb is a 1:1 ratio for white rice.
However, this can vary slightly. For example, brown rice usually needs a bit more water and cooks longer. Always check your rice cooker’s manual for specific recommendations for different rice types. The markings inside your cooker’s inner pot are usually your best guide. Fill the water to the line that matches the number of rice cups you’ve added. Getting the water amount right is key to perfect consistency.
Understanding Water Ratios
While 1:1 is a good starting point for white rice, some recipes might suggest slightly more or less water depending on the rice variety. For instance, short-grain rice might absorb water differently than long-grain. We found that for most standard white rice, the 1:1 ratio, guided by the inner pot markings, provides excellent results (USDA Agricultural Research Service).
If you’re cooking brown rice, you’ll typically need about 1.5 to 2 parts water for every 1 part rice. Quinoa and other grains might have their own specific water needs. When in doubt, a quick peek at your manual will save you from potentially mushy or dry grains. It’s all about finding that sweet spot.
Step 3: Cooking the Rice
Once your rice is rinsed and the water is measured, it’s time to cook. Pour the rice and water into the inner pot of your rice cooker. Make sure the inner pot is clean and dry on the outside before placing it into the cooker base. Secure the lid.
Plug in your rice cooker. You’ll usually see a button or a switch that says “Cook” or “Start.” Simply press it. The indicator light will likely change to show it’s in cooking mode. Now, the cooker takes over. It heats the water to boiling, then reduces the temperature to simmer and steam the rice until all the water is absorbed. It’s a set-it-and-forget-it process.
What About Different Settings?
Many modern rice cookers have multiple settings. You might see options for “White Rice,” “Brown Rice,” “Sushi Rice,” “Porridge,” or even “Steam.” If you’re cooking standard white rice, the “White Rice” setting is usually the best choice. For different grains, selecting the correct setting can adjust cooking time and temperature for optimal results.
For example, brown rice has a thicker bran layer, requiring more moisture and a longer cooking time. A dedicated “Brown Rice” setting accounts for this. If your cooker only has one button, it’s generally programmed for white rice, which is the most common type. Don’t be afraid to experiment with your cooker’s features to discover its full potential; it’s like having a small kitchen helper.
Step 4: The Important Resting Period
After the cooking cycle is complete, your rice cooker will likely switch to a “Keep Warm” mode. You might hear a beep or see the indicator light change. Resist the urge to open the lid immediately! This is a critical step often overlooked.
Let the rice rest in the cooker, with the lid on, for about 10-15 minutes. During this time, the steam continues to distribute evenly throughout the rice. This allows the grains to firm up and ensures a fluffy, separated texture. Opening it too soon can release that precious steam, leading to less-than-ideal results. Patience here pays off!
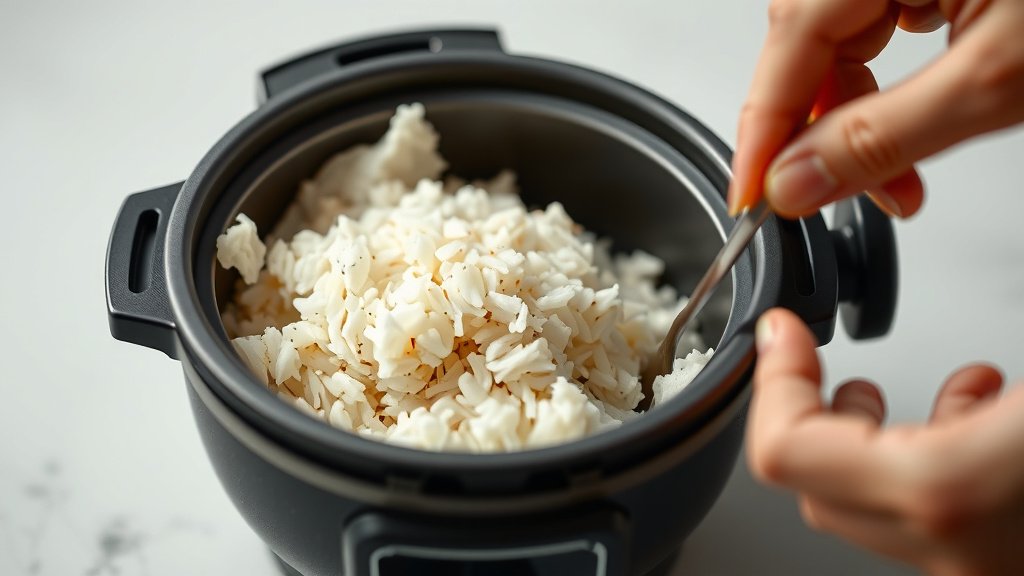
Step 5: Fluff and Serve
Once the resting period is over, you can open the lid. Use the rice paddle or a wooden spoon that came with your cooker. Gently fluff the rice by lifting it from the bottom and folding it over. This separates the grains and releases any remaining steam. It also helps to ensure an even consistency throughout the pot.
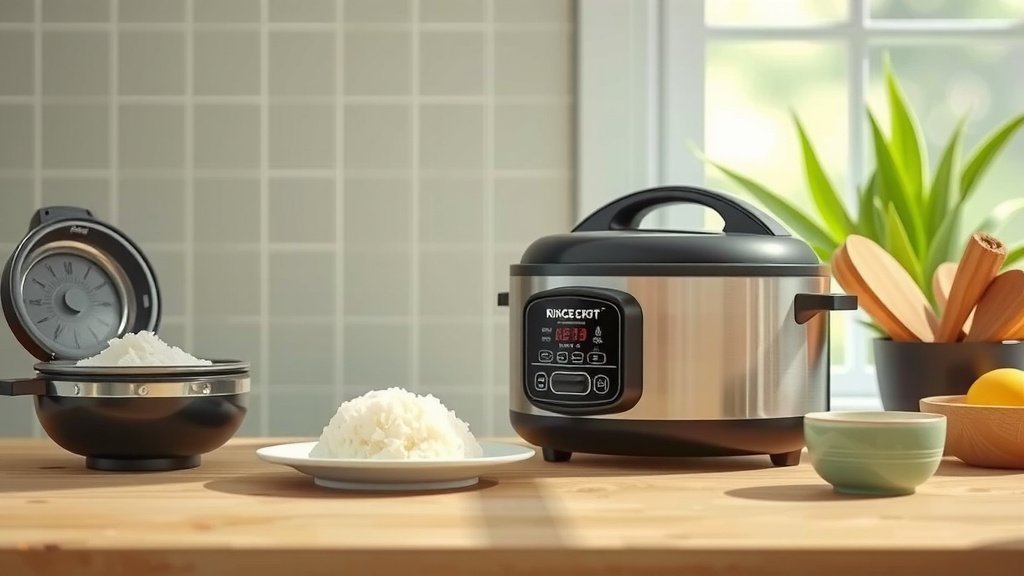
Your perfectly cooked rice is now ready to be served! Enjoy it with your favorite stir-fry, curry, or as a side dish to any meal. Cleaning your rice cooker is usually as simple as washing the inner pot and lid with soap and water. Many inner pots are also dishwasher safe, making cleanup a breeze. It’s a truly convenient appliance for everyday cooking.
Quick Rice Cooker Checklist
- Rinse rice until water is clear.
- Use the correct rice-to-water ratio.
- Place inner pot in cooker base.
- Press the “Cook” button.
- Let rice rest for 10-15 minutes after cooking.
- Fluff rice gently before serving.
Conclusion
You’ve now seen how simple using your rice cooker can be. Following the steps of rinsing your rice, measuring accurately, cooking, resting, and fluffing ensures delicious, fluffy results every time. This appliance truly simplifies meal preparation. You’re ready to make perfect rice a regular part of your cooking routine. Grab your rice cooker, and get ready to enjoy consistently great rice!
Frequently Asked Questions
Can I use any type of rice in my rice cooker?
Yes, most rice cookers are designed to handle various types of rice, including white, brown, jasmine, basmati, and sushi rice. Different rice types may require slightly different water ratios or settings, so always check your cooker’s manual for specific guidance.
What if my rice cooker doesn’t have a specific setting for the type of rice I’m using?
If your rice cooker only has a general “Cook” setting, it’s usually calibrated for white rice. For other grains like brown rice, you might need to adjust the water amount slightly or use the standard water-to-rice ratio and let it cook. You may need to experiment a little to find what works best.
Why is the resting period so important after cooking?
The resting period allows the steam to redistribute evenly throughout the rice. This steam helps to finish cooking the grains and makes them fluffier and more separated. Skipping this step can result in rice that is still a bit wet or gummy.
How do I know if I’ve used the right amount of water?
The best indicator is the texture of your cooked rice. If it’s too wet and mushy, you used too much water. If it’s dry and hard, you likely didn’t use enough. Most rice cookers have markings inside the pot that correspond to the amount of rice, which is usually the most reliable guide.
Can I put anything else in the rice cooker besides rice and water?
Some rice cookers have a “steam” function that allows you to cook vegetables or other foods above the rice. However, for standard cooking cycles, it’s best to stick to just rice and water to ensure optimal results and avoid damaging the non-stick coating of the inner pot.