Electric Pressure Cooker Guide: Simple Steps to Delicious Meals
Using an electric pressure cooker is surprisingly simple once you get the hang of it. You just need to add your ingredients and liquid, secure the lid, select a cooking program, and let it do its magic. It’s a fantastic way to cook meals quickly and efficiently.
These modern kitchen appliances take the guesswork out of pressure cooking. Unlike older stovetop models, electric pressure cookers have built-in safety features and digital controls. This makes them incredibly user-friendly and safe for beginners to achieve delicious results with minimal effort. Many home cooks find them a kitchen game-changer.
TL;DR:
- Add ingredients and liquid.
- Secure the lid properly.
- Choose a cooking setting.
- Let the cooker do the work.
- Enjoy faster, tastier meals.
Ready to master your electric pressure cooker? We’ll walk you through each step, from setting it up to serving up your first delicious meal.
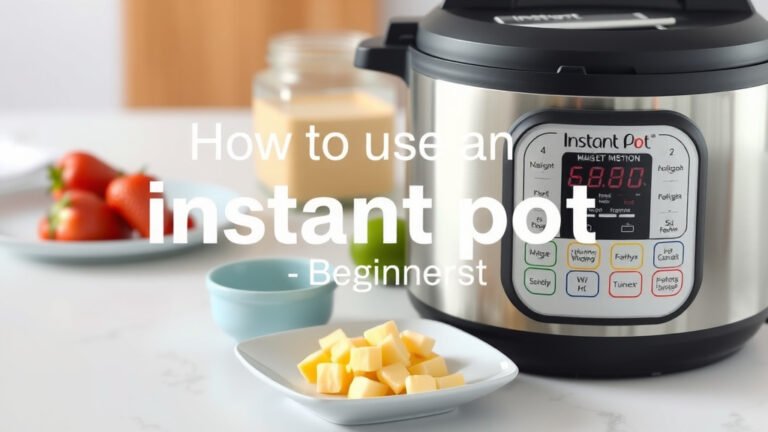
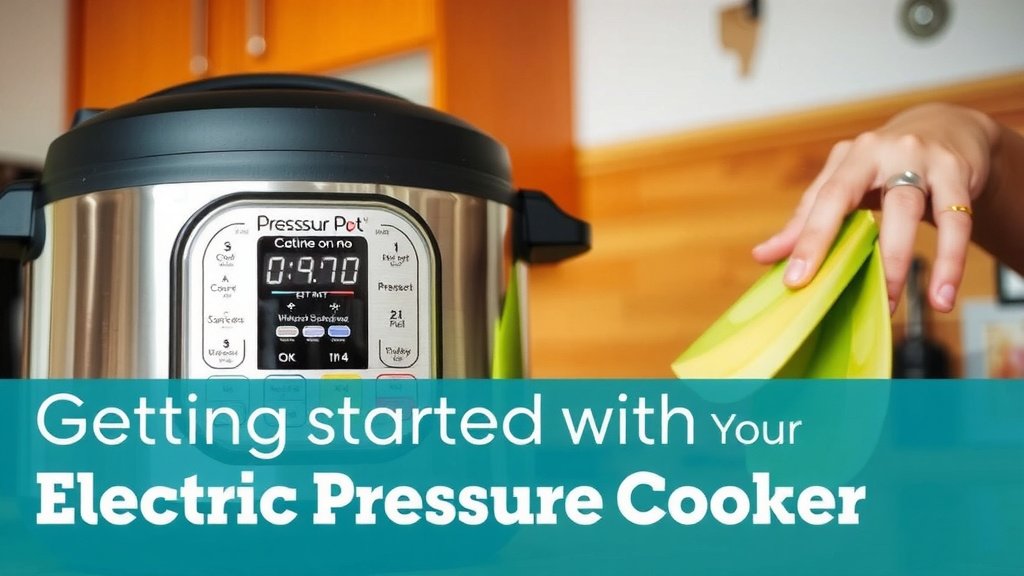
“`htmlGetting Started with Your Electric Pressure Cooker
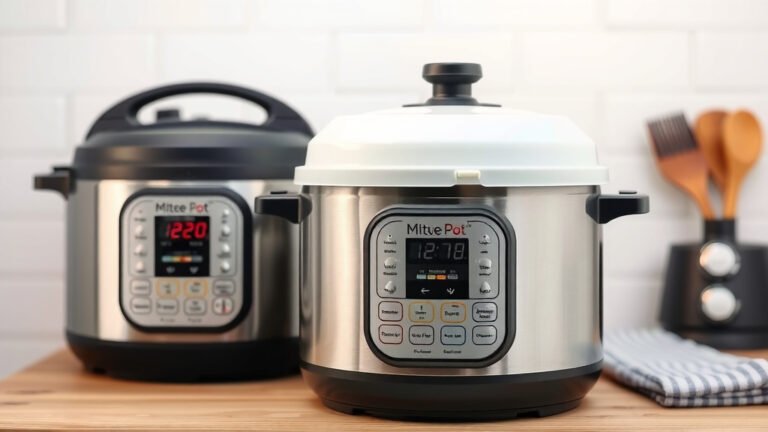
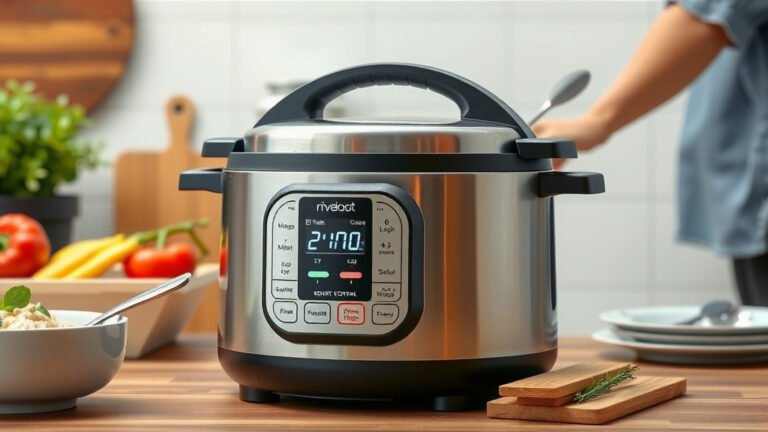
So, you’ve got this shiny new electric pressure cooker. Exciting! It might look a little intimidating with all its buttons and parts, but trust us, it’s designed to be super **user-friendly**. Think of it as a smart pot that cooks your food under pressure, making it tender and flavorful in a fraction of the time. We’re here to help you feel **confident and comfortable** using it from day one.
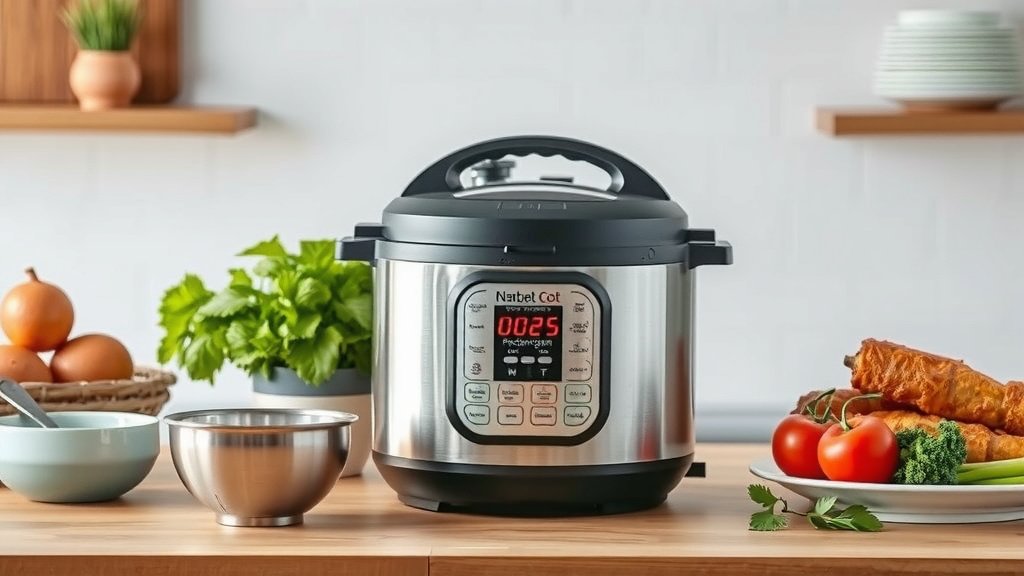
Understanding the Parts
Before you cook, let’s get acquainted with your cooker. You’ll typically find these key components:
- The Inner Pot: This is where all your delicious food goes. Most are non-stick and dishwasher-safe.
- The Lid: This locks securely to create the pressure seal. It has a pressure release valve and often a float valve.
- The Sealing Ring: This rubbery ring fits inside the lid and is **essential for creating that airtight seal**.
- The Control Panel: This is your command center, with buttons for various cooking functions and time adjustments.
- The Steam Release Valve: This is where the steam escapes when you’re done cooking.
Safety First! Essential Checks
Safety is paramount with any pressure cooker, even electric ones. A few quick checks ensure everything is working correctly:
First, make sure the sealing ring is properly seated inside the lid. It should fit snugly and evenly. If it’s loose or damaged, your cooker won’t build pressure. We’ve found that a **properly placed sealing ring** is the most common fix for pressure-building issues.
Next, check that the steam release valve is clean and free from any food debris. You don’t want anything blocking the path for steam to escape. Many manufacturers recommend cleaning this part after every use (CookWorks.com).
Finally, when you close the lid, ensure it locks into place with a click or a turn. You should see the float valve pop up when it’s sealed and ready to cook.
Your First Pressure Cooker Meal: A Step-by-Step Guide
Ready to dive in? Let’s cook something simple and tasty. We’ll use chicken breast as our example, a quick and easy win.
Adding Your Ingredients
For your first attempt, keep it simple. Add your protein (like chicken breasts), vegetables, and seasonings directly into the inner pot. The key to pressure cooking is **adding enough liquid**. Without sufficient liquid, the cooker won’t reach pressure, and your food might burn.
A good rule of thumb is to add at least 1 to 1.5 cups of liquid for most recipes. This can be water, broth, stock, or even tomato sauce. The exact amount can vary, so always check your recipe. We found that just enough liquid ensures the cooker builds steam without over-diluting flavors.
Securing the Lid and Setting the Valve
Once your ingredients and liquid are inside, place the lid on top. Turn it to lock it securely. Make sure the steam release valve is in the “Sealing” position. This is usually indicated on the cooker itself or in your manual. If the valve is left open, all your liquid will steam away before pressure can build.
Choosing the Right Cooking Program
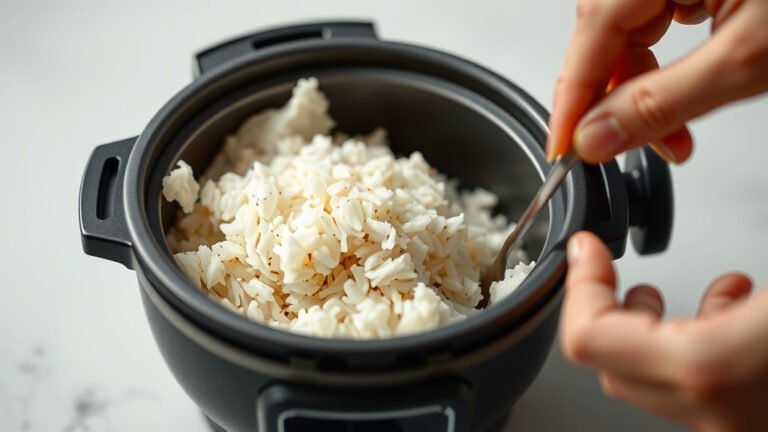
Now for the fun part: selecting a setting! Most electric pressure cookers have pre-set buttons for common foods like “Poultry,” “Rice,” “Beans,” “Soup,” or “Manual.”
For our chicken breast, you could select the “Poultry” setting or use the “Manual” or “Pressure Cook” setting if available. You’ll then adjust the time. For boneless chicken breasts, anywhere from 8-12 minutes on high pressure is usually sufficient. The cooker will take some time (often 10-20 minutes) to heat up and build pressure before the timer actually starts counting down.
Many experts suggest getting familiar with your cooker’s specific presets. They are designed to take the guesswork out of cooking times and pressure levels (Instant Pot Community Blog).
The Waiting Game: Pressure Building and Cooking
Once you’ve set your time and pressure, the cooker will start heating up. You’ll hear it beginning to steam. Eventually, the float valve will pop up, indicating that pressure has been reached. At this point, the cooking timer will begin its countdown.
While it’s cooking, resist the urge to open the lid! It’s sealed for a reason. Trying to peek will release the pressure and stop the cooking process. Just let it do its magic.
Releasing the Pressure: What Are Your Options?
Once the timer is up, you have two main ways to release the pressure:
Natural Pressure Release (NPR): This is when you let the pressure release on its own. Simply leave the steam release valve in the “Sealing” position and wait. The pressure will gradually decrease, and the float valve will drop down. This can take anywhere from 5 to 30 minutes, depending on how much food you have. NPR is great for larger cuts of meat, beans, or anything you want to be extra tender. Many recipes recommend this method for its tenderizing effect.
Quick Release (QR): Once the cooking time is complete, you carefully move the steam release valve to the “Venting” position. Be cautious of the hot steam that will shoot out! Keep your hands and face away from the valve. QR is faster and works well for vegetables or delicate items that you don’t want to overcook. We’ve found that quick release is best when you’re in a hurry.
Checking for Doneness and Serving
After the pressure has fully released (the float valve has dropped), you can carefully open the lid away from you. Use a fork or tongs to check if your food is cooked through. If it’s not quite done, you can simply put the lid back on, secure it, and cook for a few more minutes. Once it’s perfect, serve immediately!
Quick Checklist for Your Next Pressure Cooker Adventure
Before you start cooking, run through this quick checklist to ensure a smooth experience:
- Is the inner pot clean and dry?
- Is the sealing ring properly installed in the lid?
- Is the steam release valve clean and free of debris?
- Have you added enough liquid for the recipe?
- Is the lid locked securely before starting?
- Is the steam release valve set to “Sealing” before cooking?
Conclusion
You’ve now got the confidence to use your electric pressure cooker! We’ve covered understanding its parts and those all-important safety checks. You know how to add ingredients, secure the lid, and choose the right cooking setting. Remember, adding enough liquid is key, and you have options for releasing pressure. Don’t be afraid to start with simple recipes. Your electric pressure cooker is ready to help you create delicious meals faster than ever before. Why not try making that simple chicken breast recipe today?
Frequently Asked Questions
How much liquid do I really need to add?
Generally, you need at least 1 to 1.5 cups of liquid for most electric pressure cooker recipes. This liquid is essential for building steam and pressure. Always check your specific recipe, as some dishes might require a bit more or less.
Can I open the lid while it’s cooking?
No, you should never open the lid while the cooker is building pressure or actively cooking. Doing so will release the pressure and stop the cooking process. Wait until the cooking time is complete and the pressure has been released.
What’s the difference between Natural Release and Quick Release?
Natural Pressure Release (NPR) means letting the pressure dissipate on its own, which can take longer but results in more tender food. Quick Release (QR) involves manually opening the steam valve to let steam escape rapidly, which is faster and good for delicate foods.
My pressure cooker isn’t building pressure. What could be wrong?
The most common cause is a sealing ring that isn’t properly seated in the lid, or a blocked steam release valve. Ensure the sealing ring is snug and check that the valve is clean and free from food debris before starting your cook.
Are electric pressure cookers safe to use?
Yes, electric pressure cookers are designed with multiple safety features, making them very safe. They have locking lids and pressure regulators to prevent over-pressurization. Always ensure your sealing ring and valves are clean and properly assembled for optimal safety.