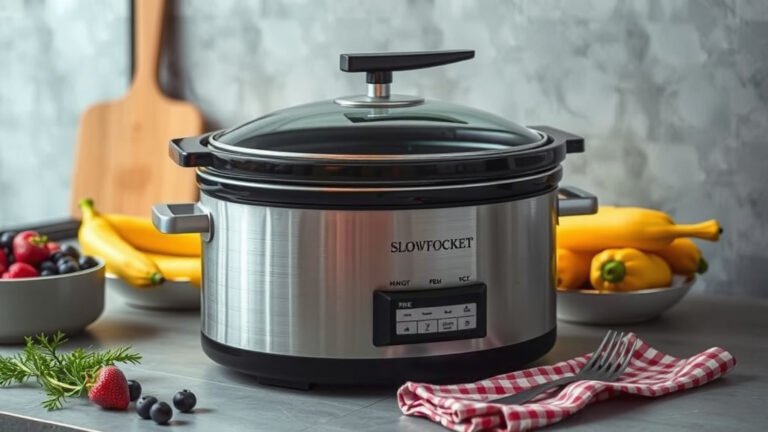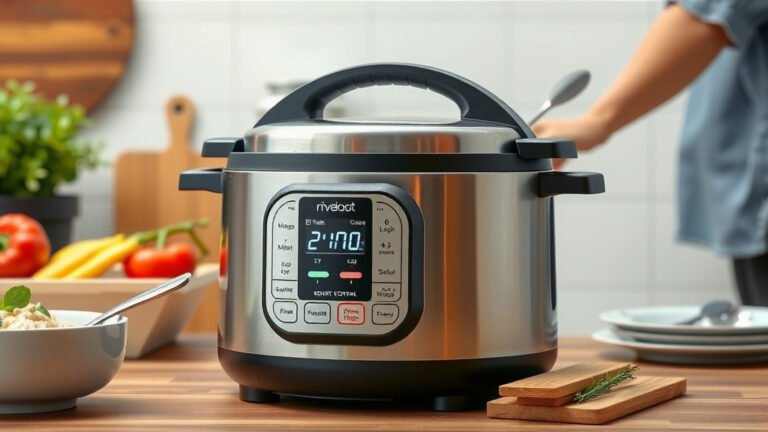
Master Your Pressure Cooker: A Step-by-Step Guide
Using a pressure cooker is simpler than you might think, and it can drastically cut down cooking times. The basic process involves sealing food and liquid inside the pot, which then heats up to create steam, building pressure to cook your meals much faster than traditional methods. You’ll be amazed at how quickly you can make tender meats and perfectly cooked grains.
Many people find pressure cookers intimidating at first, but they are incredibly safe and efficient kitchen tools when used correctly. They are perfect for busy weeknights when you want a delicious meal without spending hours in the kitchen. Think of it as a super-powered, time-saving appliance.
- Lock lid securely.
- Add food and liquid.
- Bring to pressure.
- Cook for specified time.
- Release pressure safely.
Ready to master this amazing cooking tool? Below, we’ll guide you through each step to use your pressure cooker with confidence.
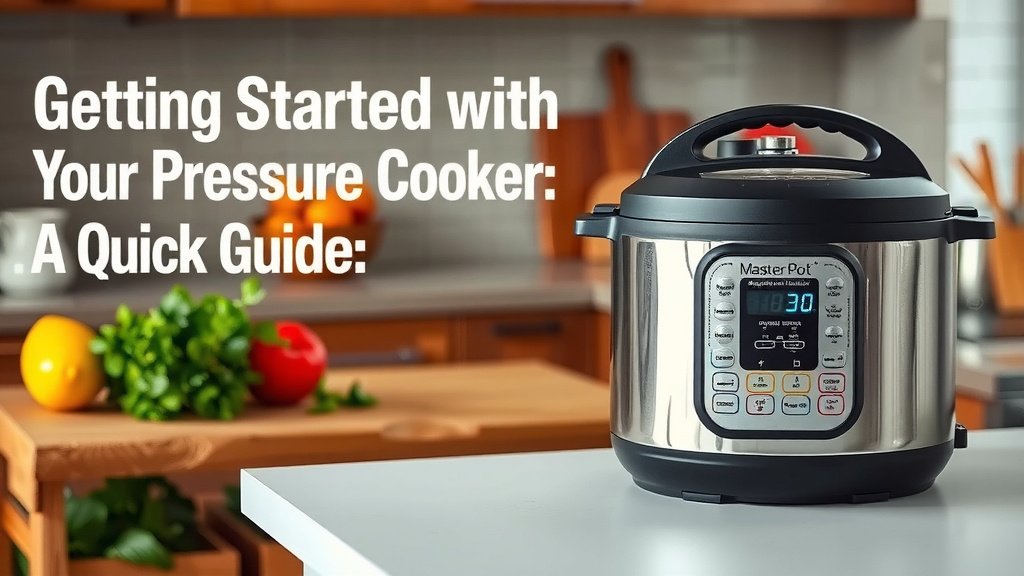
Getting Started with Your Pressure Cooker: A Quick Guide
You’ve got a pressure cooker, and you’re ready to cook! It might look a bit technical, but it’s really about harnessing steam. This guide will walk you through the simple steps. You’ll be cooking faster than you thought possible.
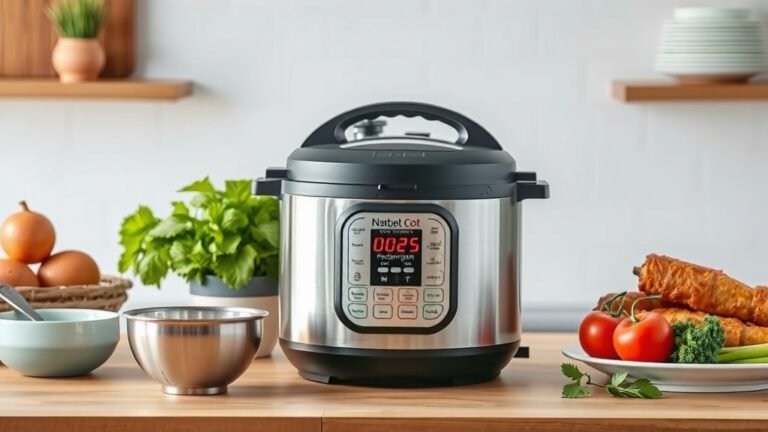
Understanding the Key Parts of Your Pressure Cooker
Before you start cooking, let’s get acquainted with your appliance. Knowing its parts helps you use it safely and effectively. Most pressure cookers have a few common components you’ll interact with.
The Pot and Lid Assembly
The main part is the sturdy pot where your food goes. It’s designed to withstand high pressure. The lid locks onto the pot securely. This seal is essential for building pressure. Many lids have a locking mechanism. This prevents you from opening it while it’s under pressure. It’s a vital safety feature.
The Sealing Ring or Gasket
Around the rim of the lid, you’ll find a rubber or silicone ring. This is the sealing ring. It creates an airtight seal when the lid is locked. Over time, this ring can wear out. You may need to replace it. Check your manual for replacement instructions.
Pressure Regulator and Vent
You’ll see a valve or weight on top of the lid. This is the pressure regulator. It controls the amount of pressure inside the pot. Some models have a simple weight. Others have a spring-loaded valve. The vent allows steam to escape when needed. This maintains the correct pressure level. It’s like the cooker’s safety valve.
Your First Pressure Cooker Meal: Step-by-Step
Ready to cook? Let’s break down the process. It’s not as complicated as it seems. Follow these steps for a successful meal.
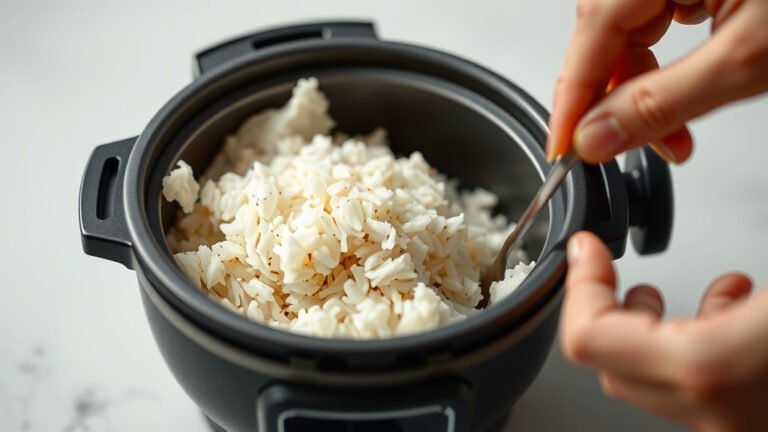
Step 1: Add Ingredients and Liquid
First, add your food to the pot. This could be meats, vegetables, or grains. Then, add your liquid. This is super important. You need enough liquid to create steam. Most recipes will specify the minimum amount. For example, many guidelines suggest at least 1 cup of liquid (National Pressure Cooker, LLC). This is true even for recipes that don’t seem watery.
Step 2: Secure the Lid and Set the Regulator
Close the lid firmly. You should hear or feel it click into place. Make sure it’s locked securely. Then, set the pressure regulator. This is usually done by placing it on the vent pipe. Ensure it’s seated correctly. Your manual will show you the exact placement.
Step 3: Bring the Cooker Up to Pressure
Place the pot on your stovetop or plug it in if it’s electric. Turn the heat to high. You’ll start to see steam escaping from the vent. Soon, the pressure regulator will begin to jiggle or hiss. This indicates that pressure is building. This might take 5-15 minutes depending on your cooker and how much food is inside.
Step 4: Start the Cooking Timer
Once the cooker reaches full pressure, it’s time to cook. Adjust the heat to the lowest setting that maintains pressure. You want just enough heat to keep the regulator active without blowing off too much steam. Then, start your cooking timer. Use the time specified in your recipe. This is where the magic happens.
Step 5: Release the Pressure Safely
When the cooking time is up, you need to release the pressure. There are a few ways to do this:
- Natural Release: Turn off the heat. Let the cooker sit undisturbed. The pressure will drop on its own. This can take 10-30 minutes. It’s good for meats and beans. It helps keep them tender.
- Quick Release: Carefully move the pressure regulator. This allows steam to escape rapidly through the vent. Be cautious of the hot steam. Never put your hand over the vent. This method is faster. It’s good for vegetables or when you’re in a hurry.
- Cold Water Release (Stovetop models only): Run cold water over the lid, avoiding the vent. This cools the pot quickly, lowering pressure. This is a fast method but can be messy.
Always refer to your recipe for the recommended pressure release method. For safety, never force the lid open.
Step 6: Open the Lid and Serve
Once the pressure is fully released, the locking mechanism will disengage. You can now safely open the lid. Open it away from your face. The food inside will be hot and tender. Serve immediately and enjoy!
Tips for Pressure Cooker Success
To make your pressure cooking experience even better, keep these tips in mind:
- Don’t Overfill: Most cookers have a maximum fill line. Never go above it. This ensures proper pressure buildup.
- Check Your Sealing Ring: Inspect it for cracks or damage before each use. A damaged ring can cause leaks.
- Deglaze if Necessary: If browning meat, deglazing the pot after can add flavor. Scrape up any browned bits from the bottom.
- Adjust Cooking Times: Recipes are guides. Your stove or cooker might run hotter or cooler. You may need slight adjustments.
- Clean Thoroughly: After each use, wash the pot, lid, and sealing ring. Ensure no food particles remain. This keeps your cooker working well.
Common Pressure Cooker Concerns Addressed
It’s natural to have questions. Here are some common concerns people have.
Is it Safe to Use?
Yes, modern pressure cookers are very safe. They have multiple safety features. These include locking lids and pressure release valves. Always follow the manufacturer’s instructions. Never try to force the lid open while it’s pressurized. Many guidelines emphasize proper use for safety (U.S. Consumer Product Safety Commission).
What if My Cooker Isn’t Reaching Pressure?
Several things could be the cause. Ensure the lid is locked correctly. Check that the sealing ring is in place and not damaged. Make sure you have enough liquid. The heat might also be too low. Turn it up slightly until steam starts escaping.
What if Too Much Steam is Escaping?
If you see a lot of steam escaping from the sides of the lid, not just the vent, it might be a sealing ring issue. The ring could be old, dirty, or cracked. You might need to replace it. Ensure the rim of the pot is clean.
Conclusion
You’ve learned the essential steps to confidently use your pressure cooker. From understanding its parts to safely releasing pressure, you’re now equipped to save time and create delicious meals. Remember that a little practice goes a long way. Always refer to your cooker’s manual and your recipe for specific guidance. Now, go ahead and start experimenting with your new favorite kitchen appliance. You’ll soon wonder how you ever cooked without it!
Frequently Asked Questions
How much liquid do I really need in a pressure cooker?
Most pressure cooker recipes require at least 1 cup of liquid, even if the ingredients don’t seem very wet. This liquid is crucial for creating the steam needed to build pressure. Without enough liquid, your cooker may not reach pressure and could potentially scorch your food.
What’s the difference between natural and quick pressure release?
Natural release means turning off the heat and letting the pressure drop on its own, which is best for tender foods like meats and beans. Quick release involves manually venting the steam for faster cooking, ideal for delicate vegetables or when you’re short on time. Always check your recipe for the recommended method.
Can I open the pressure cooker if I forget an ingredient?
Never attempt to force open a pressure cooker lid while it’s still under pressure. Wait until all the steam has been released and the lid can be opened safely. If you absolutely must add something, it’s best to let the pressure release fully first, then open the lid.
How often should I replace the sealing ring?
The rubber or silicone sealing ring can wear out over time. Inspect it before each use for any signs of cracking, hardening, or damage. Most manufacturers recommend replacing the sealing ring every 1-2 years with regular use, or sooner if you notice it isn’t creating a proper seal.
Why isn’t my electric pressure cooker reaching full pressure?
If your electric pressure cooker isn’t reaching pressure, first check that the lid is sealed correctly and the sealing ring is properly in place. Ensure you have the minimum required liquid and that the steam vent is not blocked. Sometimes, the sauté or searing function needs to be used first to build initial heat.