Easy Brown Rice in a Rice Cooker Recipe
Cooking brown rice in a rice cooker is super easy. You just need the right rice-to-water ratio and a few simple steps. Most rice cookers have a setting for brown rice, making it even simpler.
Brown rice is a whole grain, meaning it retains more of its natural goodness. Using a rice cooker ensures it cooks evenly and avoids the mushy or undercooked texture that can happen on the stovetop. It’s a healthy and convenient side dish for any meal.
- Use a 1:1.5 or 1:1.75 rice-to-water ratio.
- Rinse your brown rice before cooking.
- Use the “brown rice” setting on your cooker if available.
- Let it sit for 10-15 minutes after cooking finishes.
Ready to make perfect brown rice without the guesswork? Let’s walk through exactly how your rice cooker makes it happen, step by step.
Mastering Brown Rice in Your Rice Cooker
So, you’ve decided to give brown rice a try, and you’re wondering how to get it just right in your trusty rice cooker. You’re in luck! This method is designed to be **foolproof**, ensuring perfectly cooked grains every single time. Let’s break down how to achieve fluffy, delicious brown rice with minimal effort.
The Essential Rice-to-Water Ratio
This is **the most critical step** for any rice cooking. For brown rice, the ratio is a little different than white rice. Brown rice has the bran and germ intact, which means it needs a bit more liquid and time to soften.
General Guidelines
We found that most rice cookers work best with a ratio of **1 cup of brown rice to 1.5 to 1.75 cups of water**. Your rice cooker’s manual might specify a particular ratio, and it’s always a good idea to check that first. Some cookers have markings inside the pot that correspond to different types of rice.
Why This Ratio Matters
Too little water, and your brown rice will be **hard and chewy**. Too much water, and it can turn out mushy and clumpy. Finding that sweet spot with your water amount is key to fluffy, separate grains.
| Type of Rice | Rice to Water Ratio (General) | Cooker Setting |
|---|---|---|
| Brown Rice | 1:1.5 to 1:1.75 | Brown Rice / Whole Grain / Quick Cook (if applicable) |
| White Rice | 1:1 to 1:1.25 | White Rice / Standard |
As you can see from the table, brown rice generally requires more water than white rice. This extra liquid helps to **penetrate the outer layers** of the grain, making it tender.
Preparation Steps for Perfect Rice
Before you even think about hitting the start button, a little prep work goes a long way. These simple steps will help ensure your brown rice is **flavorful and well-textured**.
Rinsing Your Brown Rice
It’s a good idea to rinse your brown rice. This removes any excess starch, dust, or debris that might be on the grains. Think of it like giving your rice a quick bath.
To rinse, place your measured brown rice in a fine-mesh sieve. Run cool water over the rice, gently swirling it with your fingers. Continue rinsing until the water runs **mostly clear**. Drain it well before adding it to your rice cooker pot.
Optional: Soaking Brown Rice
Some people swear by soaking brown rice before cooking. Research suggests that soaking can help to **reduce phytic acid**, a compound that can interfere with nutrient absorption. It may also speed up cooking time slightly and lead to a softer texture.
If you choose to soak, simply cover the rinsed rice with water in a bowl and let it sit for about 30 minutes to an hour. After soaking, drain the rice completely before adding it to your rice cooker. This step is **entirely optional**, but many find it beneficial.
Using Your Rice Cooker’s Settings
Modern rice cookers are fantastic kitchen companions. Most have specific settings designed for different types of grains, and brown rice is usually one of them.
The “Brown Rice” Setting
If your rice cooker has a dedicated “Brown Rice” or “Whole Grain” setting, **use it!** This setting adjusts the cooking time and temperature to accommodate the longer cooking needs of brown rice. It typically involves a longer soak time within the cooker itself before the actual cooking begins.
What If You Don’t Have a “Brown Rice” Setting?
Don’t worry if your cooker is more basic. You can often still achieve good results using the standard “White Rice” or “Cook” setting. Just be extra mindful of your rice-to-water ratio and the resting time afterwards.
For cookers without a specific setting, you might use a slightly higher water ratio, around 1:1.75, to ensure adequate hydration. The key is **patience** and allowing enough time for the rice to cook through.
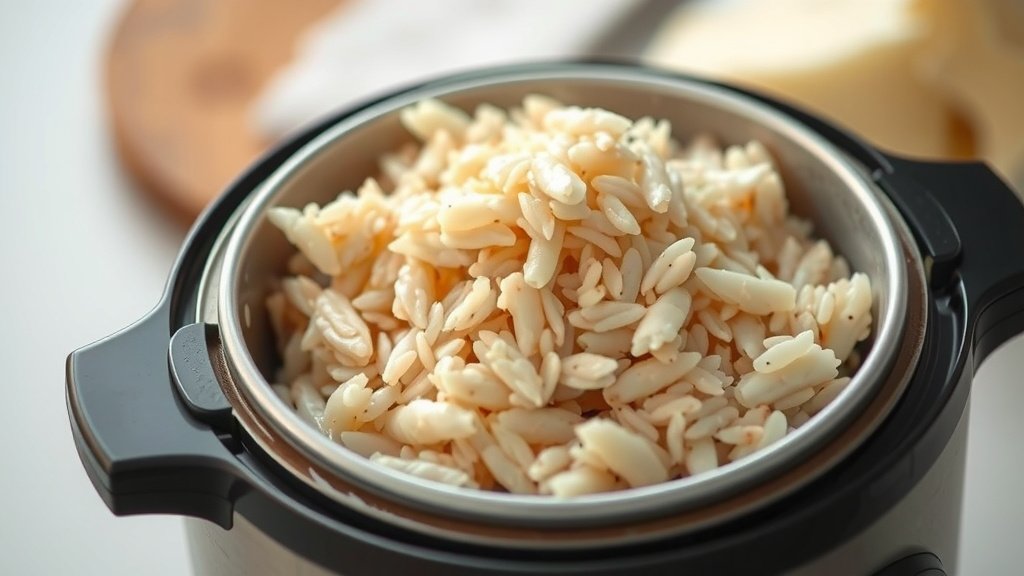
The Cooking and Resting Process
Once you’ve added your rinsed rice and the correct amount of water to the cooker, it’s time to let the magic happen.
Starting the Cooker
Close the lid securely. Select the appropriate setting (ideally “Brown Rice”) and press start. The cooker will handle the rest. Resist the urge to open the lid while it’s cooking; this releases steam and can disrupt the cooking process. You want to keep that **heat and moisture trapped** inside.
The Crucial Resting Period
This is a step many people skip, but it’s **essential for perfect rice**. Once the cooking cycle is complete and the cooker switches to “Keep Warm,” let the rice rest undisturbed for at least 10 to 15 minutes. Why? This allows the steam to evenly distribute throughout the rice, finishing the cooking process and ensuring **fluffy, separated grains**.
Many experts suggest this resting period is vital for texture. It’s like letting a cake cool before slicing; it allows everything to settle and firm up just right.
Fluffing Your Rice
After the resting period, open the lid. Use a rice paddle or a fork to gently fluff the rice. This involves lifting and separating the grains, which prevents clumping and makes it look **appealing and delicious**. It’s ready to serve!
Troubleshooting Common Issues
Even with the best intentions, sometimes things don’t turn out perfectly the first time. Here are a few common issues and how to fix them.
Rice is Too Hard/Chewy
This usually means you needed a bit more water or a longer cooking time. For your next batch, try increasing the water ratio slightly (e.g., from 1:1.5 to 1:1.75). If you have a basic cooker, you might need to add a little extra water to the pot and run the “Cook” cycle again for a few minutes.
Rice is Mushy or Gummy
Too much water is the usual culprit here. Reduce the amount of water for your next cooking session. Also, ensure you’re not over-rinsing or soaking for too long, as this can add excess moisture.
Rice is Stuck to the Bottom
This can happen if the cooker is too old or if there wasn’t enough water. A good rinsing and correct water ratio should prevent this. If it happens consistently, check your cooker’s heating element for any issues.
Your Brown Rice Checklist
Here’s a quick rundown to ensure you’re set for success:
- Measure your brown rice accurately.
- Use the correct rice-to-water ratio (1:1.5 to 1:1.75).
- Rinse your rice well under cool water.
- Select the “Brown Rice” setting if available.
- Allow the rice to rest for 10-15 minutes after cooking.
- Fluff gently with a paddle or fork before serving.
Conclusion
You’ve learned that cooking brown rice in your rice cooker is simple and rewarding. By focusing on the right rice-to-water ratio, proper rinsing, and letting it rest, you’ll achieve perfectly fluffy grains every time. Your rice cooker takes the guesswork out, giving you a healthy side dish with minimal effort. So go ahead, try this method and enjoy delicious brown rice without the stress. Your next healthy meal just got easier!
Frequently Asked Questions
Can I cook brown rice and white rice together in a rice cooker?
While it’s technically possible, we generally don’t recommend mixing brown and white rice. They have different cooking times and water needs, so one type will likely be undercooked or overcooked. It’s best to cook them separately for optimal results.
How much brown rice can I cook at once?
Check your rice cooker’s manual for its maximum capacity, as this varies by model. Overfilling can lead to uneven cooking or overflow. Always ensure there’s enough room for the rice to expand and for the water.
Why is my brown rice still crunchy after cooking?
This usually means it didn’t absorb enough water or didn’t cook long enough. Try using slightly more water for your next batch, perhaps the 1:1.75 ratio. If your cooker lacks a brown rice setting, you might need to manually add a little extra water and run the cook cycle again briefly.
Do I have to use the “brown rice” setting on my cooker?
Not always! If your rice cooker doesn’t have a dedicated brown rice setting, you can often achieve great results using the standard “white rice” or “cook” setting. Just pay close attention to your water ratio and make sure to let the rice rest properly afterward.
Is soaking brown rice before cooking necessary?
Soaking is optional but can be beneficial. Research suggests it helps reduce phytic acid and may lead to a softer texture and slightly faster cooking time. If you choose to soak, rinse your rice first, then soak for 30 minutes to an hour before draining and cooking.