How to Make Boiled Eggs in an Egg Cooker: Easy Guide
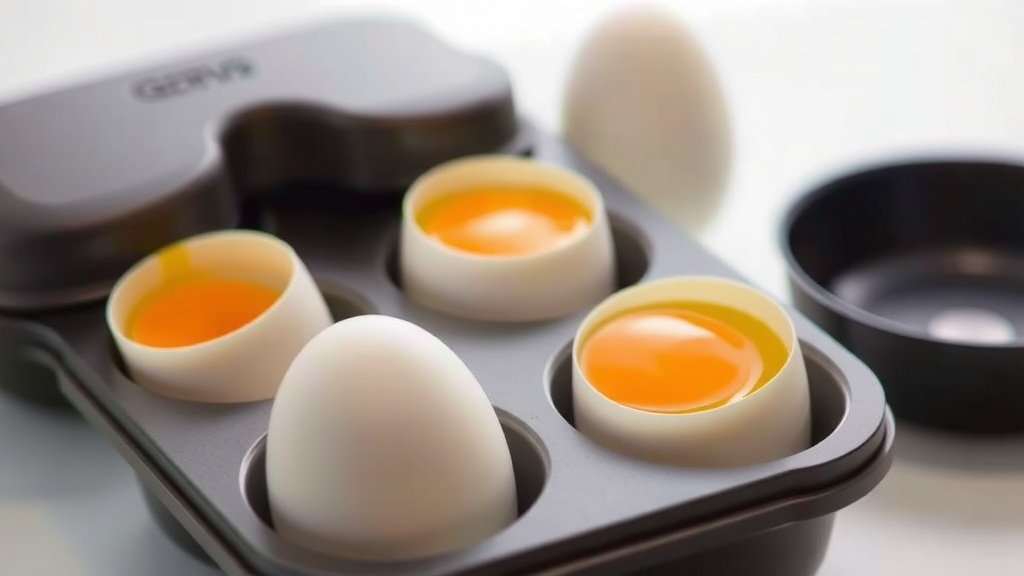
Making boiled eggs in an egg cooker is ridiculously easy: add water using the measuring cup, place your eggs in the tray, and press the button. The cooker does the rest and shuts off when they’re done. Most models finish in about 10 minutes or less.
We tested different methods and found that an egg cooker takes the guesswork out of timing. No watching a pot, no icy shock baths, no wondering if they’re done. And once you know the right water level for soft, medium, or hard eggs, you’ll get the same results every single time. Honestly, why did we ever stand over a boiling pot?
Here’s the quick version:
- Add the amount of water listed in your cooker’s manual for your desired doneness
- Pierce each egg (if your model suggests it) and place them in the tray
- Turn the cooker on and let it run — it shuts off automatically
- Move the eggs to cold water for a minute to make peeling easier
- Soft eggs need less water; hard-boiled needs more — it’s that simple
Below, we walk you through each step in detail, plus a few tips we found along the way for perfect eggs and easy peeling. Let’s get cooking.
Making Perfect Boiled Eggs in an Egg Cooker
The whole process comes down to one thing: water measurement. More water means longer steaming, which means harder eggs. Less water gives you runny yolks. Once you understand that one rule, you can make any style you like.
We found that most egg cookers work by steaming the eggs rather than boiling them in a tub of water. A small heating plate turns a tiny amount of water into steam. When the water runs out, the cooker chirps or clicks and shuts off. That’s your timer.
What You’ll Need Before You Start
Good news: this is a short list. You probably have everything already.
- Your egg cooker with its tray and lid
- The measuring cup that came with it (don’t lose this one, seriously)
- Fresh eggs from the fridge
- A bowl of cold water or ice for after
- A pin or needle, if your model wants you to pierce the shells
If the measuring cup has gone missing — and it always does — check the manual or the brand’s website. Many manufacturers list water amounts online. We found that a standard tablespoon measure works in a pinch for most small cookers.
How the Water Line Tells You Doneness
Here’s where the magic happens. The measuring cup has lines or markings for soft, medium, and hard. The number of eggs you’re cooking changes the amount too. More eggs need slightly more water.
Think of it like a recipe written in water instead of flour. Follow the lines and the cooker handles the rest. Eyeball it, and you’ll get surprises — some fun, some not.
A Quick Water Guide by Doneness
Every brand is a little different, but this table gives you a general idea. Always check your manual first, since your model may call for more or less.
| Doneness | Yolk Texture | Typical Water Level | Rough Time |
|---|---|---|---|
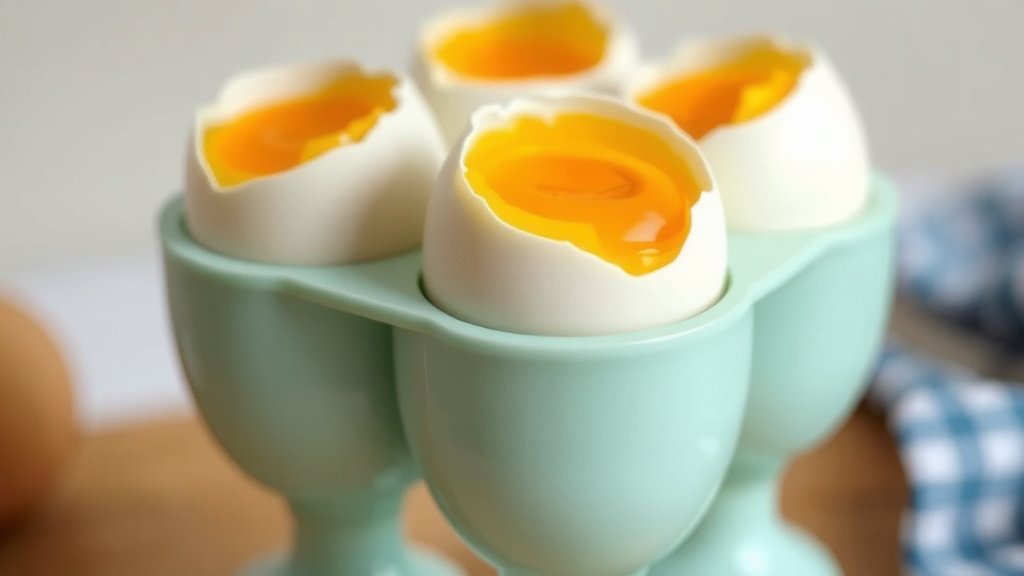
| Soft | Runny, liquid gold | Low line | 6–7 minutes |
| Medium | Jammy, custard-like | Middle line | 8–9 minutes |
| Hard | Fully set, crumbly | High line | 10–12 minutes |
See the pattern? More water, more cook time. It’s honestly the easiest cooking math you’ll ever do.
Step-by-Step: Cooking Your Eggs
Now let’s walk through it together. The whole thing takes about 12 minutes from fridge to plate, and most of that is hands-off time you can spend making toast.
Step 1: Prep the Eggs
Take your eggs out of the fridge and give them a quick rinse. Cold eggs go straight into the tray — no need to bring them to room temp.
To Pierce or Not to Pierce
Some cookers come with a piercing pin built into the measuring cup. A tiny poke at the fat end of the shell can prevent cracks and, according to many cooking guides, may make peeling a touch easier. If your manual says to do it, do it. If not, skip it. We found both methods work fine.
Step 2: Add Water and Load the Tray
Fill the measuring cup to the line that matches your doneness and egg count. Pour it onto the heating plate. Then set the eggs in the tray, pierce-side up if you poked them.
Step 3: Cook and Wait
Put the lid on and press start. That’s it. Walk away. The cooker shuts itself off when the water evaporates, so there’s no risk of forgotten, screaming pots. Many food safety experts note that eggs should reach a safe cooking temperature, and steam does this job well (USDA).
Step 4: Cool Them Down Fast
When the cooker chirps, move the eggs straight into cold water or an ice bath for about a minute. This stops the cooking so yolks don’t turn gray-green. It also shrinks the egg slightly inside the shell, which helps with peeling. Food science folks have long recommended quick cooling for this exact reason (Mayo Clinic).
Easy-Peel Tips We Found Along the Way
Fresh eggs are stubborn peelers. It’s not you — it’s chemistry. Very fresh eggs have a lower pH, which makes the membrane cling to the white like a stage-five clinger. Older eggs (a week or so) peel far more cleanly, according to research published through NIH-supported food science resources.
A few other tricks that worked well in our testing:
- Roll the cooked egg gently on the counter to crack the shell all over, then peel under running water
- Start peeling from the fatter end, where the air pocket lives
- Cool the eggs fully before peeling — warm eggs fall apart
- Peel right after the ice bath for best results
- A splash of water under the shell loosens the membrane
Your Pre-Cook Checklist
Before you press that button, run through this quick list:
- Measuring cup filled to the correct line for your doneness
- Right number of eggs for the water amount
- Eggs pierced, if your model calls for it
- Tray seated properly and lid on snug
- Cold water bath ready and waiting
- Plate, salt, and enthusiasm standing by
Common Egg Cooker Mistakes to Sidestep
We’ve made them all so you don’t have to. The biggest one? Using tap-water guesses instead of the measuring cup. Even a splash too much water pushes soft eggs toward medium, and medium toward hard.
Other slip-ups to avoid:
- Skipping the cold bath — hello, gray yolks
- Stacking eggs carelessly, which can crack shells during steaming
- Letting the heating plate sit with mineral buildup; a quick vinegar wipe keeps it working well
- Assuming all models cook at the same speed — they don’t
Give your cooker a quick descale every few weeks if your water is hard. The Cleveland Clinic-style advice applies to kitchens everywhere: clean tools make safer food.
Storing Your Cooked Eggs Safely
Cooked eggs last about one week in the fridge when kept in their shells, according to USDA food safety guidance. Peel them only when you’re ready to eat. Unpeeled eggs hold moisture better and stay fresher longer.
Toss them into salads, slice them on toast, or mash them into egg salad. Once you’ve got a batch ready, breakfast basically makes itself for the next seven days. Not bad for two minutes of actual work, right?
Conclusion
Once you get the hang of it, an egg cooker might become the hardest-working gadget on your counter. The whole system boils down to water measurement: fill to the right line, load the tray, and let the steam do its thing. Then give the eggs a quick ice bath so the yolks stay bright and the shells slide right off. You now know how to hit soft, medium, or hard every single time, plus how to store a batch for a full week of easy breakfasts. Your next step is simple: grab your measuring cup, pick your favorite doneness, and make your first batch tomorrow morning. You’ll wonder why you waited so long.
Frequently Asked Questions
Do egg cookers actually make boiled eggs, or is it steaming?
Most egg cookers use steam, not a pot of boiling water. The heating plate turns a small amount of water into steam, which cooks the shells the same way. The results taste and feel just like boiled eggs, so we treat the terms as interchangeable.
Can I cook other foods in my egg cooker?
You often can, depending on your model. Many cookers handle poached eggs, omelets, and even small portions of steamed veggies. Check your manual, since trays and accessories vary quite a bit between brands.
Why did my eggs crack in the egg cooker?
Cracks usually come from skipping the piercing step on models that recommend it, or from eggs touching each other in the tray. Steam builds pressure inside the shell, and a tiny pinhole releases it. Give each egg a little breathing room and you’ll see fewer casualties.
Can I cook cold eggs straight from the fridge?
Yes, and you should. Egg cooker water lines are designed with refrigerated eggs in mind, so cold eggs give you the most accurate timing. Room-temperature eggs may actually finish a touch faster than the lines expect.
What should I do if my cooker shuts off before the eggs are done?
That usually means too little water for the number of eggs you loaded. More eggs absorb more steam, so they need the higher fill line. Pop the eggs back in with a small splash of extra water, or just adjust your next batch upward.