Sparkling Clean Oven: Your Ultimate Guide to Cleaning
The easiest way to clean your cooker oven is by using a combination of a good oven cleaner and some elbow grease. You can often achieve sparkling results by removing racks and spraying the interior with a **heavy-duty oven cleaner**, letting it sit, and then wiping it down thoroughly. For tougher spots, a paste of baking soda and water can work wonders.
Keeping your oven clean isn’t just about looks; it’s also about **better cooking performance** and safety. Baked-on grease and food bits can cause smoke and affect the flavor of your food. Many experts recommend **regular cleaning** to prevent buildup and make future cleaning easier.
- Remove oven racks first.
- Use a specialized oven cleaner or a baking soda paste.
- Let cleaners sit for the recommended time.
- Wipe down all interior surfaces and the door.
- Clean racks separately.
Below, we’ll walk you through the most effective methods for tackling that grimy oven. Let’s get your oven looking and smelling like new!
Your Guide to a Sparkling Oven Interior
Getting your oven clean might seem like a daunting task, but it doesn’t have to be. We’re here to guide you through the process, step-by-step. You’ll be amazed at the results you can achieve with the right approach. Let’s tackle that baked-on grime together!
Gathering Your Cleaning Supplies
Before you start, it’s wise to have everything you need ready. This prevents interruptions and makes the cleaning process smoother. You’ll want to protect yourself and your kitchen space.
Essential Cleaning Products
You have a few options when it comes to oven cleaners. Many store-bought cleaners are very effective. They are designed to break down tough grease and food residue. Always read the label and follow the manufacturer’s instructions closely. Some cleaners have strong fumes, so good ventilation is key.
For a more natural approach, baking soda is a fantastic ingredient. When mixed with water, it forms a paste that can gently scrub away grime. This method is often preferred by those looking to avoid harsh chemicals.
Protective Gear and Tools
Safety first! You’ll want to wear **rubber gloves** to protect your skin from cleaning solutions. An old t-shirt or apron can save your clothes from spills and splatters. Newspaper or old towels are great for **protecting your floor** around the oven.
You’ll also need some tools for the job. This includes **scrub sponges** (non-abrasive ones are best for most surfaces), **microfiber cloths** for wiping and polishing, and perhaps an old toothbrush for getting into tight corners. A plastic scraper can be helpful for stubborn, burnt-on bits, but use it with care.
Preparing Your Oven for Cleaning
Proper preparation makes a big difference. Taking a few minutes to get things ready will save you time and effort later on.
Removing Oven Racks and Accessories
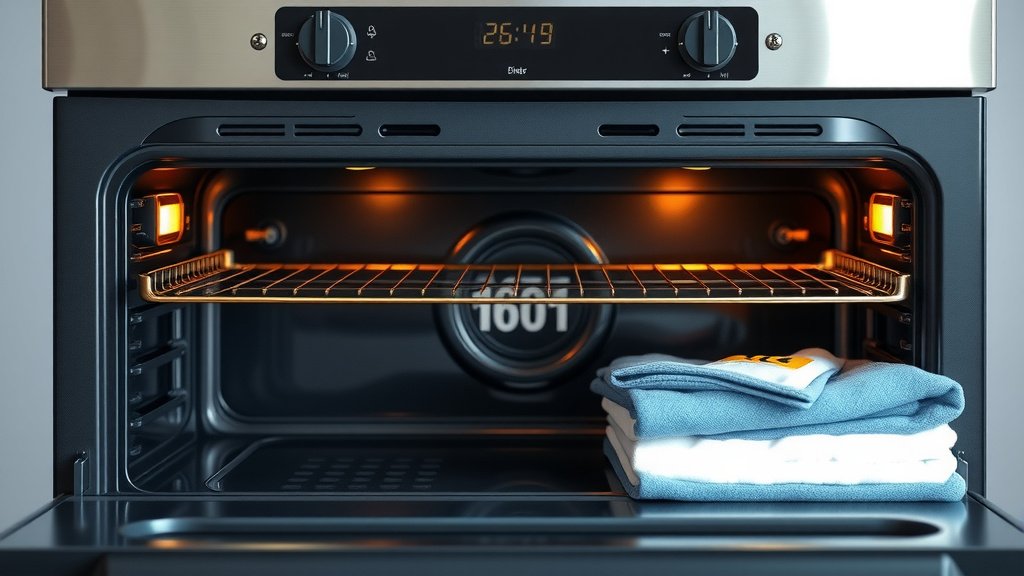
The first step is to remove everything from inside the oven. This includes oven racks, baking trays, and any temperature probes. These items can be cleaned separately. Trying to clean around them will only make your job harder.
Some racks are dishwasher safe, but many are not. Check your oven’s manual. Most often, cleaning them in the sink is the best bet.
Ensuring Good Ventilation
If you’re using a commercial oven cleaner, good ventilation is essential. Open **windows and doors** to let fresh air circulate. Turn on your kitchen exhaust fan if you have one. This helps to dissipate strong fumes and makes the cleaning process more comfortable.
Even with natural cleaners, a bit of fresh air is always a good idea. It just makes the whole experience more pleasant.
Deep Cleaning the Oven Interior
Now for the main event: cleaning the inside of your oven. We’ll cover both commercial and DIY methods.
Using Commercial Oven Cleaners
These products are formulated to be powerful. Spray the cleaner generously on all interior surfaces, avoiding the heating elements and any fan openings. Make sure you follow the product’s specific instructions for how long to let it sit. This is typically between 30 minutes and a few hours, or even overnight for heavy build-up.
After the recommended dwell time, use a damp cloth or sponge to wipe away the cleaner and loosened grime. You might need to rinse your cloth frequently. For tough spots, a gentle scrub with your sponge may be necessary. Be sure to wipe down all surfaces thoroughly to remove any cleaner residue.
The Baking Soda Paste Method
This is a popular, eco-friendly alternative. Mix about half a cup of baking soda with a few tablespoons of water to create a spreadable paste. It should be thick but not runny. Spread this paste all over the interior surfaces of your oven, avoiding the door glass for now if it’s very dirty (we’ll get to that). Pay special attention to areas with heavy grease build-up.
Let the paste sit for at least a few hours, or ideally, overnight. The baking soda will work to loosen baked-on food and grease. The next day, use a damp cloth or sponge to wipe away the dried paste and grime. You may need to use a plastic scraper to help lift off stubborn spots. A final wipe with a clean, damp cloth will remove any remaining residue. You might notice some brown spots from the baking soda; this is normal and usually wipes away.
Tackling Stubborn Spots
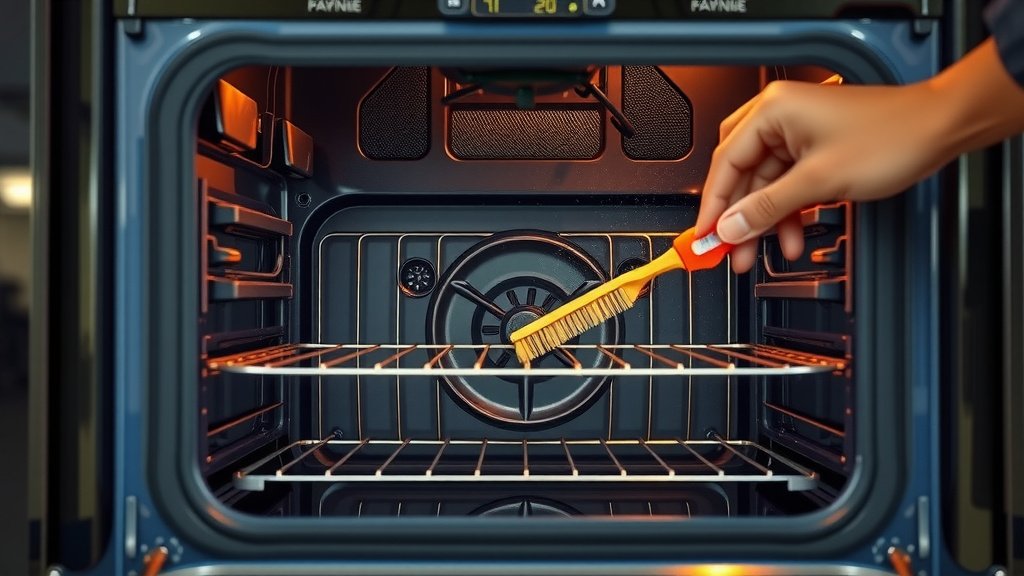
Sometimes, even after cleaning, a few tough spots remain. For these, you can try applying a little more baking soda paste directly to the spot and letting it sit for another hour. A **gentle scraping** with a plastic scraper or an old credit card can help lift the residue. Avoid using metal tools that could scratch the oven’s enamel.
Cleaning Oven Racks and Door
Don’t forget the racks and the oven door! These are often just as grimy as the interior walls.
Cleaning Oven Racks Thoroughly
The easiest way to clean oven racks is often to soak them. Fill your bathtub or a large sink with hot water. Add a generous amount of dish soap or a degreaser. Submerge the racks and let them soak for several hours, or overnight. After soaking, use a scrub brush or sponge to remove any remaining residue. Rinse them well and dry them completely before returning them to the oven.
If soaking isn’t an option, you can spray them with oven cleaner (in a well-ventilated area, perhaps outside) and let it sit according to the product instructions, then scrub and rinse. Some people find success laying them on old newspaper and scrubbing with a baking soda paste, similar to the oven interior.
Shining Up the Oven Door
The oven door, especially the glass, can get very dirty. For the inside of the glass, you can use the baking soda paste. Apply it to the glass and let it sit for about 30 minutes. Then, use a damp cloth or sponge to wipe it clean. You might need to use a scraper for burnt-on spots. For a streak-free shine, polish the glass with a microfiber cloth.
If your oven door has a removable glass panel (check your manual!), this can offer easier access for cleaning between the panes. This is a more advanced step, but can yield amazing results for truly filthy doors.
Final Touches and Maintenance Tips
Once everything is clean, a few final steps will leave your oven looking and smelling fresh.
Wiping Down and Polishing
After all the cleaning is done, give the entire interior a final wipe-down with a clean, damp cloth. This removes any lingering cleaner residue. Then, use a dry microfiber cloth to polish the surfaces and door. This leaves a nice shine and helps prevent fingerprints.
Quick Cleaning Checklist
Here’s a quick rundown to ensure you haven’t missed anything:
- Racks removed and soaking/cleaning
- Interior walls sprayed or pasted
- Cleaners allowed sufficient dwell time
- All surfaces wiped clean of residue
- Oven door glass sparkling
- Racks scrubbed and rinsed
Keeping Your Oven Clean Longer
To make future cleaning easier, try to **wipe up spills** as soon as the oven cools down. A quick wipe after each use can prevent major build-up. Many experts suggest a **light cleaning** every few months, even if your oven doesn’t look dirty. This prevents tough grime from forming.
Conclusion
You’ve now got the knowledge to transform your oven from grimy to gleaming. We’ve walked through gathering supplies, preparing your space, and tackling both tough commercial cleaners and natural baking soda methods. Remember to pay attention to those often-forgotten racks and the oven door glass. By following these steps and performing regular maintenance, you’ll keep your oven in top shape. Your next bake will be in a kitchen that smells as good as it looks!
Frequently Asked Questions
How often should I deep clean my oven?
Research suggests a deep clean every 3-6 months is generally sufficient for most home ovens. If you notice significant grease buildup or smoke, you may need to clean it more frequently. Regular light wipe-downs after spills will also extend the time between deep cleans.
Can I use abrasive scrubbers on my oven interior?
It’s generally best to avoid abrasive scrubbers like steel wool or harsh scouring pads on your oven’s interior enamel. These can scratch the surface. Opt for non-abrasive sponges, microfiber cloths, or a plastic scraper for stubborn spots to protect the finish.
What’s the best way to deal with burnt-on food in the oven?
For stubborn, burnt-on food, a paste of baking soda and water is often very effective. Apply it thickly to the spot, let it sit for several hours or overnight, and then gently scrub or scrape it away. Commercial oven cleaners are also designed for this purpose; just be sure to follow their instructions carefully.
My oven has a self-cleaning feature. Do I still need to clean it manually?
While self-cleaning cycles are convenient, they don’t always remove all residue, especially in heavily soiled areas. You’ll still need to manually clean racks and sometimes wipe down the interior after the cycle to remove ash or lingering grime. It’s also important to ensure good ventilation during and after a self-cleaning cycle.
What if I don’t have rubber gloves for cleaning my oven?
If you find yourself without rubber gloves, it’s crucial to protect your skin. Consider using thick disposable food-prep gloves or even wearing a couple of layers of plastic bags taped securely around your wrists. Good ventilation is even more important when avoiding gloves, as you’ll be more sensitive to fumes.